 Web to code extension
 Twitter
 GitHub
 Blog
Blog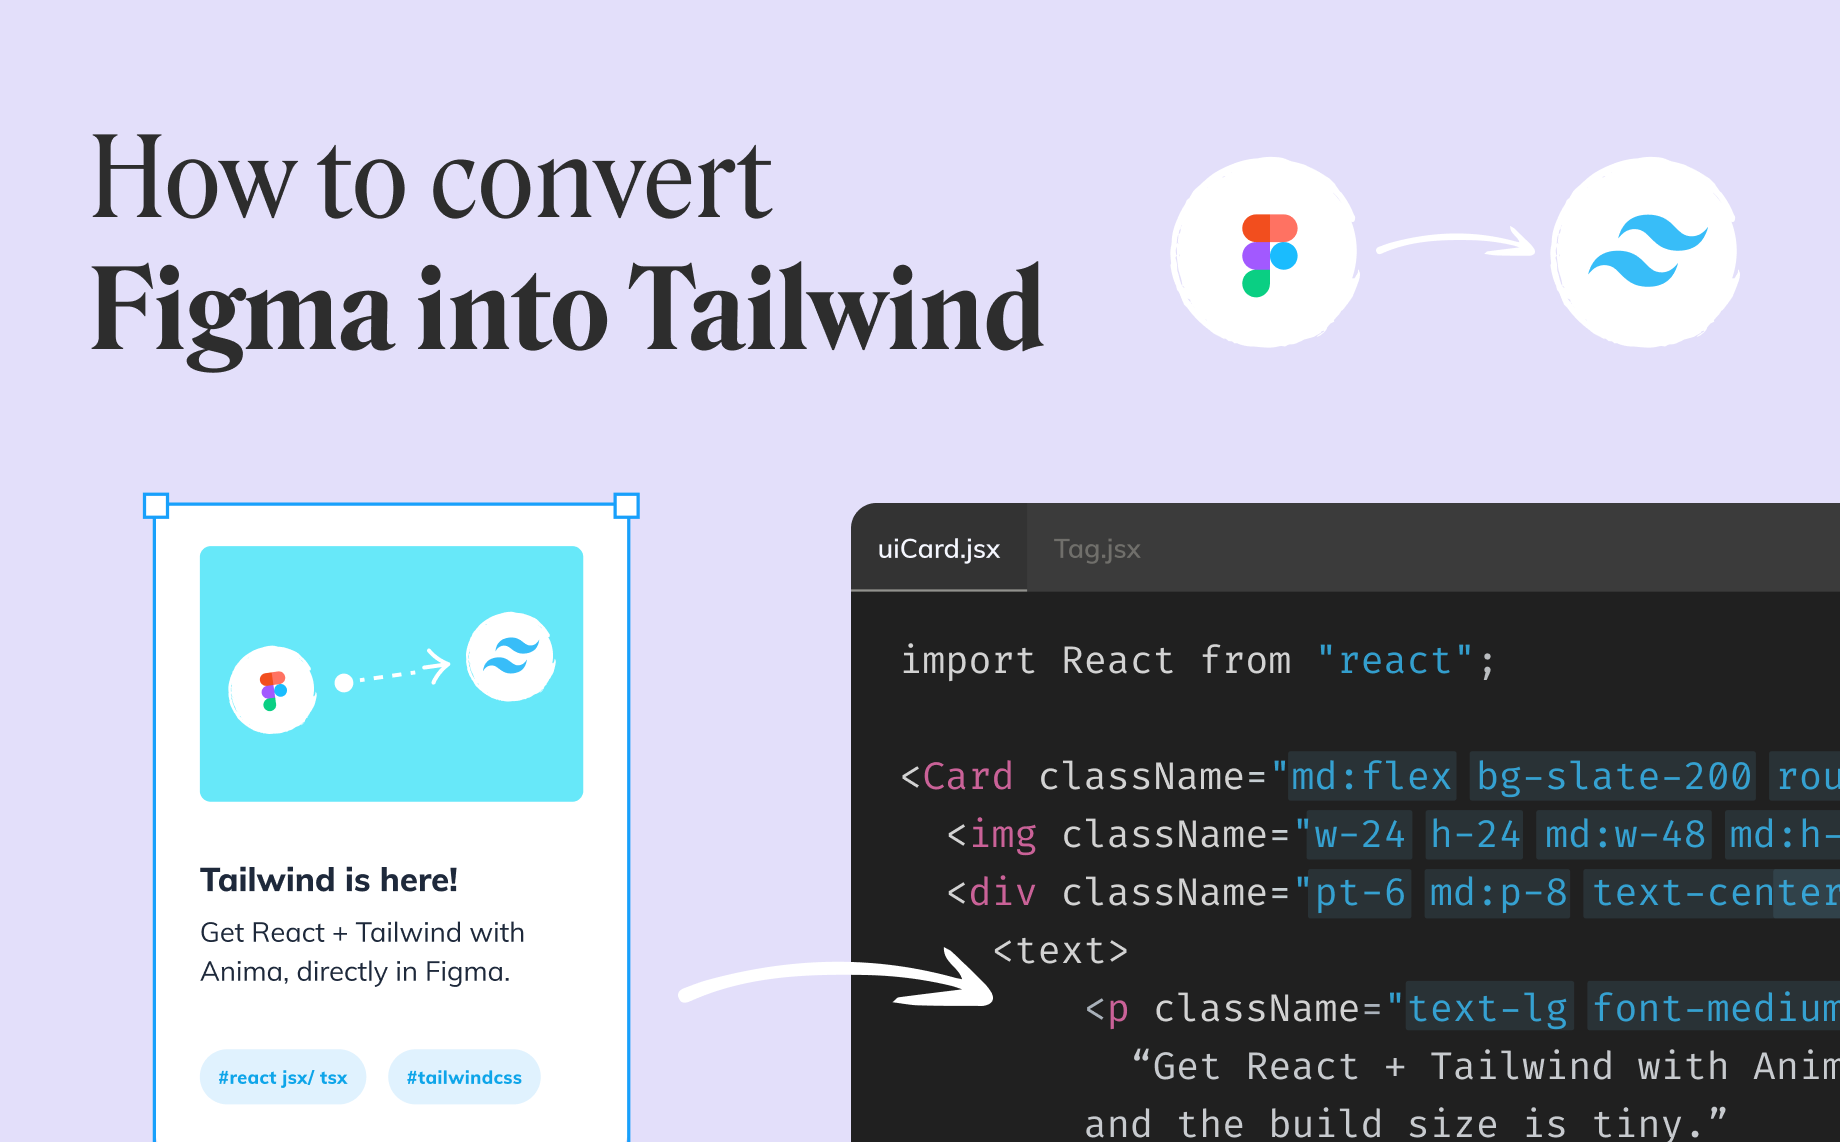
How to export Tailwind CSS from Figma5 min read
Reading Time: 4 minutesExport Tailwind CSS from Figma and keep building
Want to turn a Figma design into clean React code styled with Tailwind CSS? The fastest path is to use Anima’s Figma plugin: select a frame, choose React and Tailwind, then copy, download, or open the generated project in Anima Playground to keep editing, previewing, and publishing.
Tailwind is popular because it turns design decisions — spacing, color, typography, layout, breakpoints — into composable utility classes. Anima helps translate those decisions from Figma into frontend code, so you can move from design to a working UI without manually rebuilding every layer.
Quick answer: Figma to Tailwind CSS with Anima
- Install and open the Anima plugin for Figma.
- Select the Figma frame, component, section, or layer you want to convert.
- Choose React with JavaScript or TypeScript, then select Tailwind CSS as the styling option.
- Generate the code, then copy snippets, download the package, or continue in Anima Playground.
- Use Playground when you want to edit by prompt, preview, connect data/auth, publish, or hand off to a coding agent.
If you prefer video, watch: How to convert Figma into Tailwind CSS.
Why export Figma to Tailwind CSS?
Figma is where teams shape the product experience. Tailwind is where many frontend teams want to implement that experience. The hard part is the translation layer between design and code.
A useful Figma-to-Tailwind workflow should preserve structure, spacing, text styles, colors, responsive behavior, and reusable components. That gives developers a better starting point and gives designers a faster way to see their work running in the browser.
With Anima, you can turn Figma designs into React, HTML, or Vue; JavaScript or TypeScript; CSS or Tailwind CSS; and editable code that can continue into Anima Playground for preview, iteration, export, and publishing.
Before you generate Tailwind code from Figma
You will get better output if the Figma file is structured like a real interface, not a flat mockup.
- Use Auto Layout where possible. It helps preserve responsive structure and spacing relationships.
- Name important layers clearly. Buttons, cards, nav bars, forms, and sections are easier to understand when they are not named “Frame 128.”
- Use styles, variables, and components. Repeated colors, typography, spacing, and states are easier to map into reusable code.
- Select the right scope. Export a focused component or screen first, then expand to larger flows once the settings look right.
How to convert Figma designs to Tailwind
Step 1: Run the Anima plugin on your Figma file
Open Anima’s plugin in Figma. If you are a first-time user, search for “Anima” in the Figma plugin menu and sign in or create an Anima account.
The plugin reads the selected Figma layers, understands the visual hierarchy, and prepares the conversion settings before generating code.
Step 2: Select React, JavaScript or TypeScript, and Tailwind CSS
Choose React in the framework dropdown, JavaScript or TypeScript as the language, and Tailwind CSS under styling.
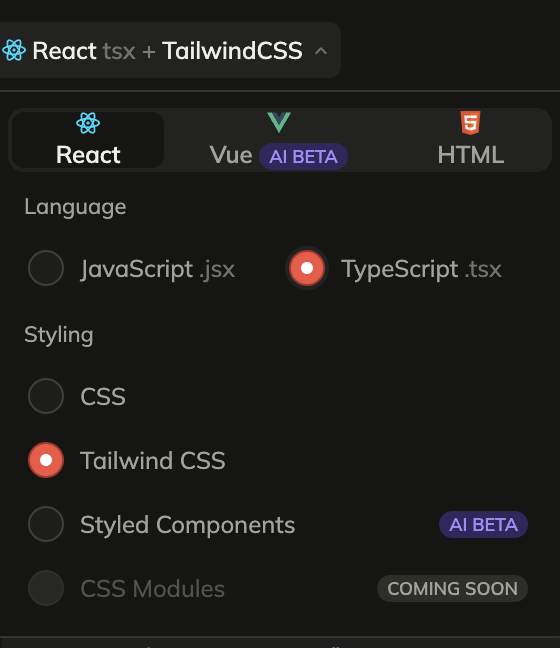
Anima saves this as your default code preference, and you can change it later for another project.
Step 3: Select a Figma component, layer, or frame
Select the frame, component, section, or layer you want to export. For the first pass, choose a focused screen or component so you can quickly inspect the generated Tailwind output.
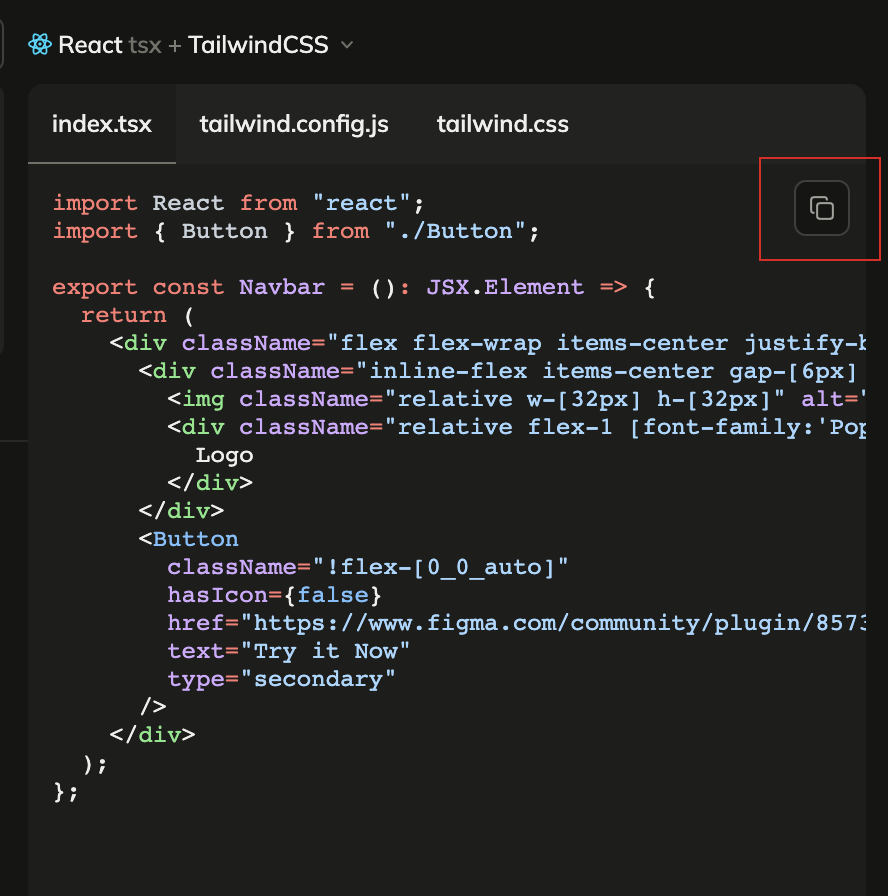
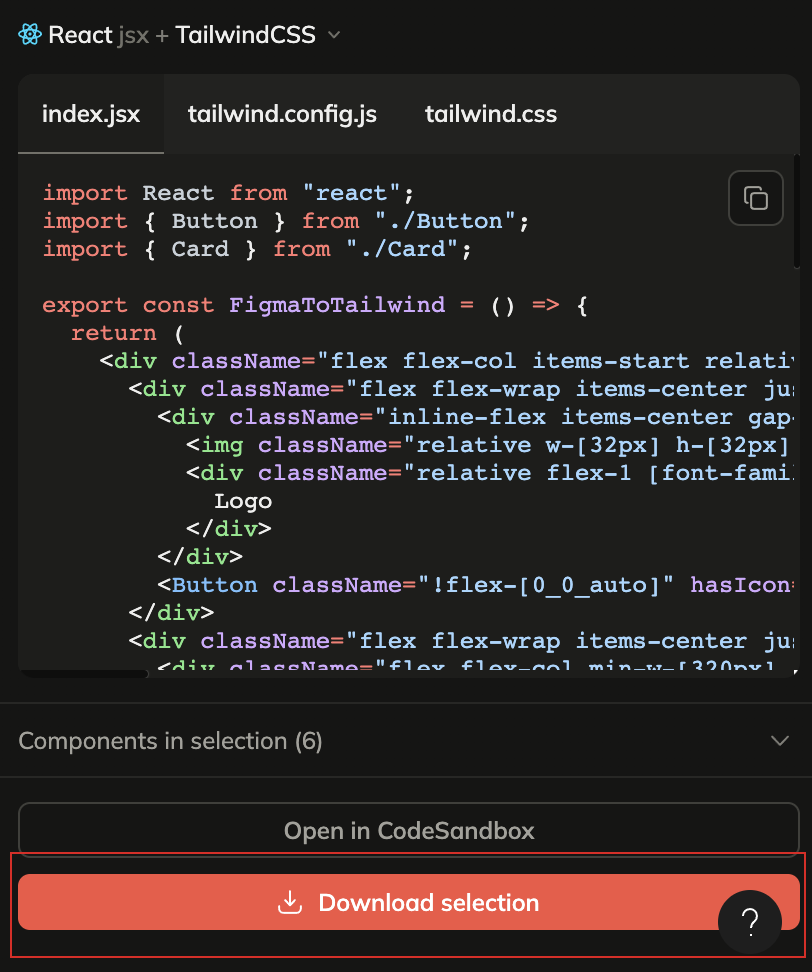
Step 4: Generate and get your code
Once the code is generated, you can copy code snippets, download the generated files as a package, or preview the UI and continue iterating in Anima Playground.
Keep going in Anima Playground
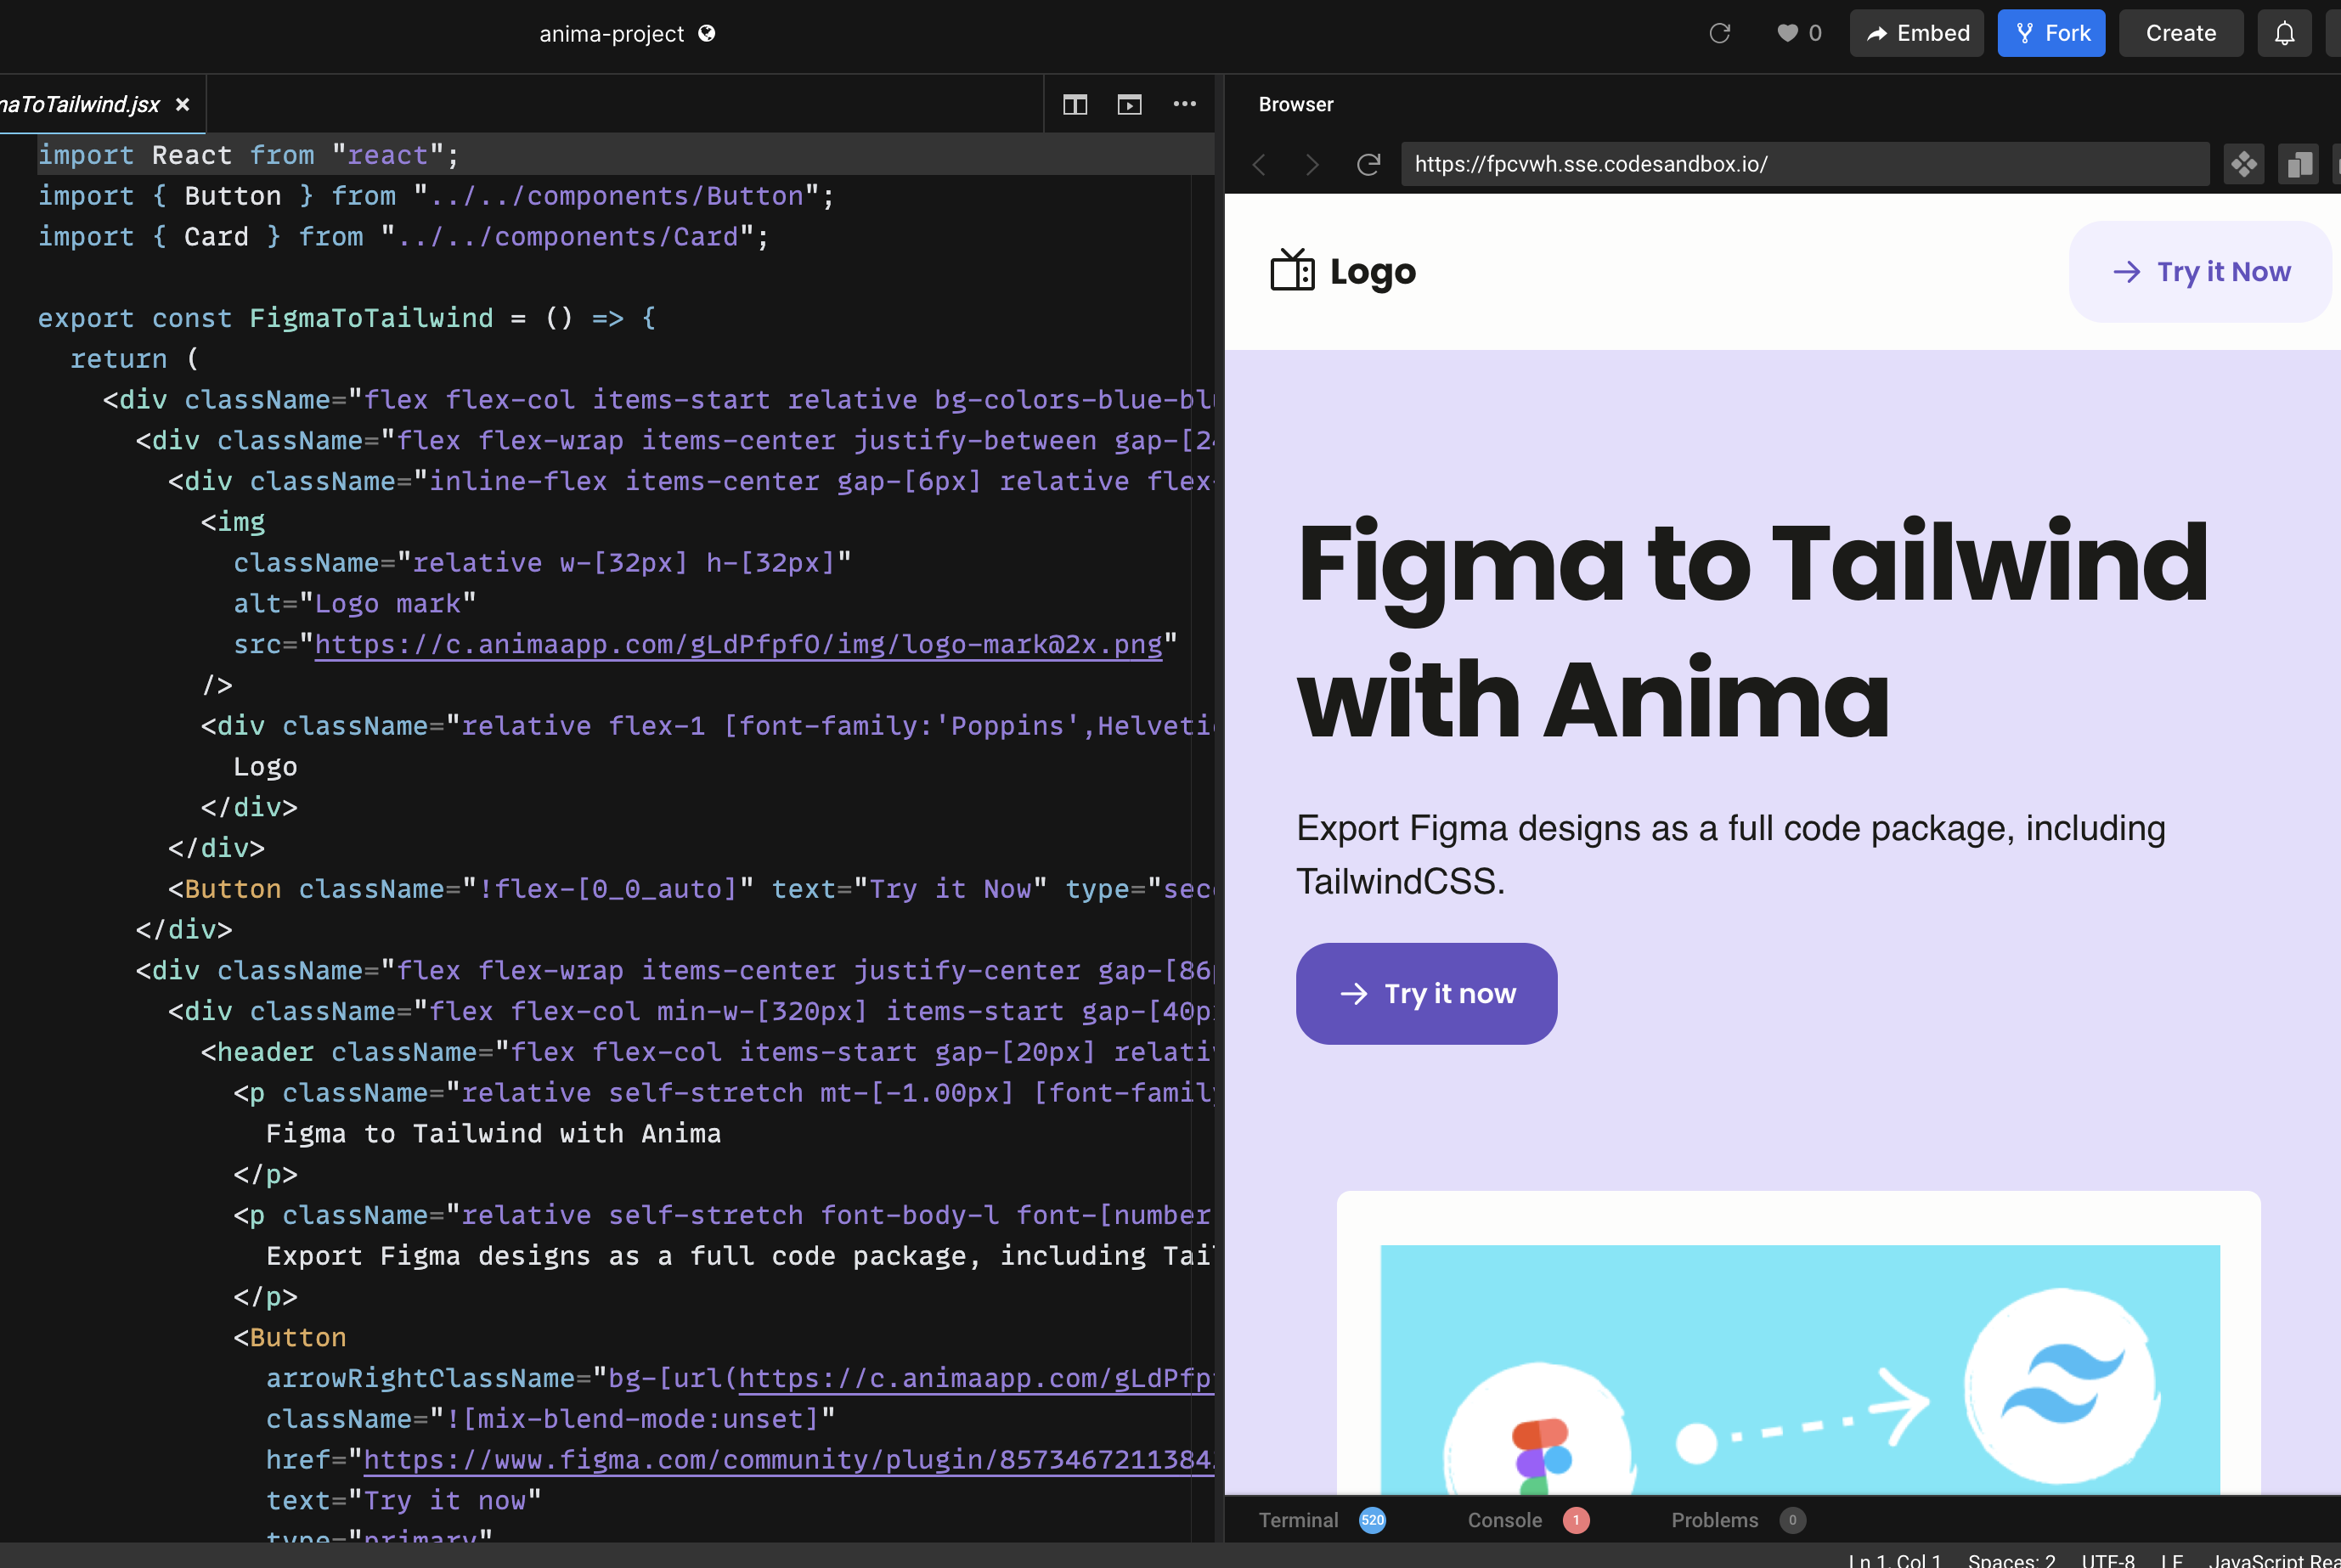
Exporting Tailwind code is useful, but the best workflow does not stop at “copy code.” Once your design is converted, you can keep working in Anima Playground.
Playground gives you a live preview and editable code side by side. You can ask for changes in plain English, refine the UI, add missing states, adjust layout, and turn a static design export into a real interactive page or app.
- Make the header sticky
- Add a responsive mobile menu
- Turn a static form into a working form flow
- Create a dark mode version
- Connect the UI to data or user authentication
- Publish the project and share it with your team
Plugin or Playground?
Use the Anima Figma plugin when you are starting from a Figma file and want the richest design capture. Use Anima Playground when you want to continue after the first generation: edit by chat, preview, add functionality, publish, export, or connect the work to coding agents.
The best path is often both: start in Figma, generate React + Tailwind with the plugin, open the result in Playground, and vibe code the final details while keeping the design intent intact.
Common Figma to Tailwind questions
Can Figma export Tailwind CSS by itself?
Figma is primarily a design tool. A plugin like Anima adds the conversion layer between Figma design and frontend code.
Does Anima generate React with Tailwind?
Yes. In the Anima plugin, choose React as the framework and Tailwind CSS as the styling option. You can also choose JavaScript or TypeScript.
Can I publish the result?
Yes. If you continue in Anima Playground, you can preview, refine, and publish the project from the browser. You can also export code when you want to continue development elsewhere.
Now it is your turn
If you want to convert Figma designs into React code styled with Tailwind CSS, start with the Anima plugin and continue in Playground when you are ready to iterate, publish, or hand off the result.
- Anima plugin for Figma
- Try Anima Playground
- Sign up for Anima
- Let us know how it is going in Anima’s Discord channel