 Twitter
 GitHub
 Blog
Blog
How to sync your Storybook design system into Figma5 min read
Reading Time: 5 minutesWe’re excited to announce Design System Automation by Anima, which automatically turns your Storybook into a native Figma library, then keeps it continuously synced with any code updates. The generated Figma components include variants, Auto Layout parameters, Figma Styles, and actual code from Storybook.
Designers can build flows with the same components developers will use to build the product. Developers get designs containing the exact components they have in the code, along with names, props, Storybook links, and their own code references. That makes handoff and implementation a breeze.
Anima’s Design System Automation solution gives teams consistent, lightning-fast builds, perfect fidelity, and zero friction between design and development.
In this article, we’ll demonstrate:
- How to connect Storybook to Figma using Anima
- How to generate a Figma library from your design system code components, and
- How Anima keeps Figma continuously synced with production.
Let’s get to it!
Step 1. Connect Storybook and Figma using Anima’s integration
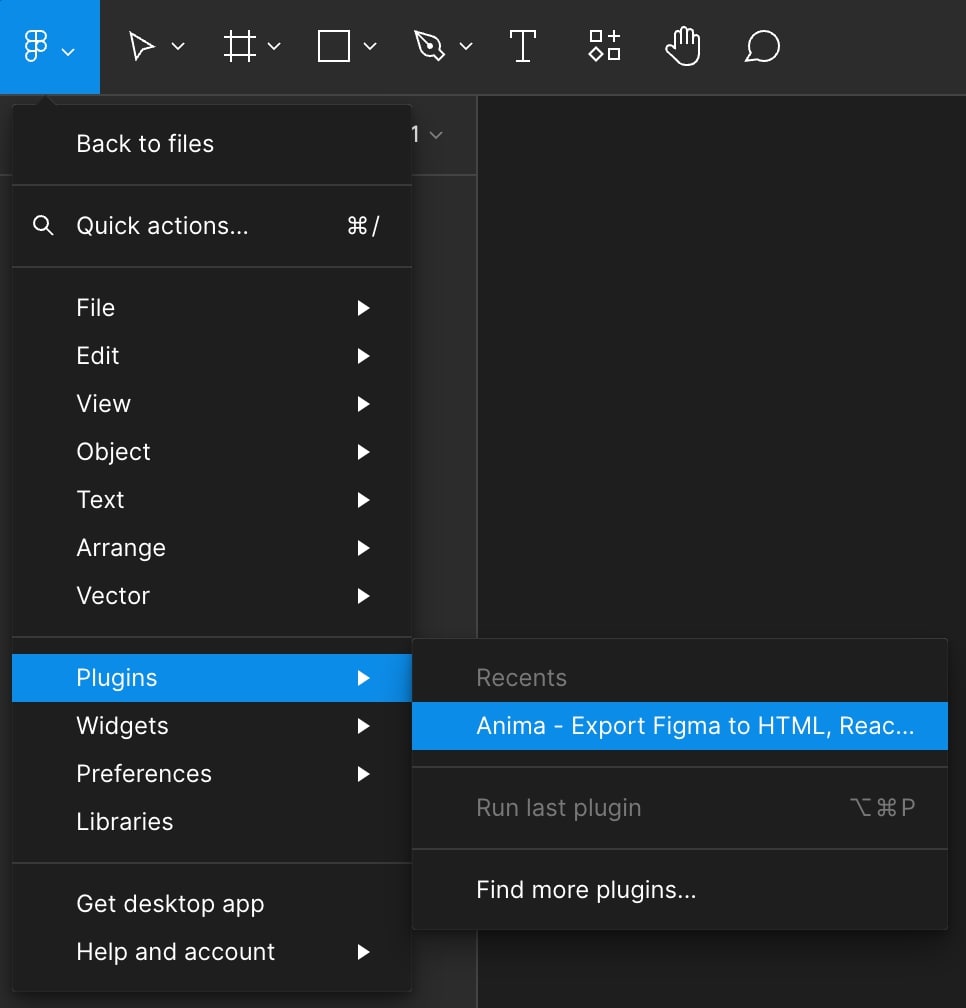
First off, you will need to download the Anima plugin for Figma. Once you have it installed in Figma, go ahead and open the Anima plugin.
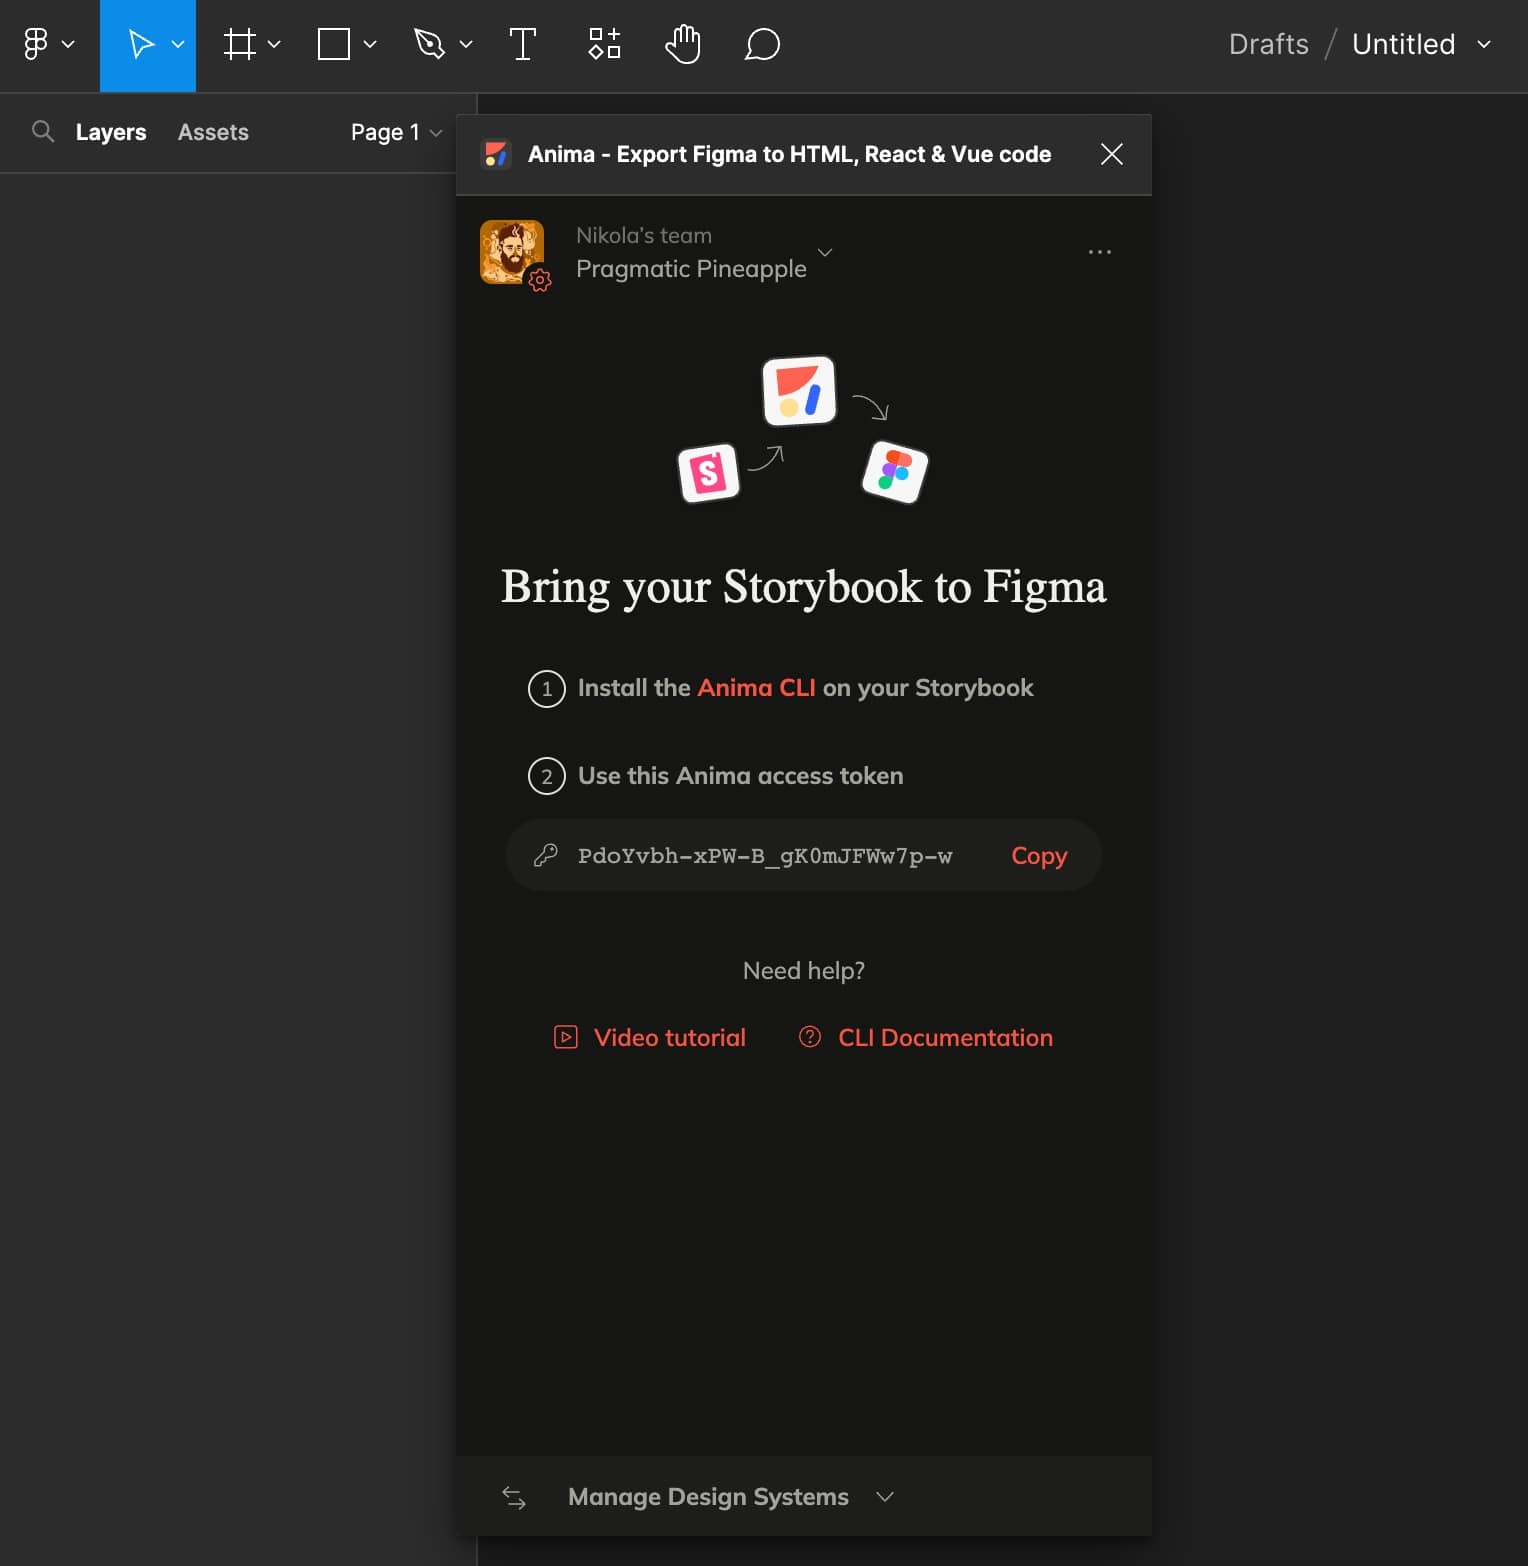
1. To start syncing Storybook and Figma, you will need to install the Anima CLI. For this example, we’ll use LeafyGreen—MongoDB’s design system in Storybook —and install the Anima CLI there. You can install the CLI inside your own project with the following commands:
yarn add -D anima-storybook-cli
Or, if you’re using `npm`, like so:
npm install –save-dev anima-storybook-cli
2. Once the Anima CLI is installed, we need to generate a Storybook build. In the showcase project, we are doing it with this command:
yarn build-storybook
Now that the Storybook is built, we can sync it with Anima and Figma using the Anima CLI and the token we got in the Anima Figma plugin. To sync Storybook and Figma, run the following command:
yarn anima-storybook sync -t YOUR_TOKEN
The `anima-storybook` will prepare and sync files to your Figma project and report when it finishes. The important thing here is to pass the token from the Anima Figma plugin.
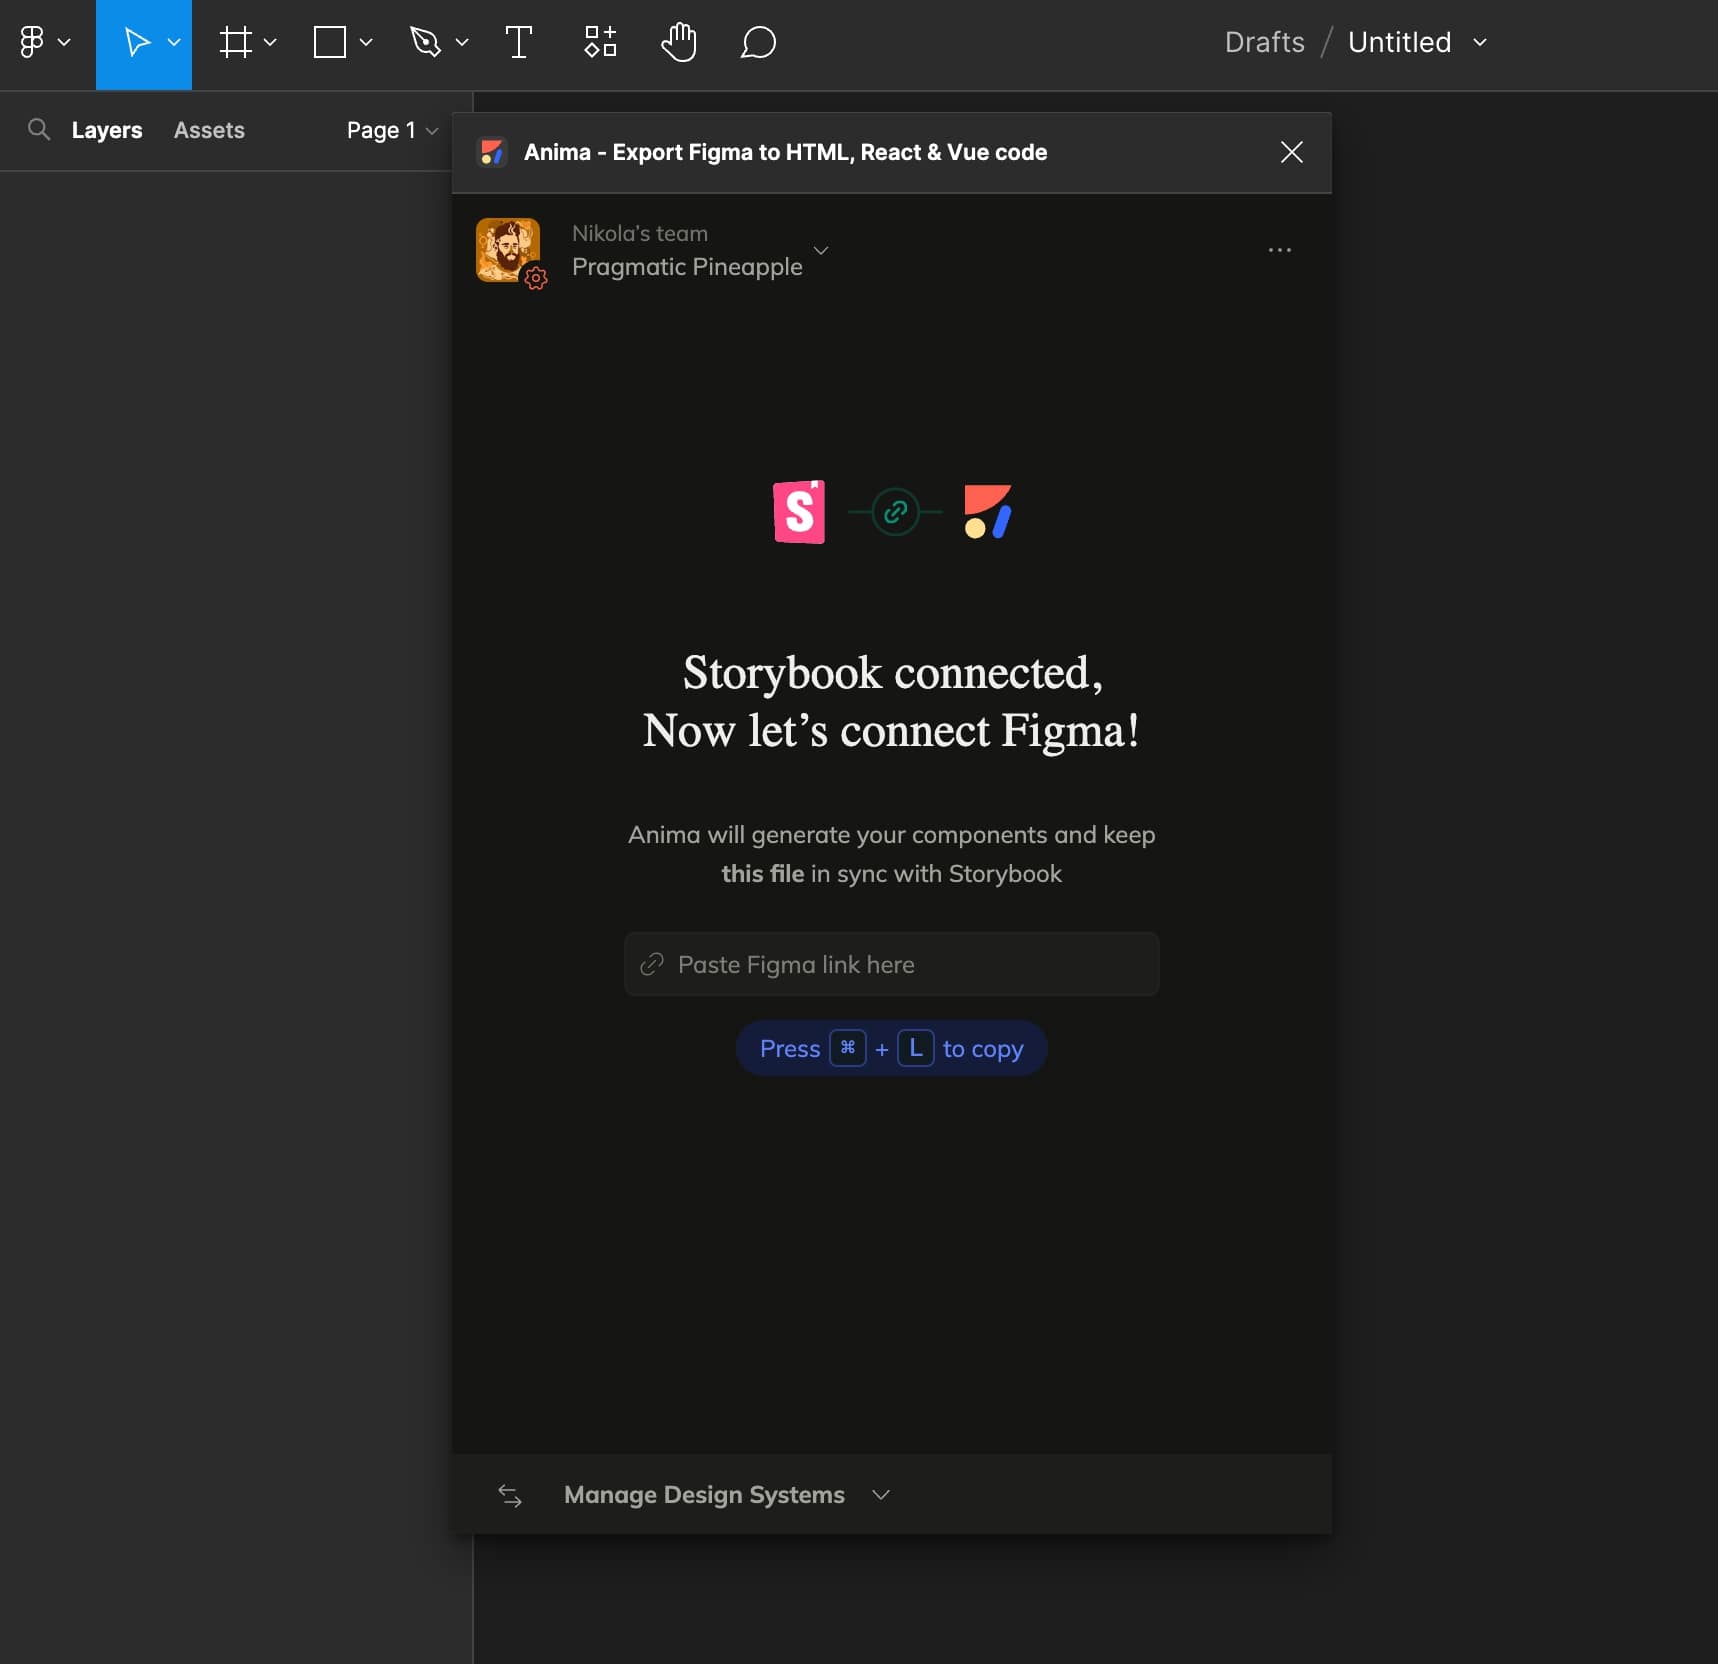
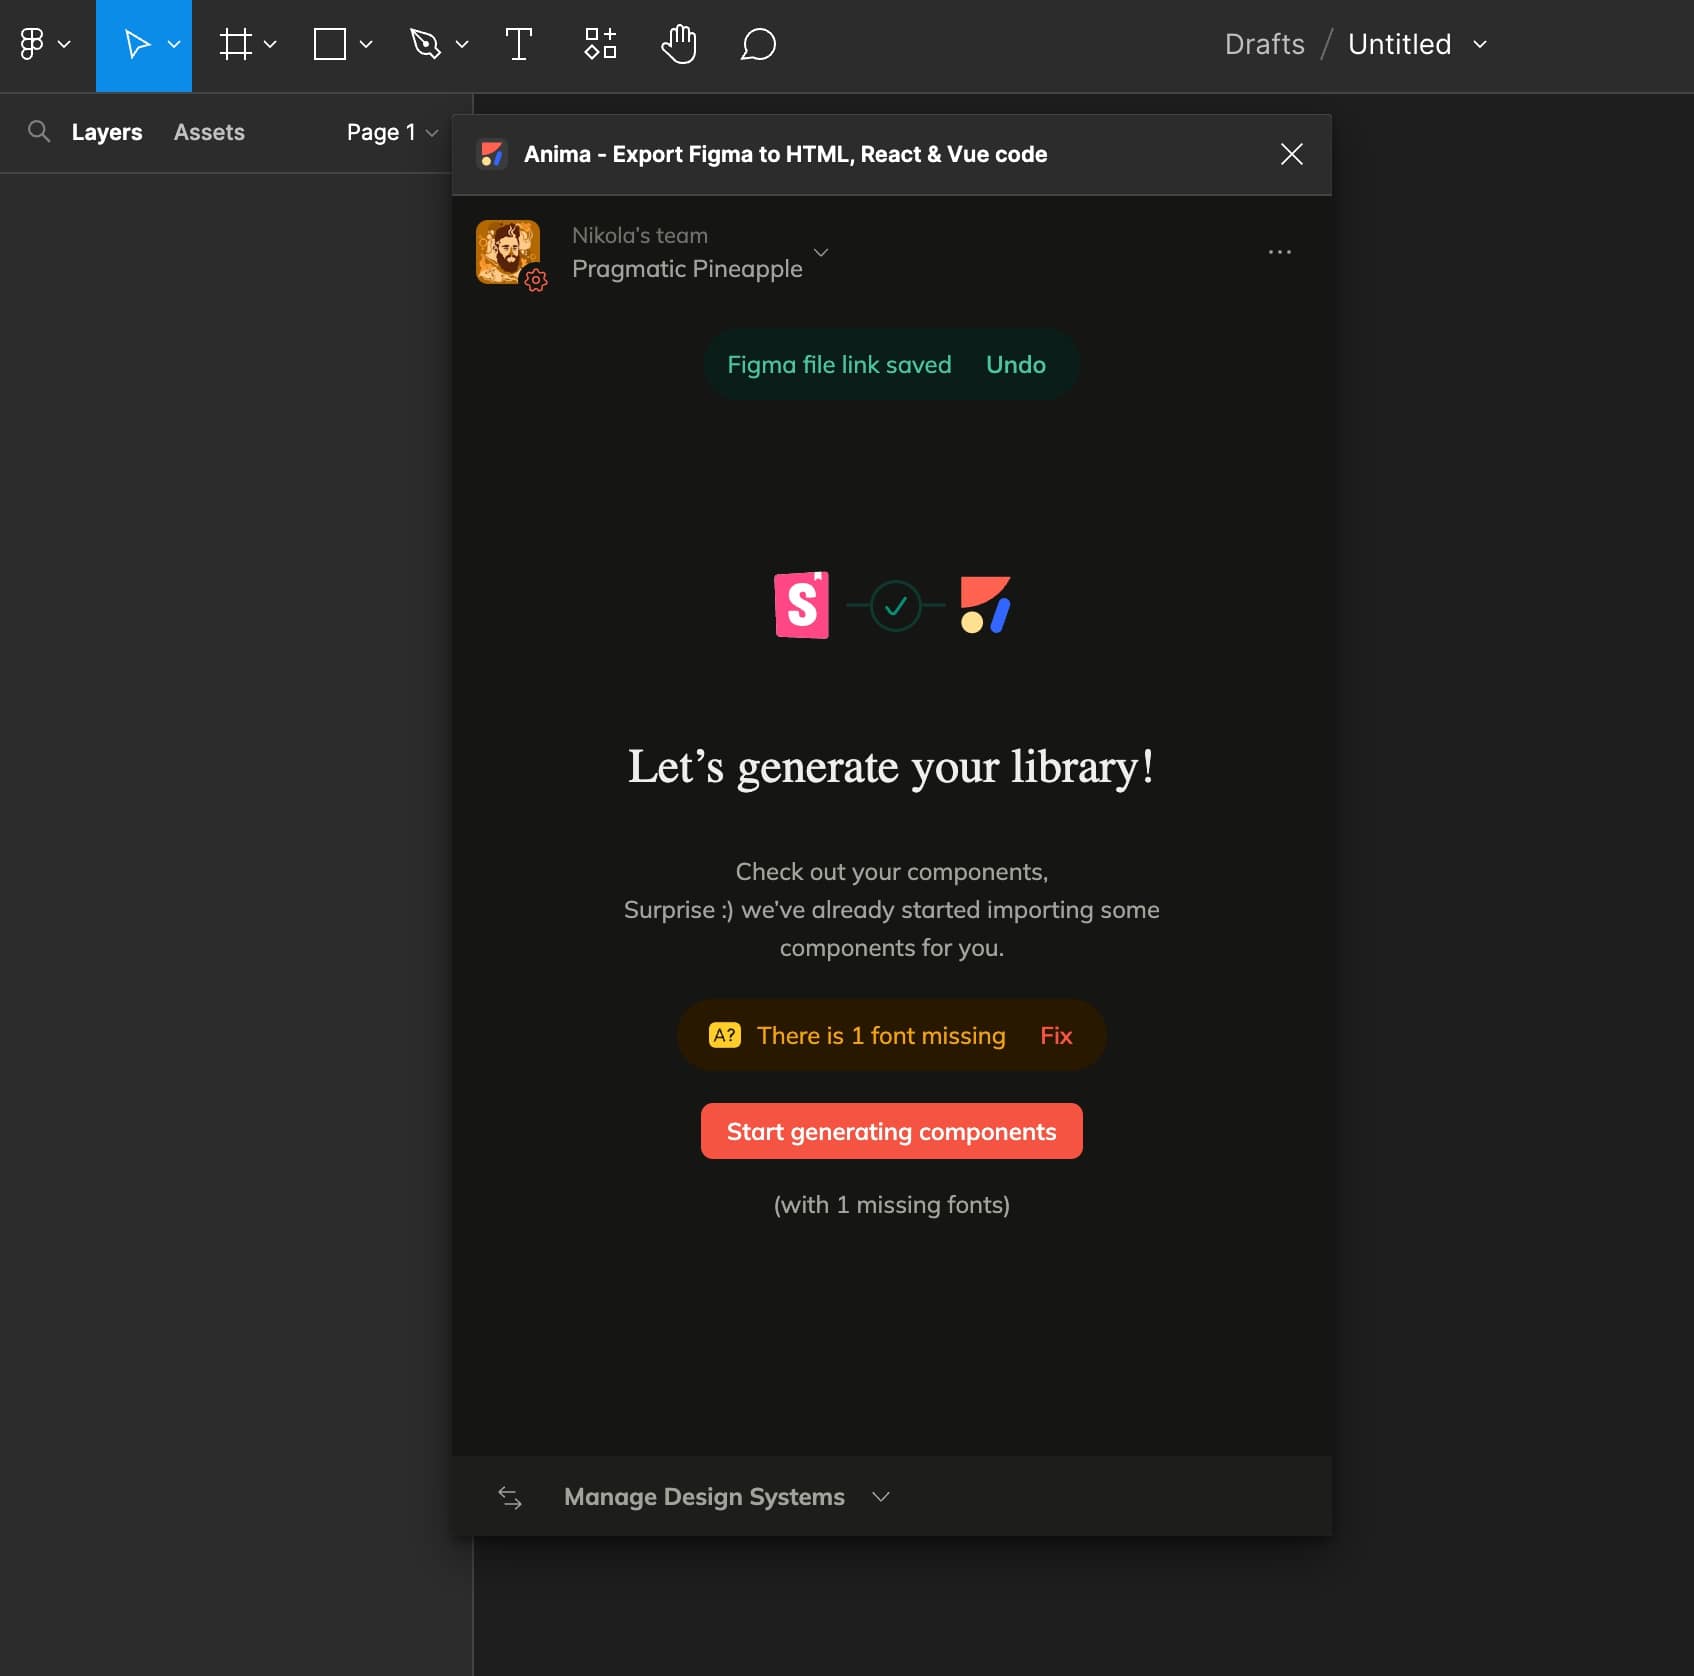
3. Once the sync is finished, go to Figma and the Anima plugin will show the following prompt:
4. Then, click “Start generating components”:
After some time, Anima will wire up the Storybook and Figma and allow you to generate Figma components from Storybook.
Step 2. Generate Figma components from Storybook code
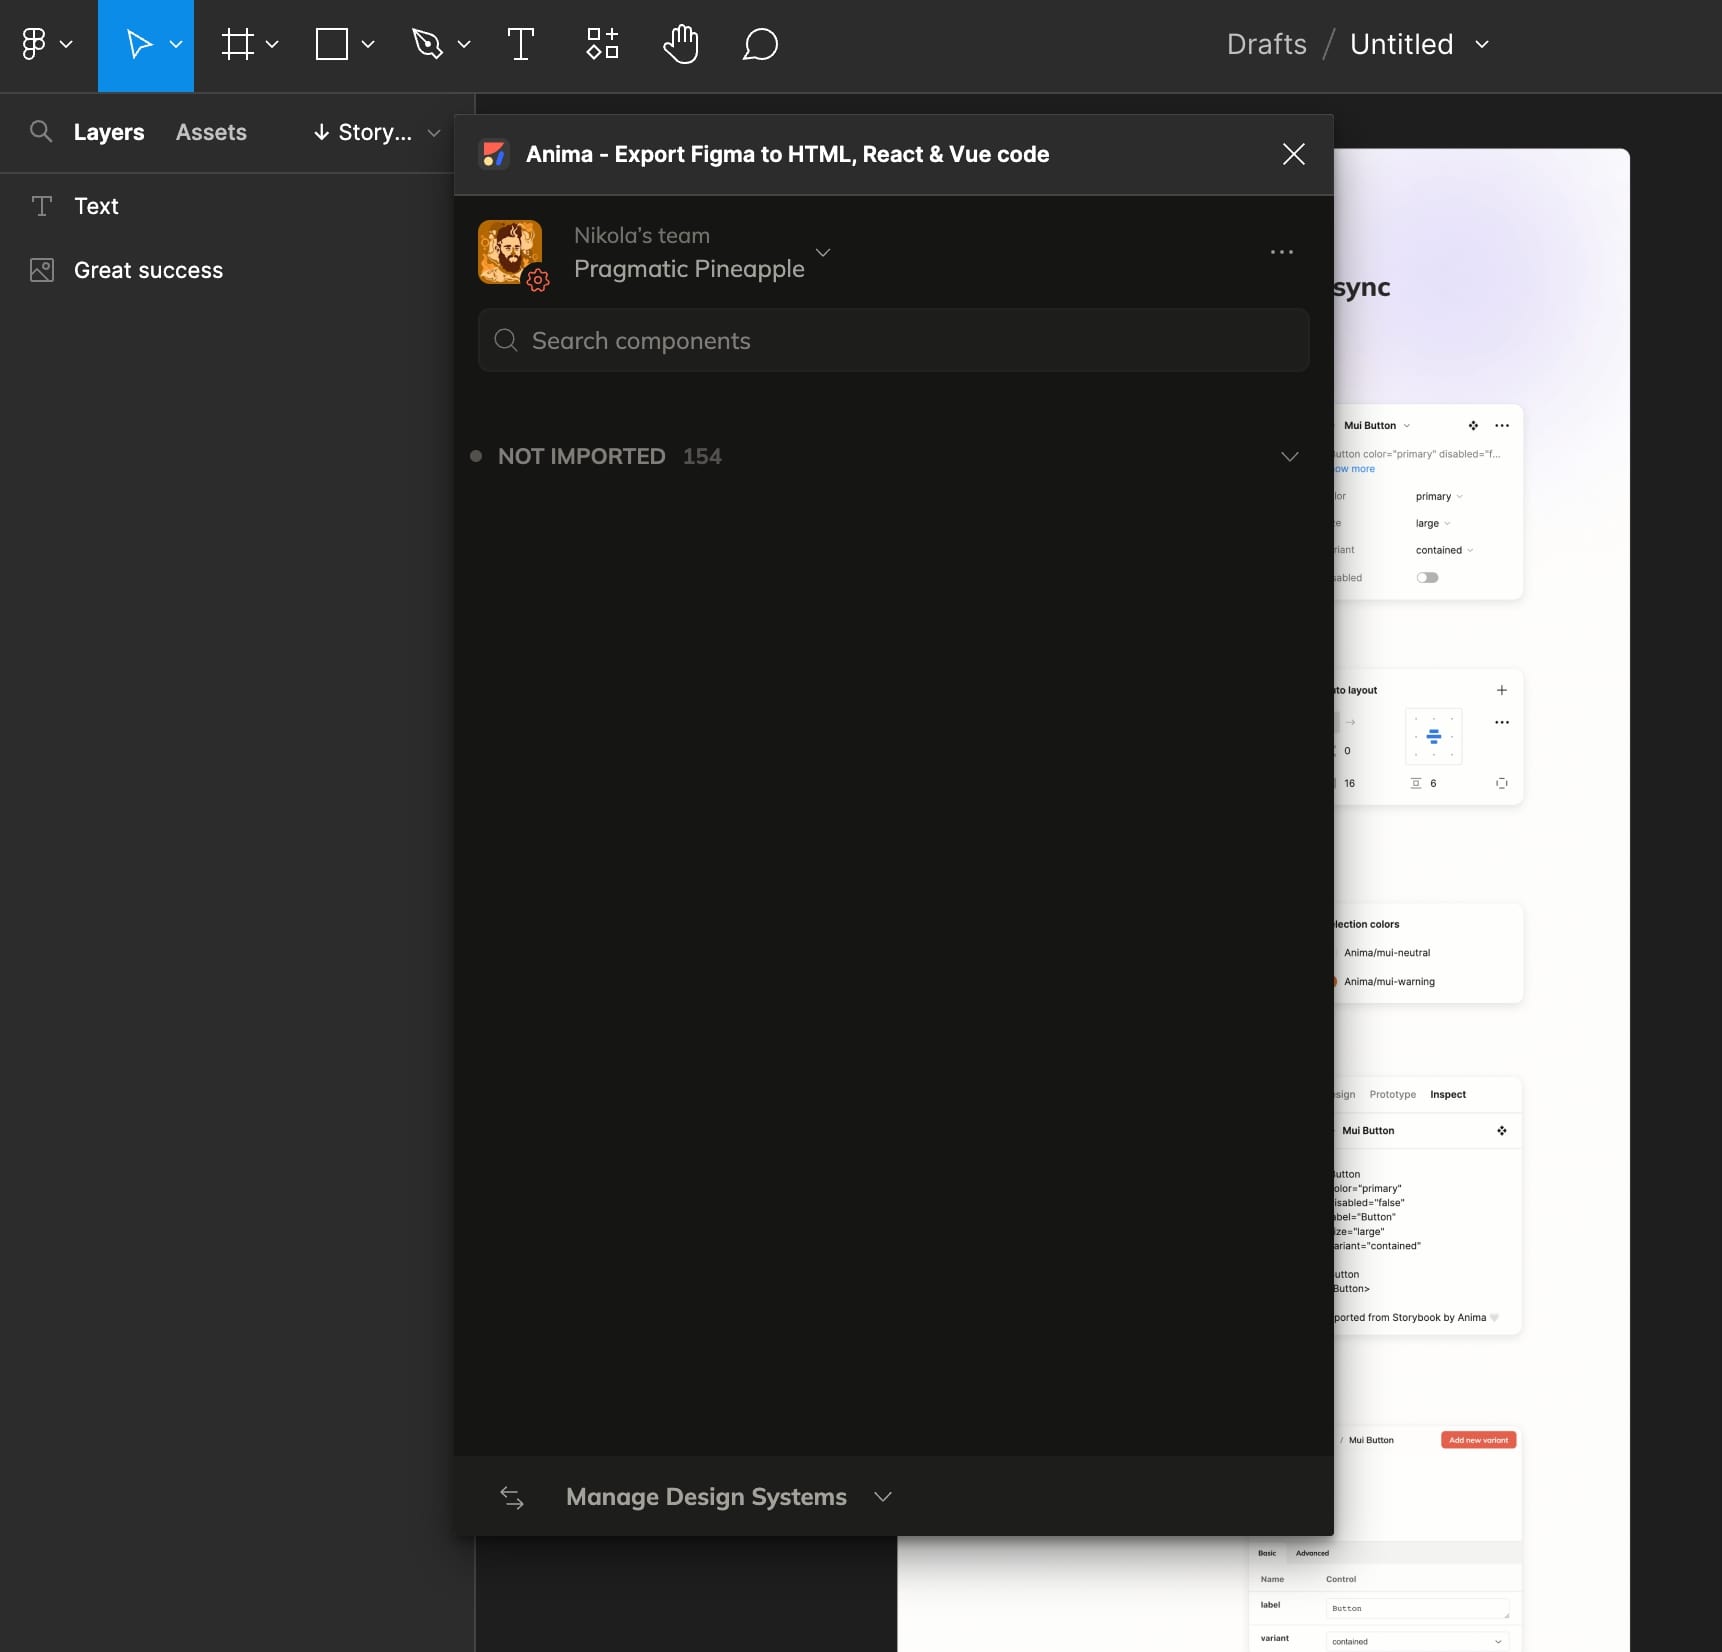
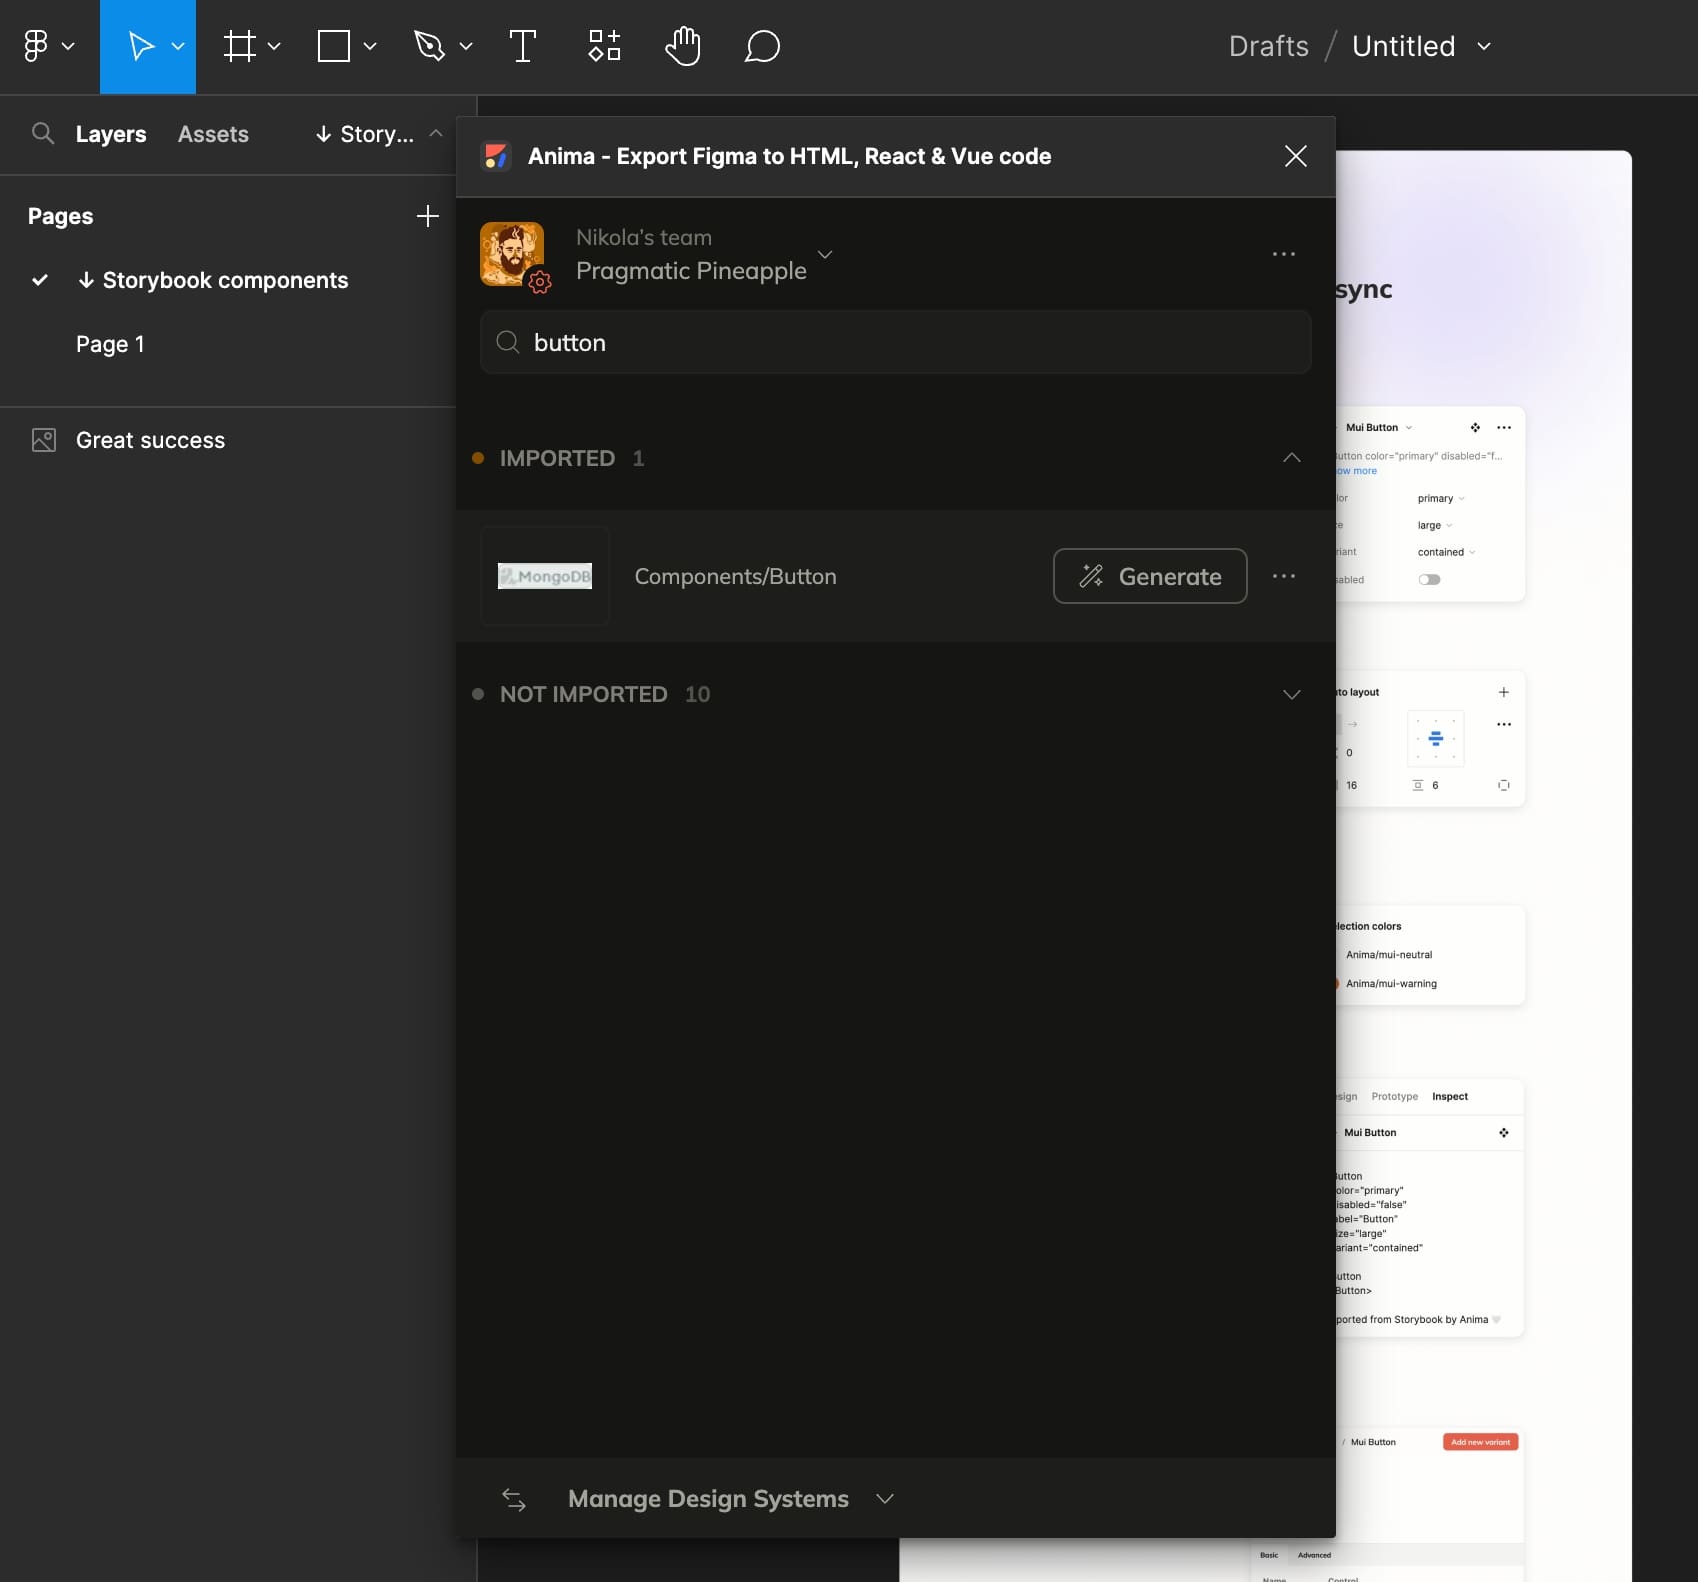
Now that the Storybook and Figma are synced via Anima’s CLI, we can generate any Storybook component right from Figma. Unimported Storybook components will appear in the Anima plugin like so:
We’ll start by expanding the carousel of unimported components and searching for ‘Button’:
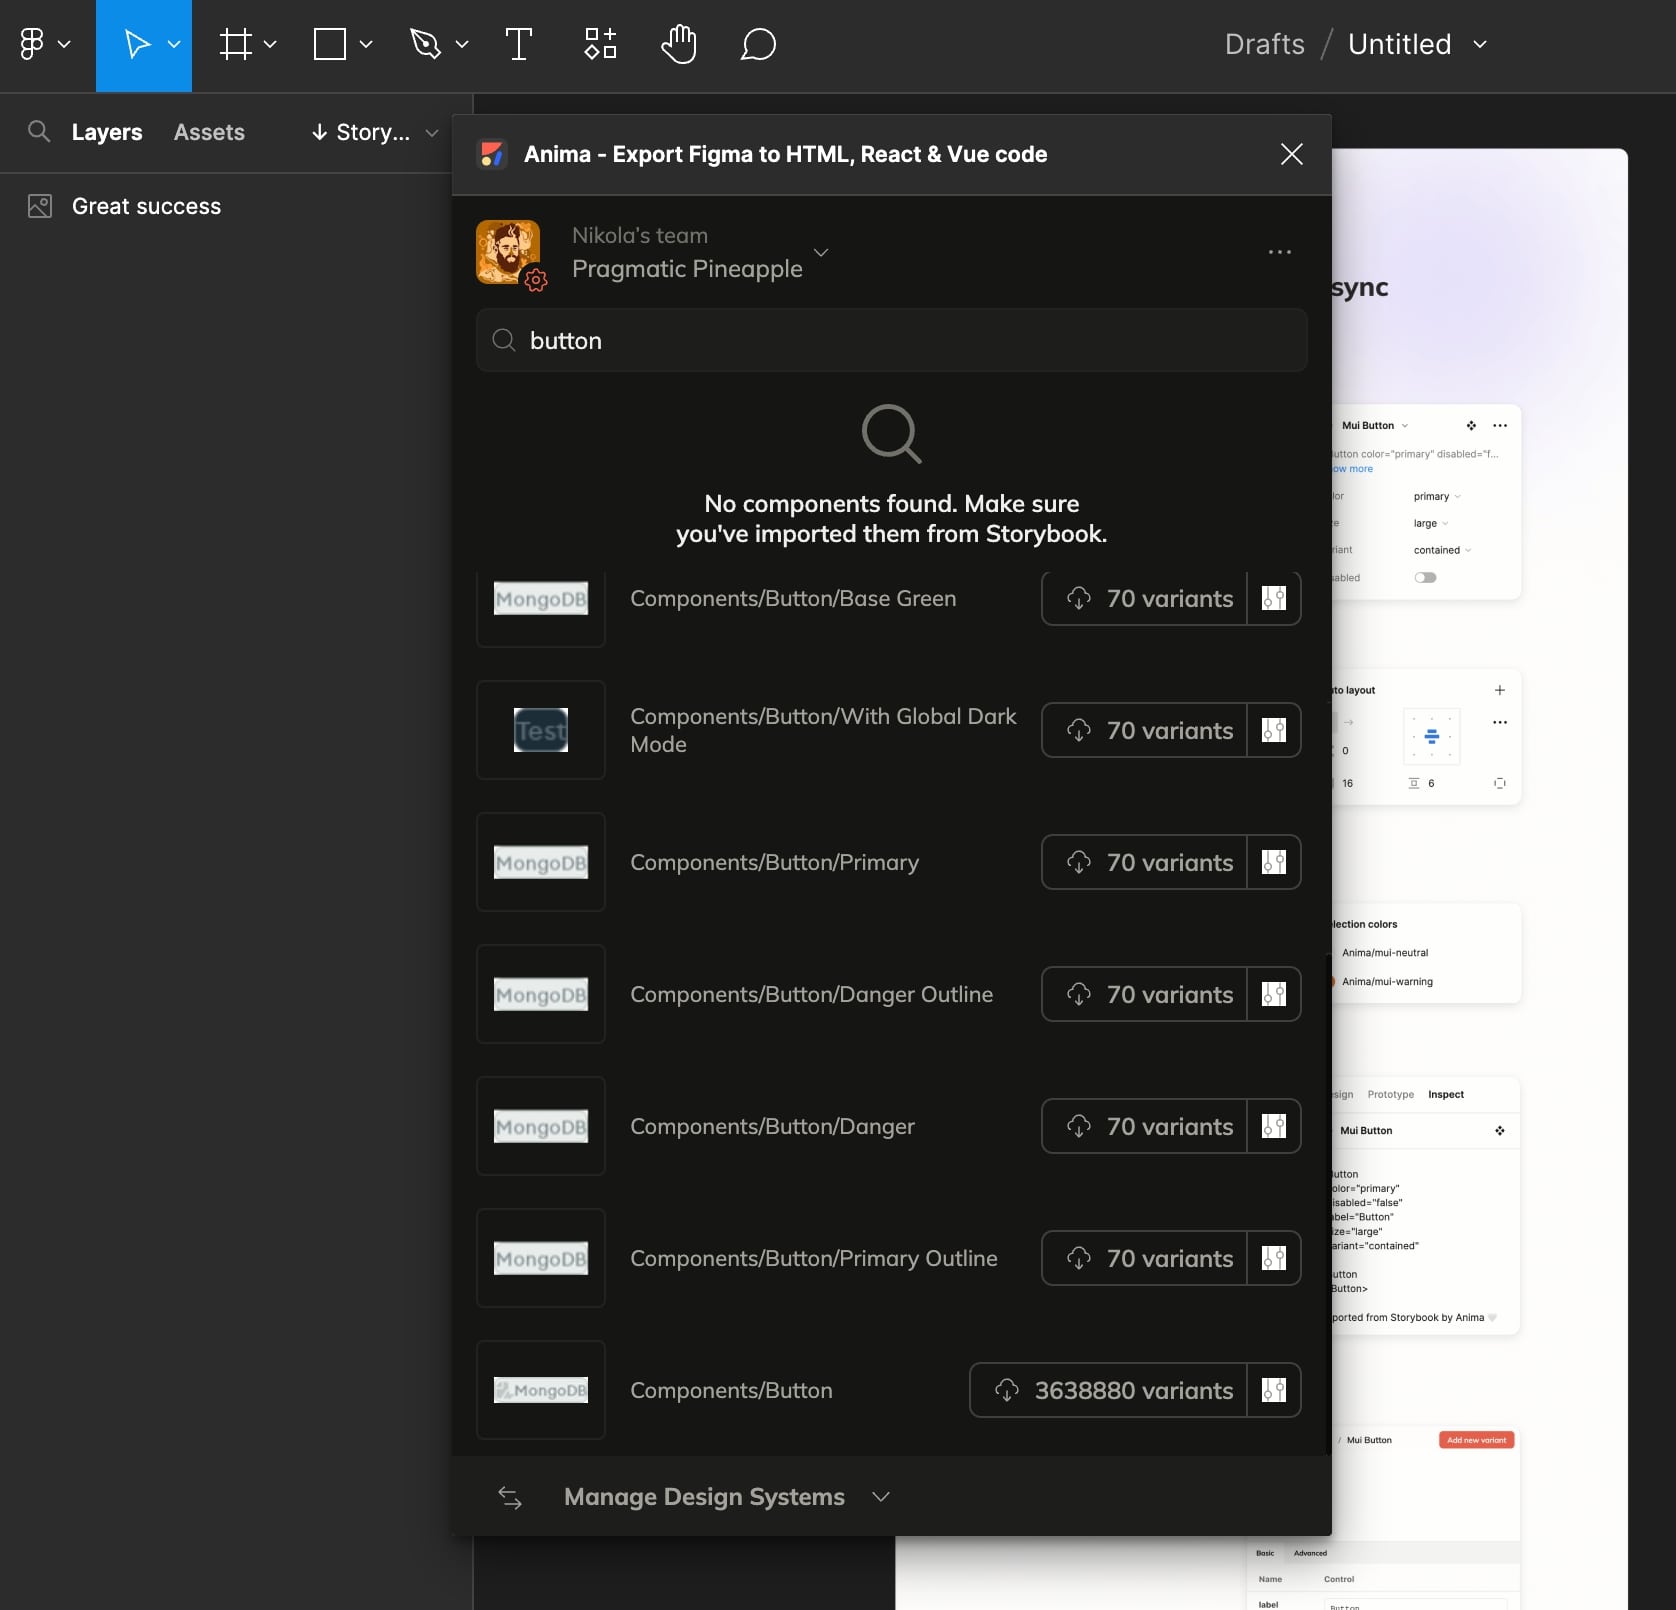
Then, we’ll select the Button variants we wish to import. In this case, ‘Button’ has a lot of props, and Anima can identify and generate every possible combination as a unique variant in Figma: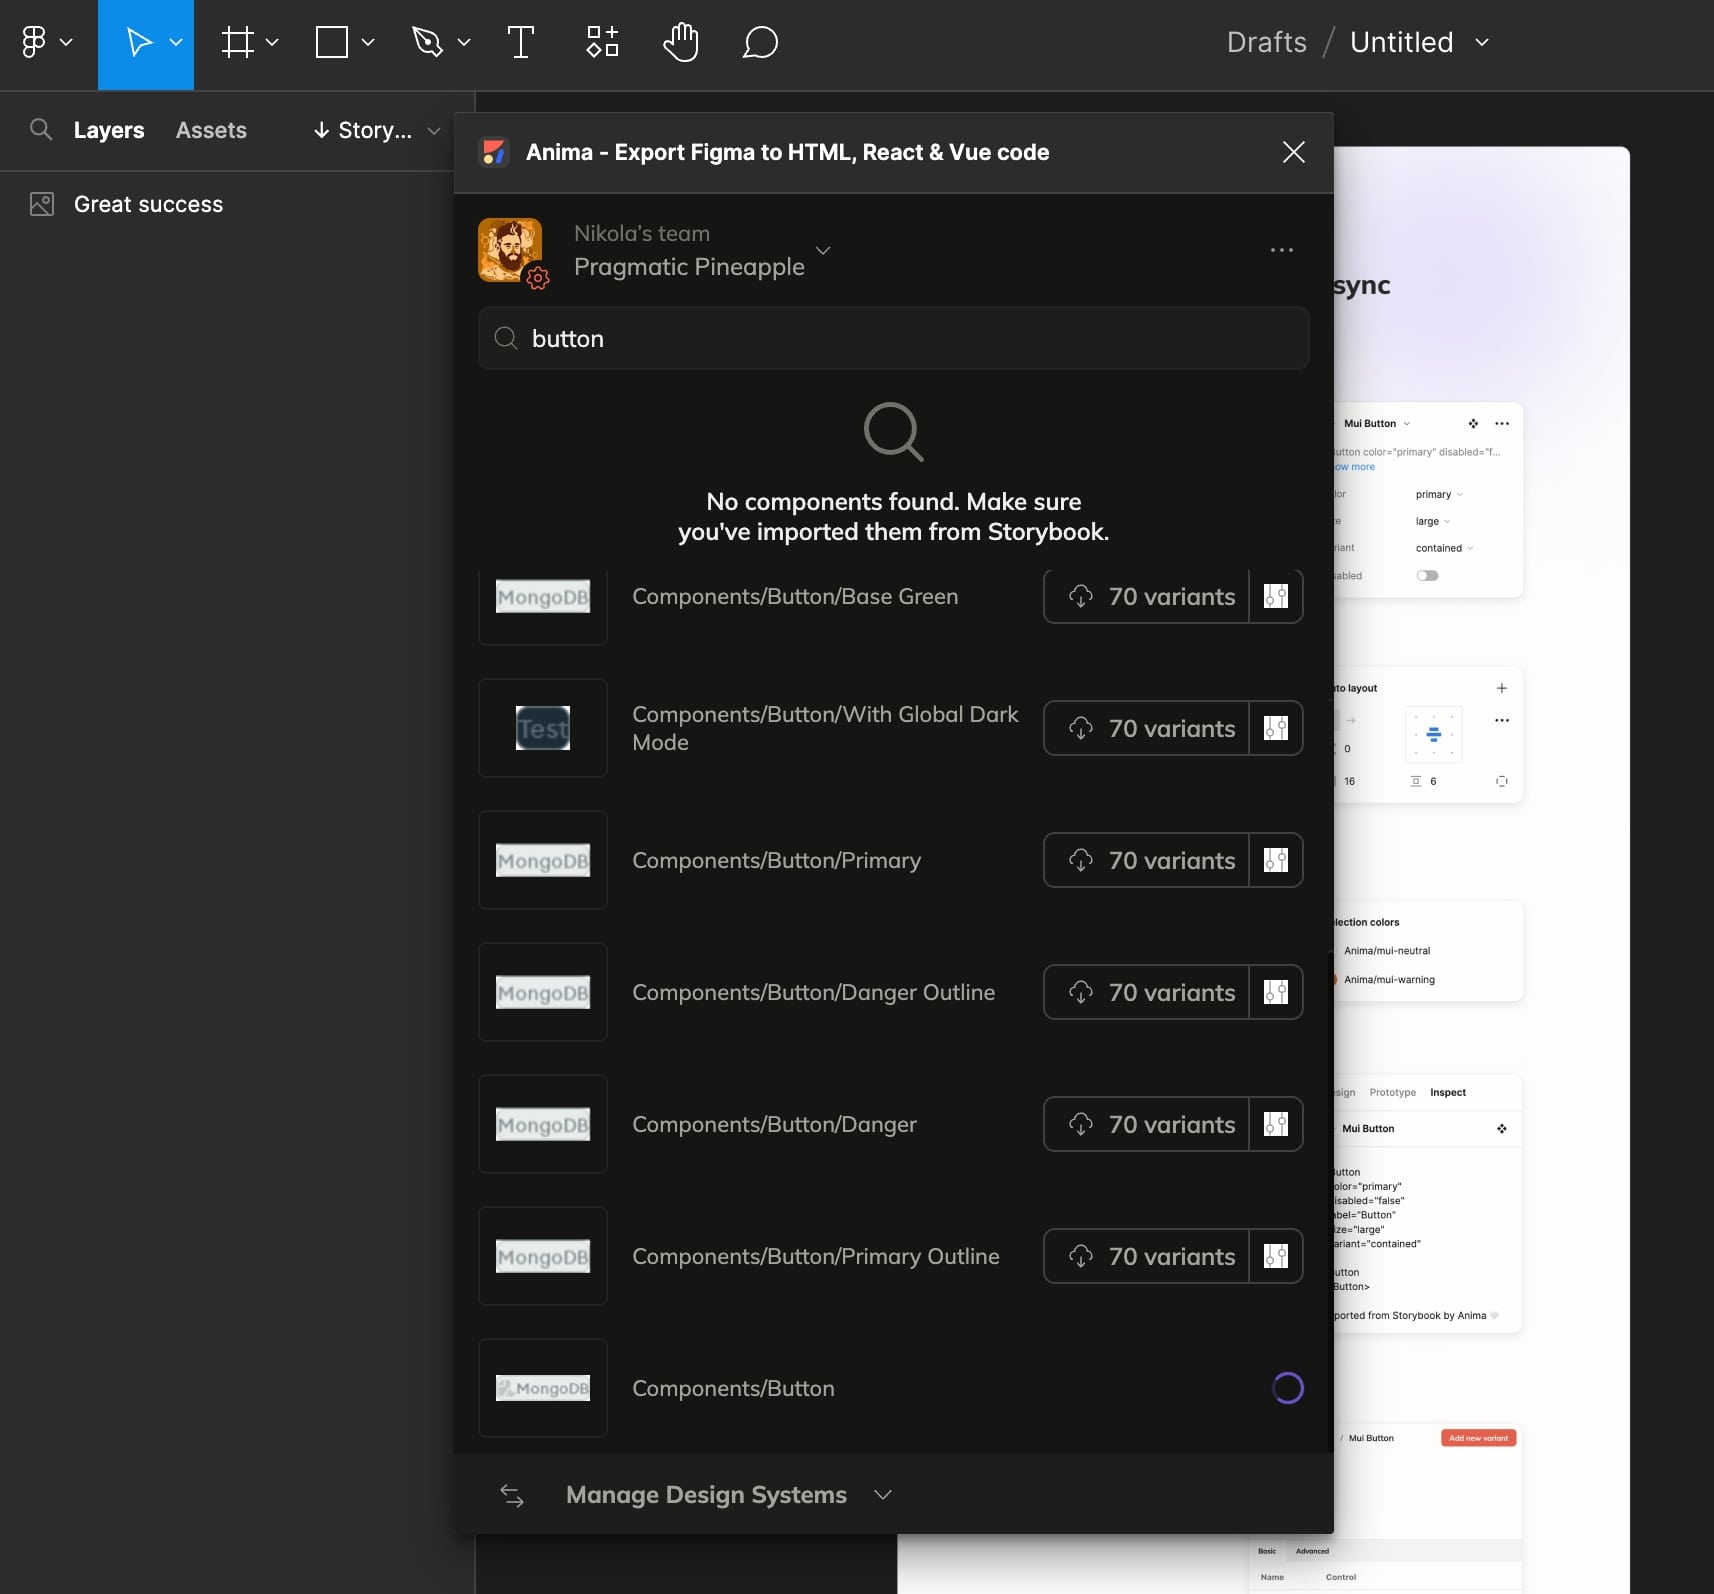
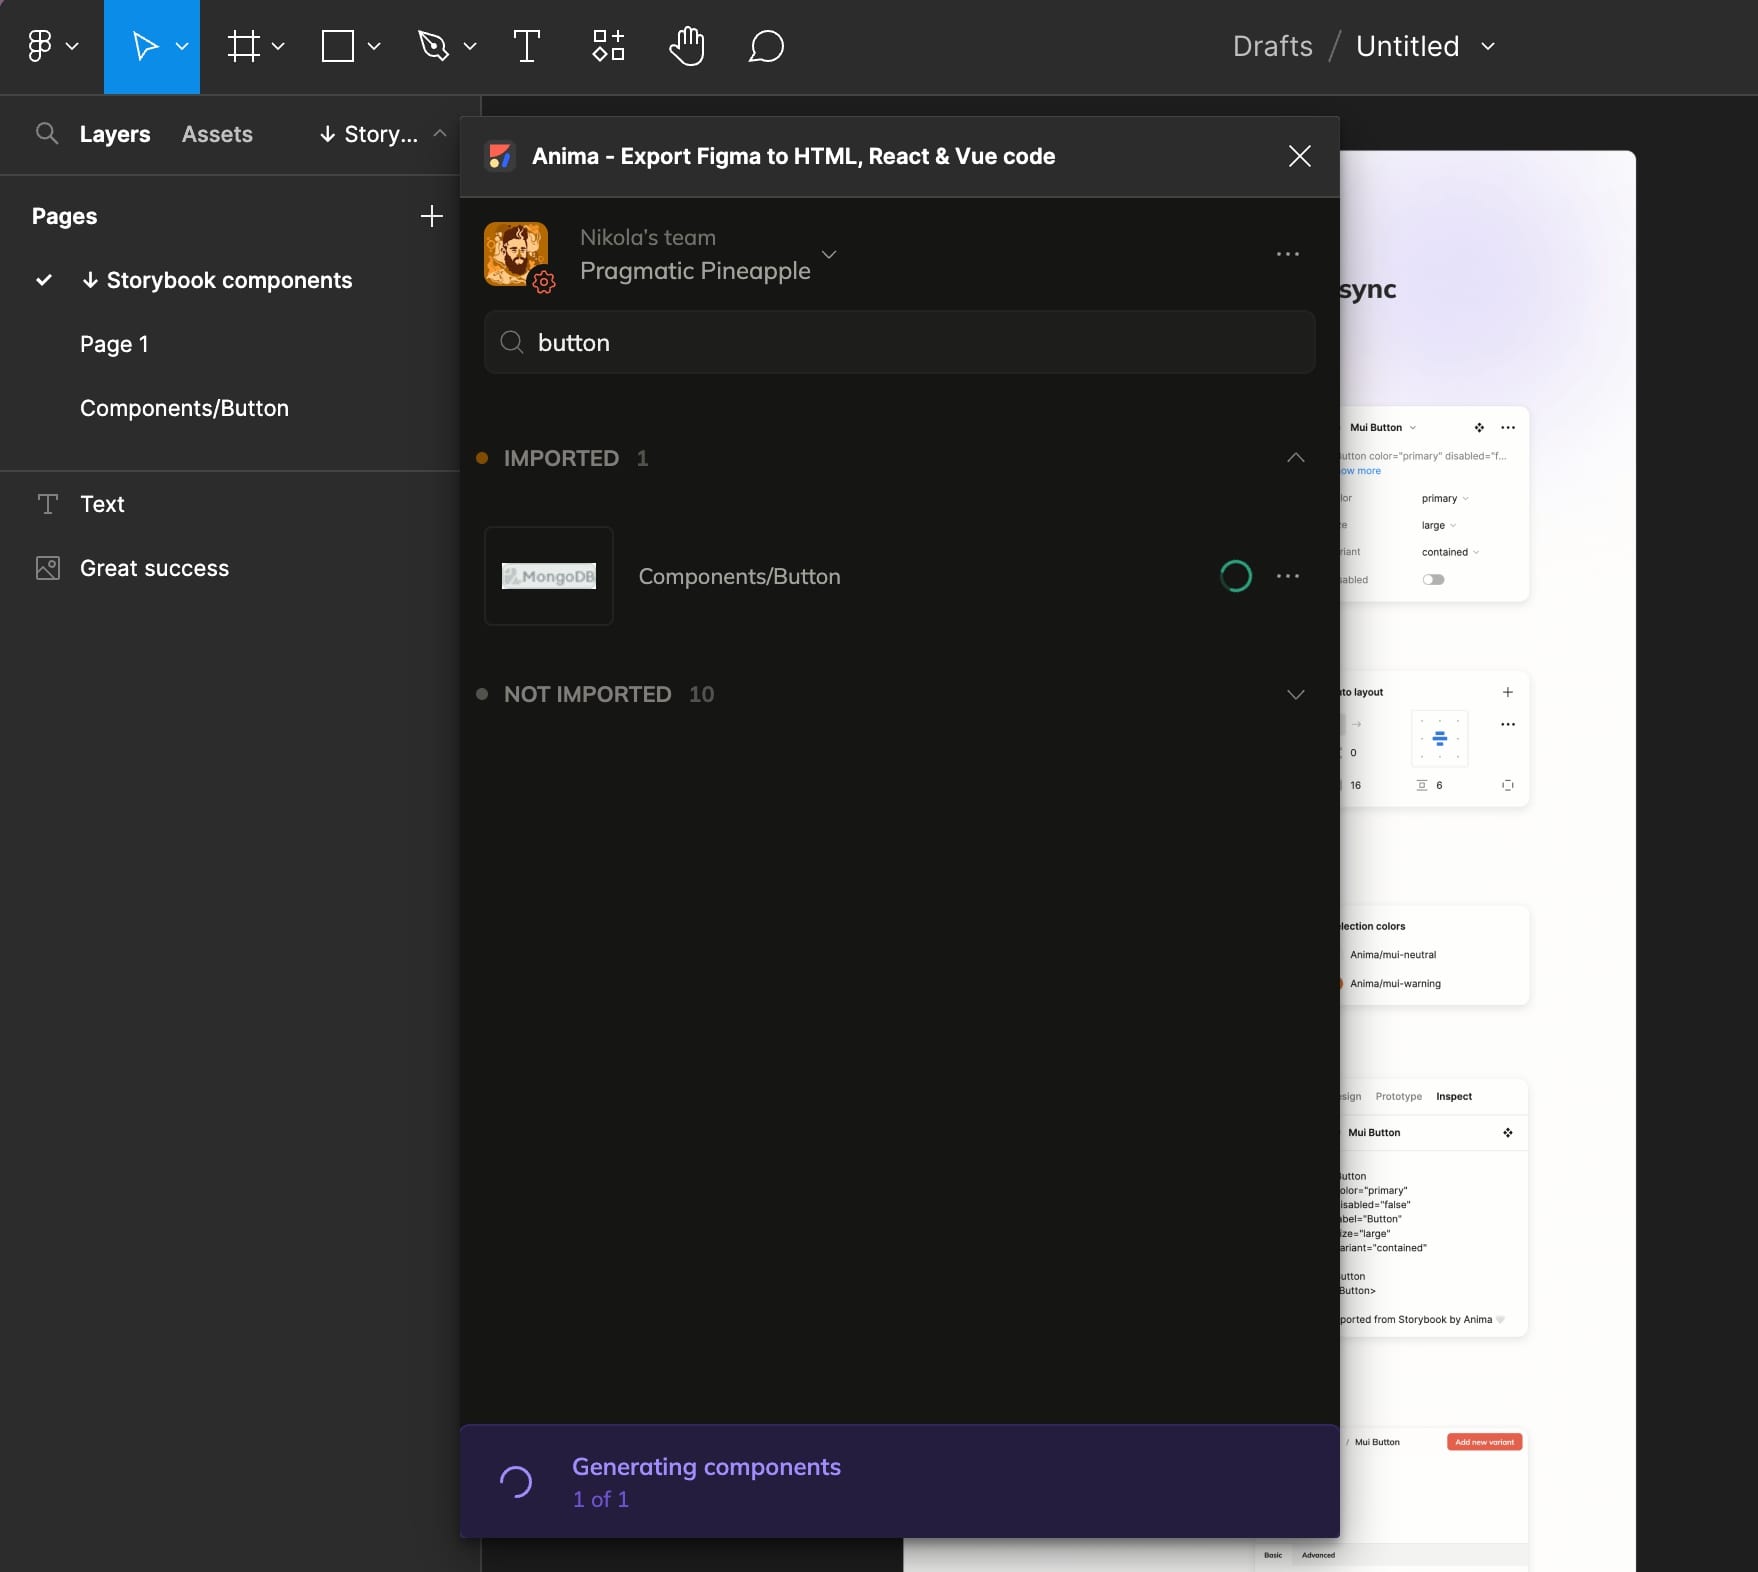
When the import is finished in the plugin, we can go ahead and click “Generate” next to the Button component:
And Anima will start generating variants of the Button right in Figma:
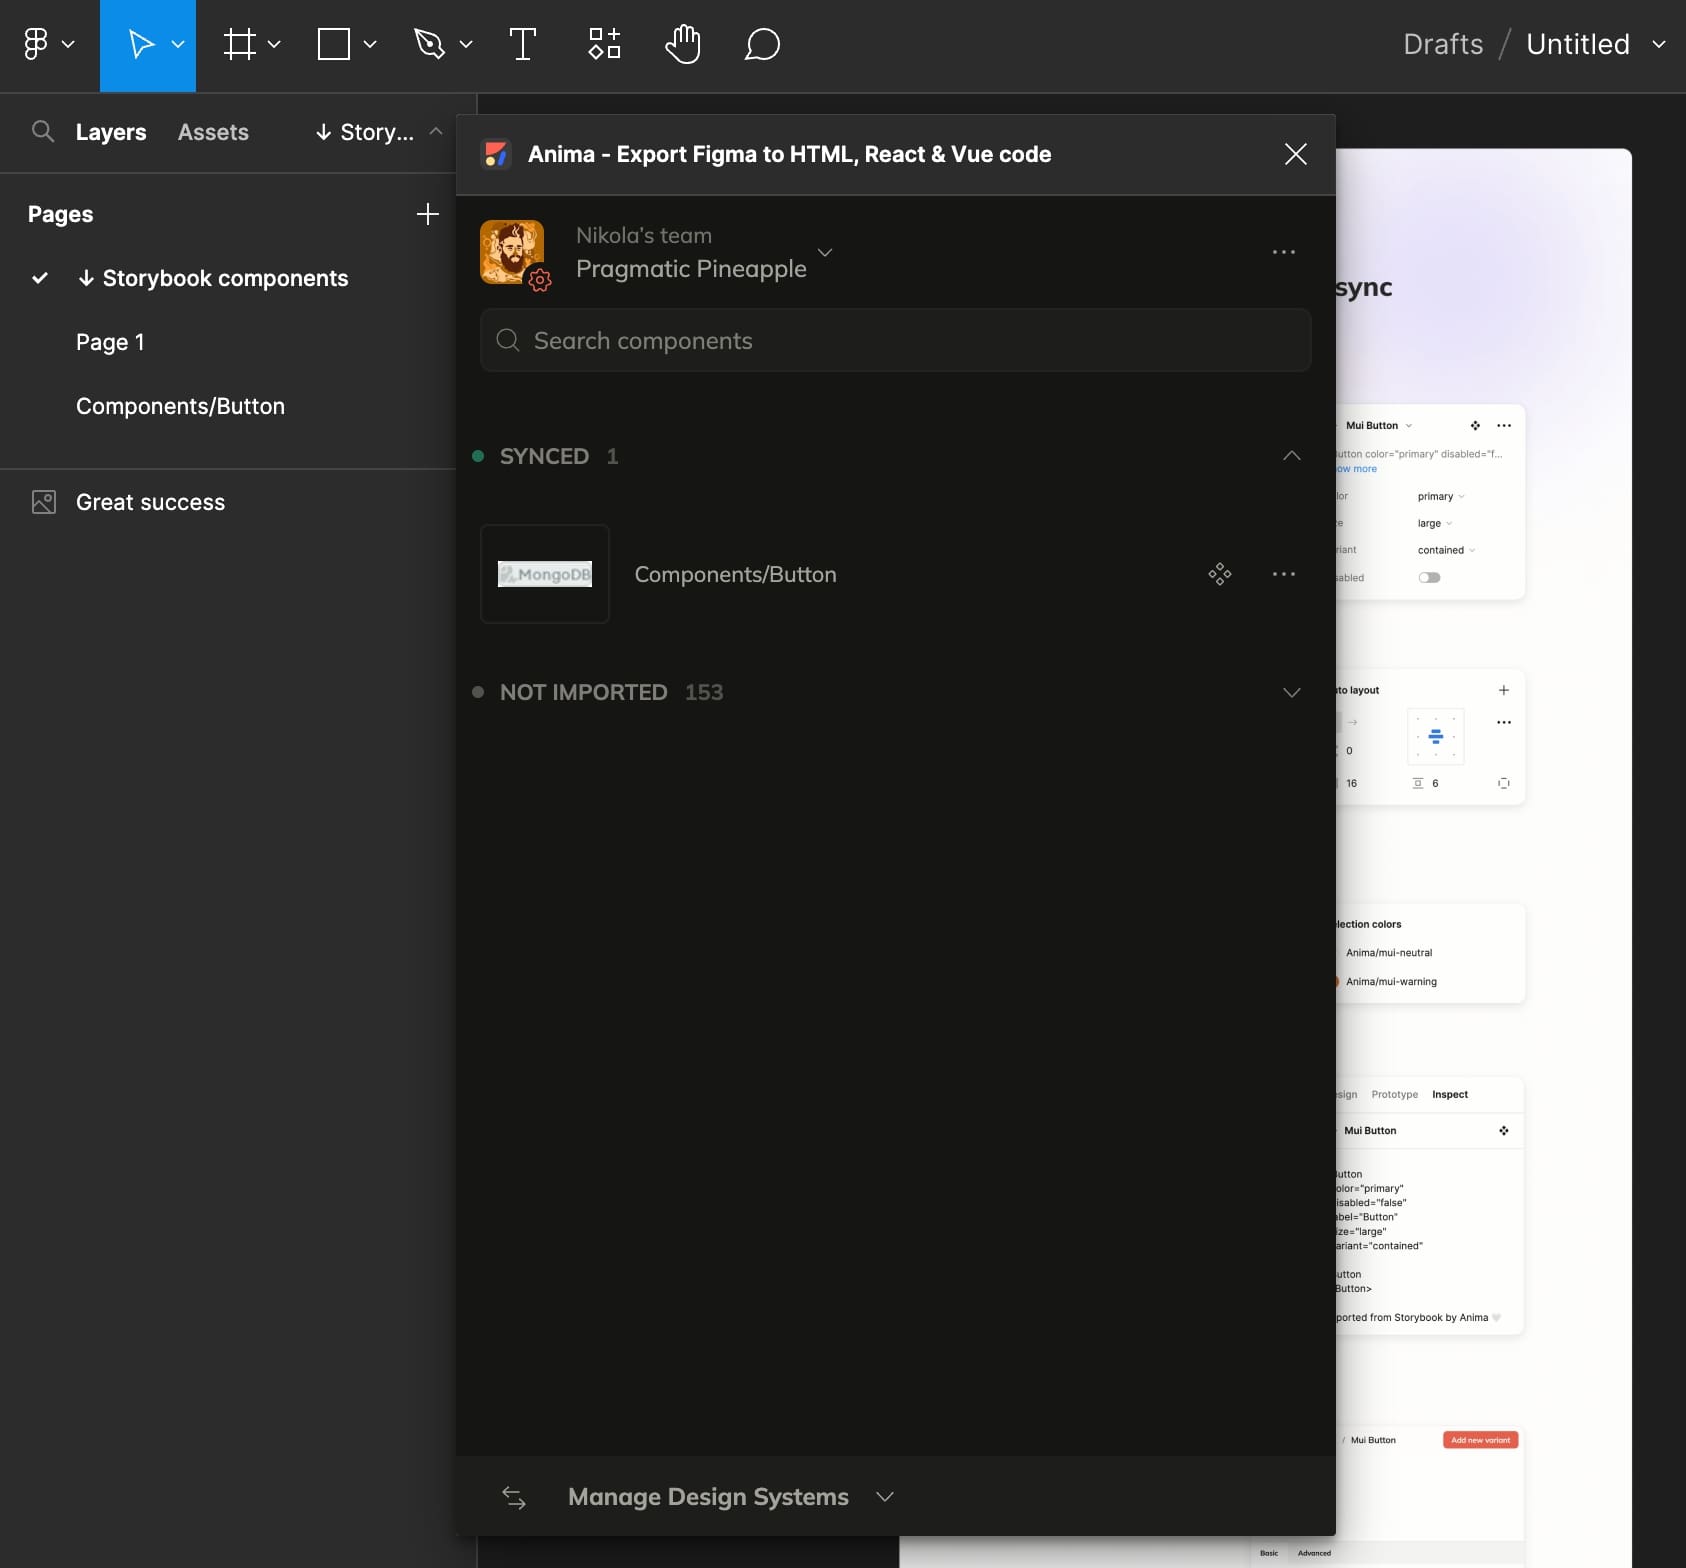
Once complete, the Button will appear as synced and we can go ahead and preview the generated Figma components by either clicking the four dots in the plugin or navigating to the “Components/Button” page in Figma:
Anima will generate a separate page in Figma with all of the Button component variants, as demonstrated below:
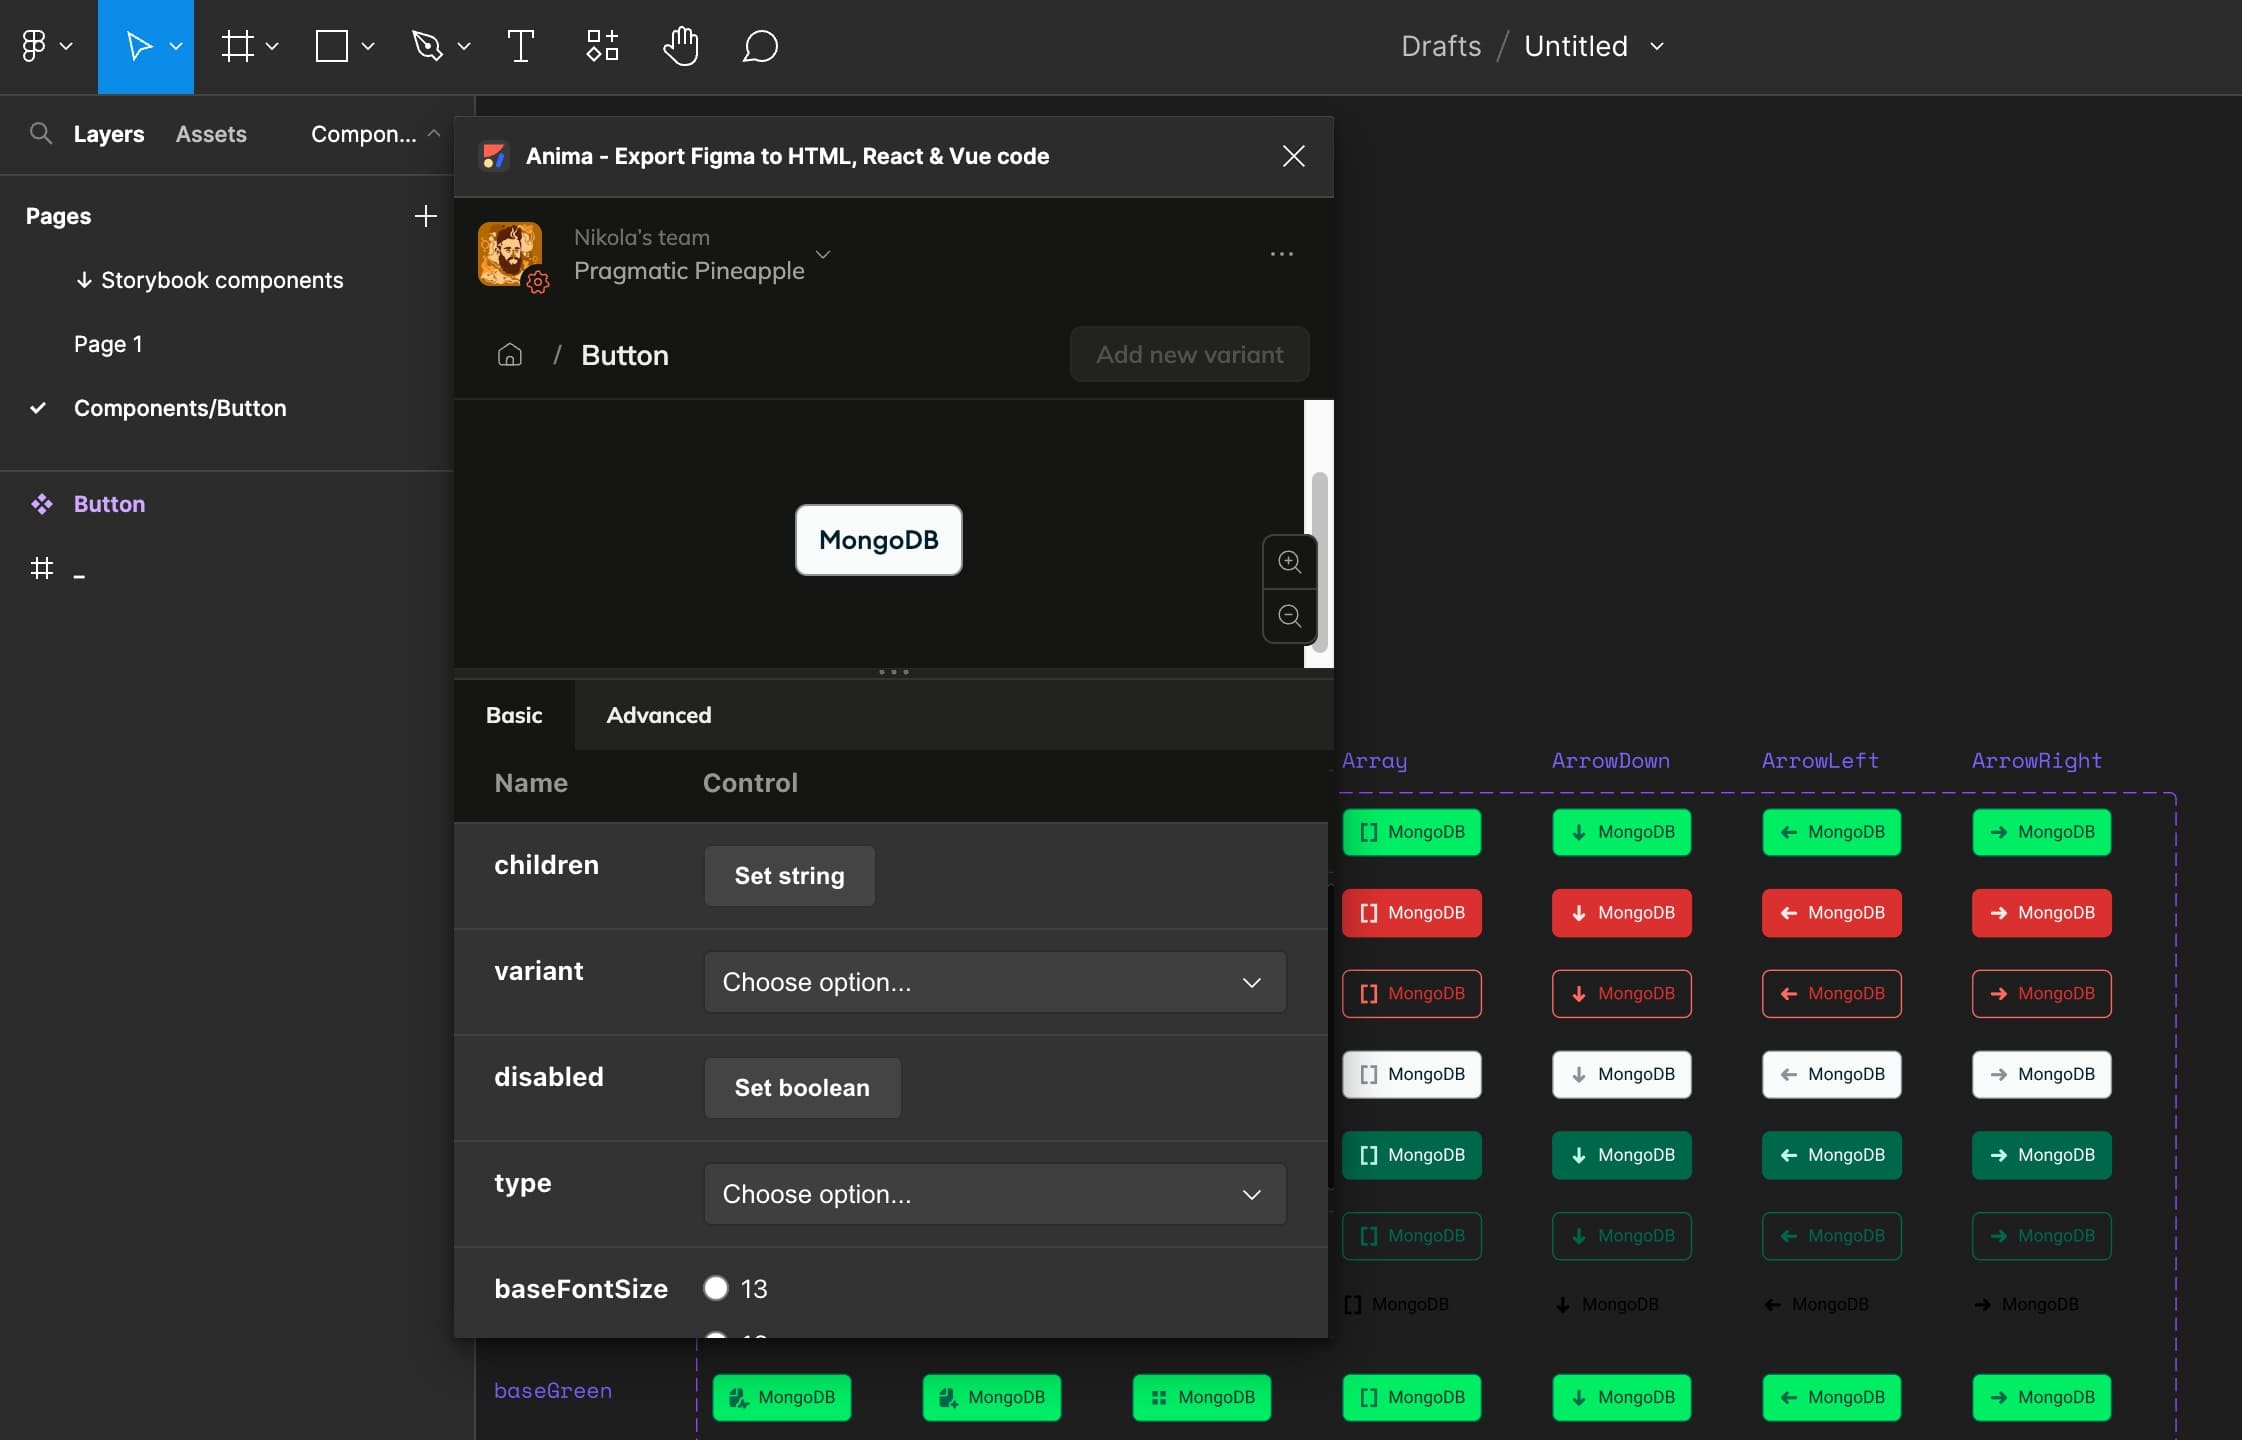
We can switch between the Button’s variants using Figma’s native control panel:
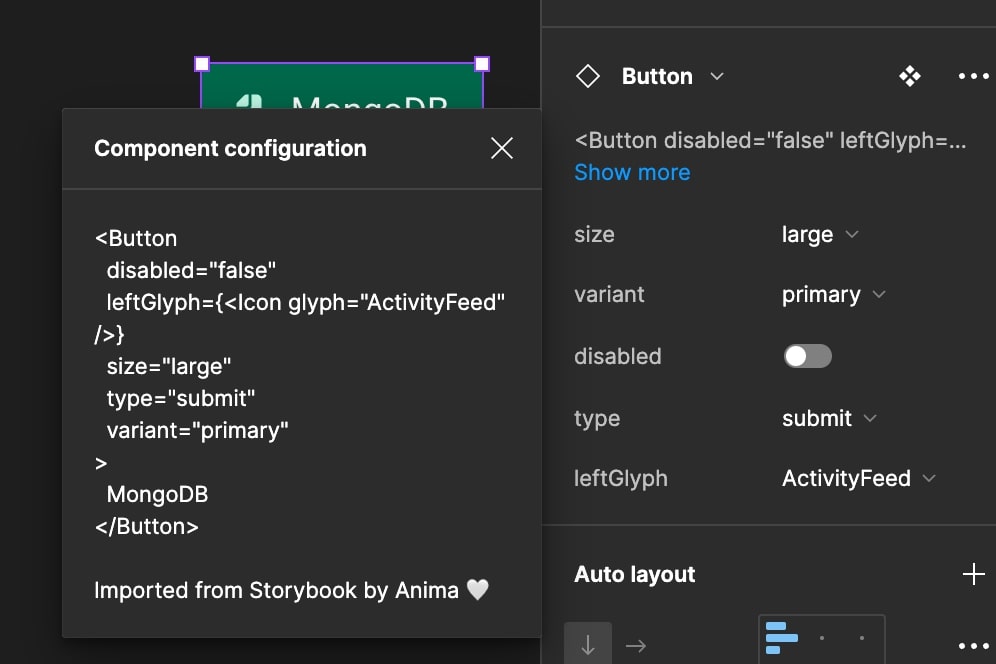
What’s also great is that you can preview the code you’ll implement directly from Figma’s inspect panel. The code includes the updated props, and the naming conventions are identical to those used in Storybook:
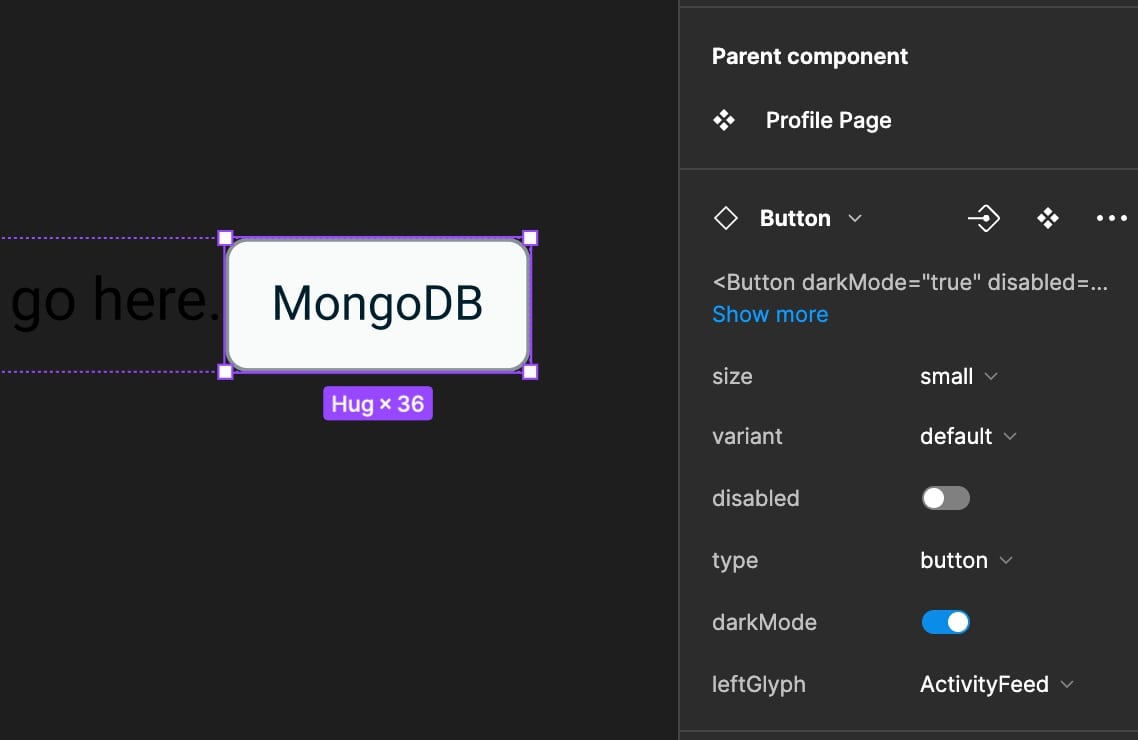
Also, whenever you import a component that includes a button, Anima will recognize it as a subcomponent so you can edit that instance alone:
This is definitely a game-changer when it comes to bridging the gap between designers and developers. But what happens when the Button changes in the code?
In the next section, we’ll demonstrate how Anima automatically syncs Storybook code updates to Figma.
Step 3. Sync Storybook and Figma
So we changed some logic inside the Button component in the code, but how do we ensure those updates are synced in Figma? First, we need to rebuild the Storybook with:
yarn build-storybook
Next, we need to sync Storybook to Figma again using Anima’s CLI:
yarn anima-storybook sync -t YOUR_TOKEN
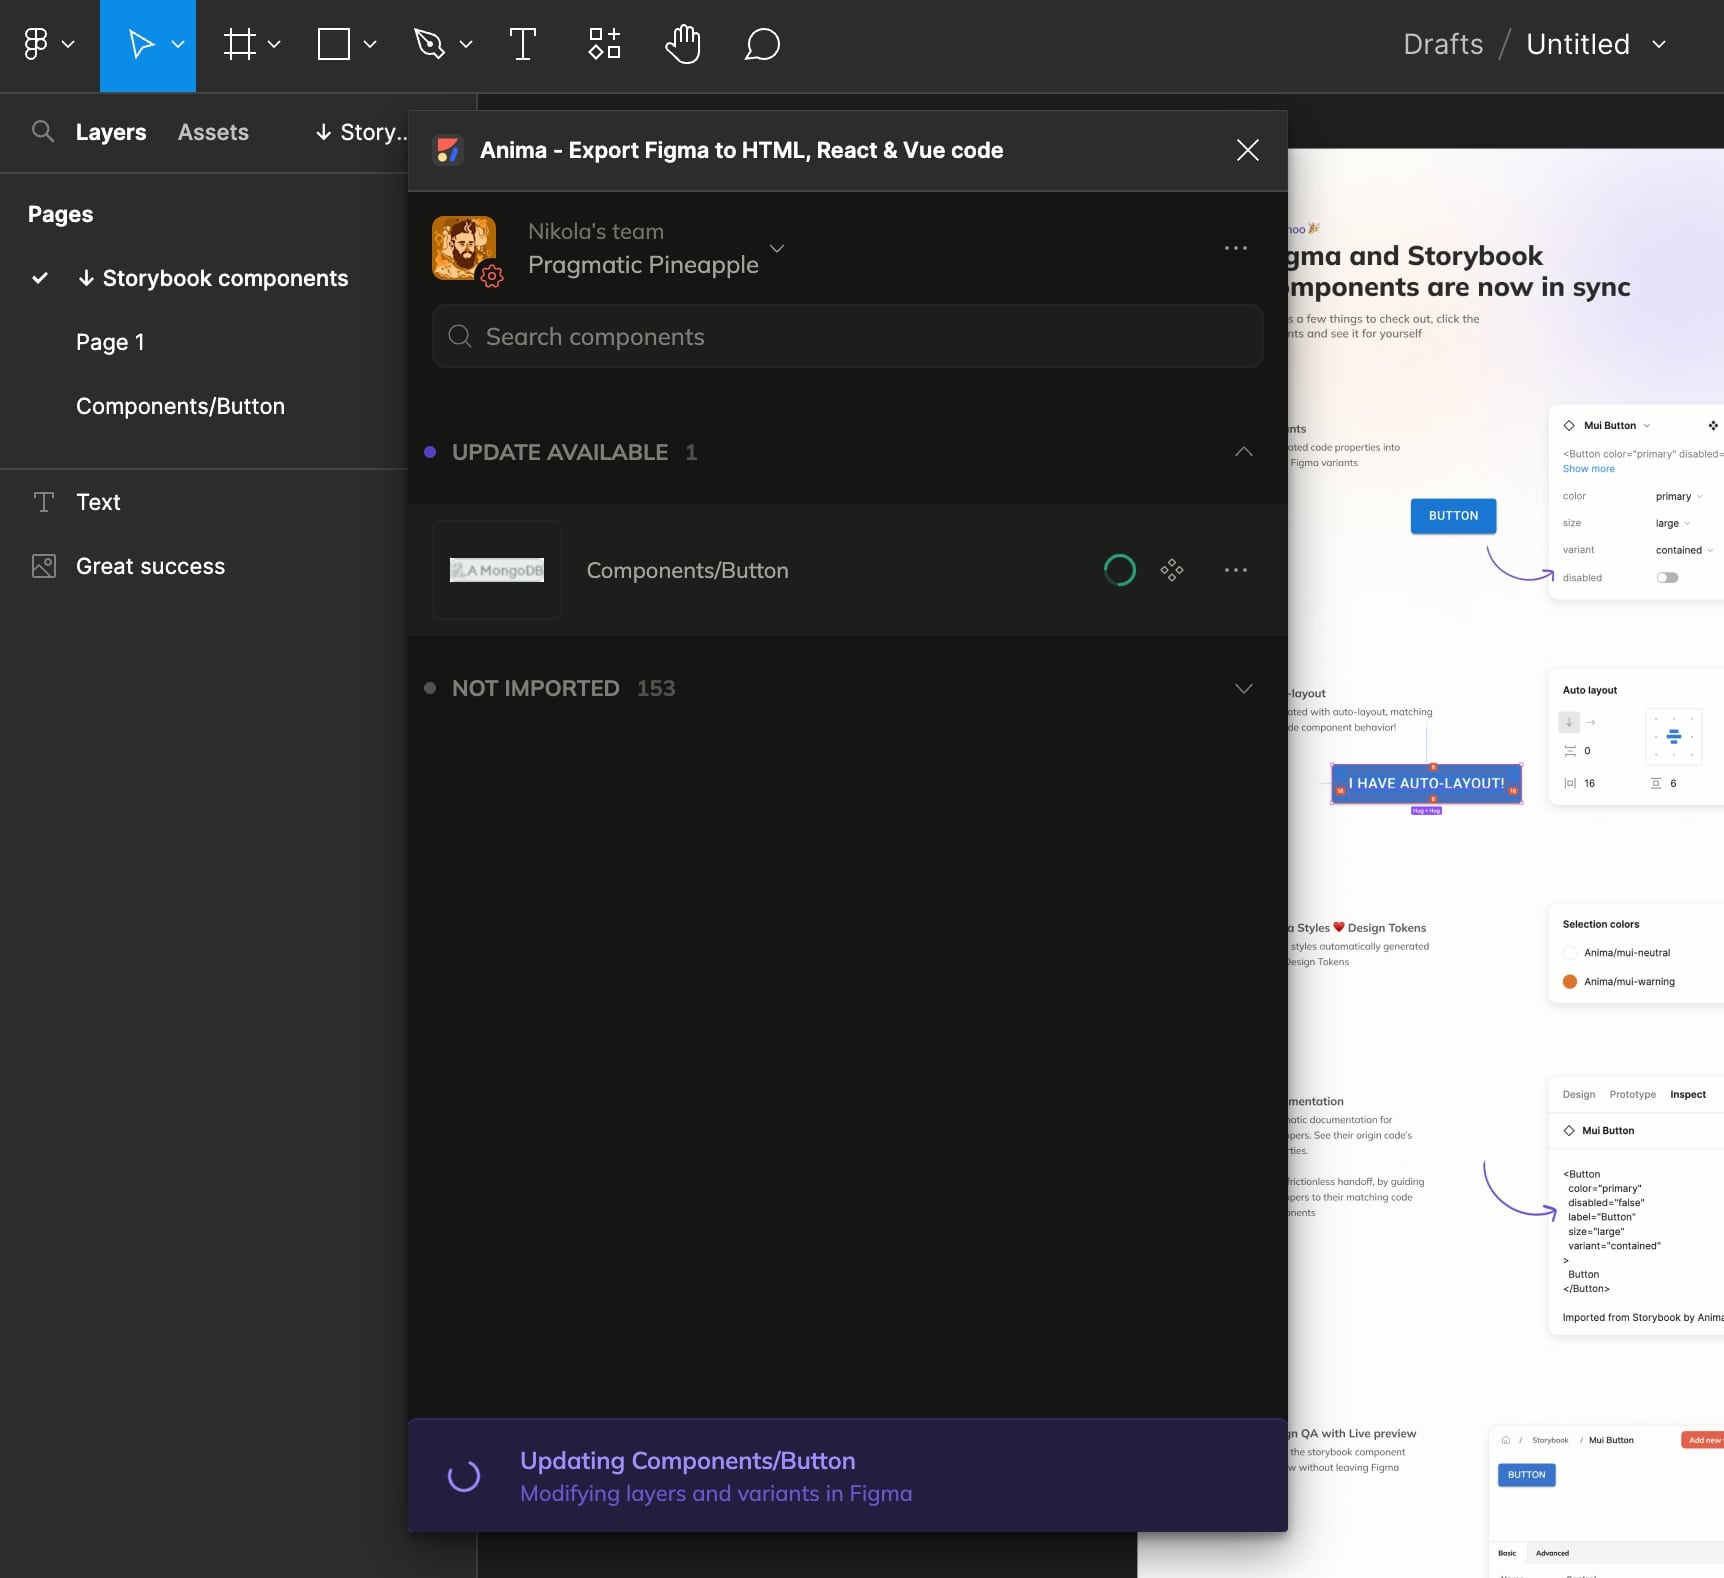
Once we’ve synced, the Anima plugin in Figma will notify us that we have some unsynced changes to our component library:
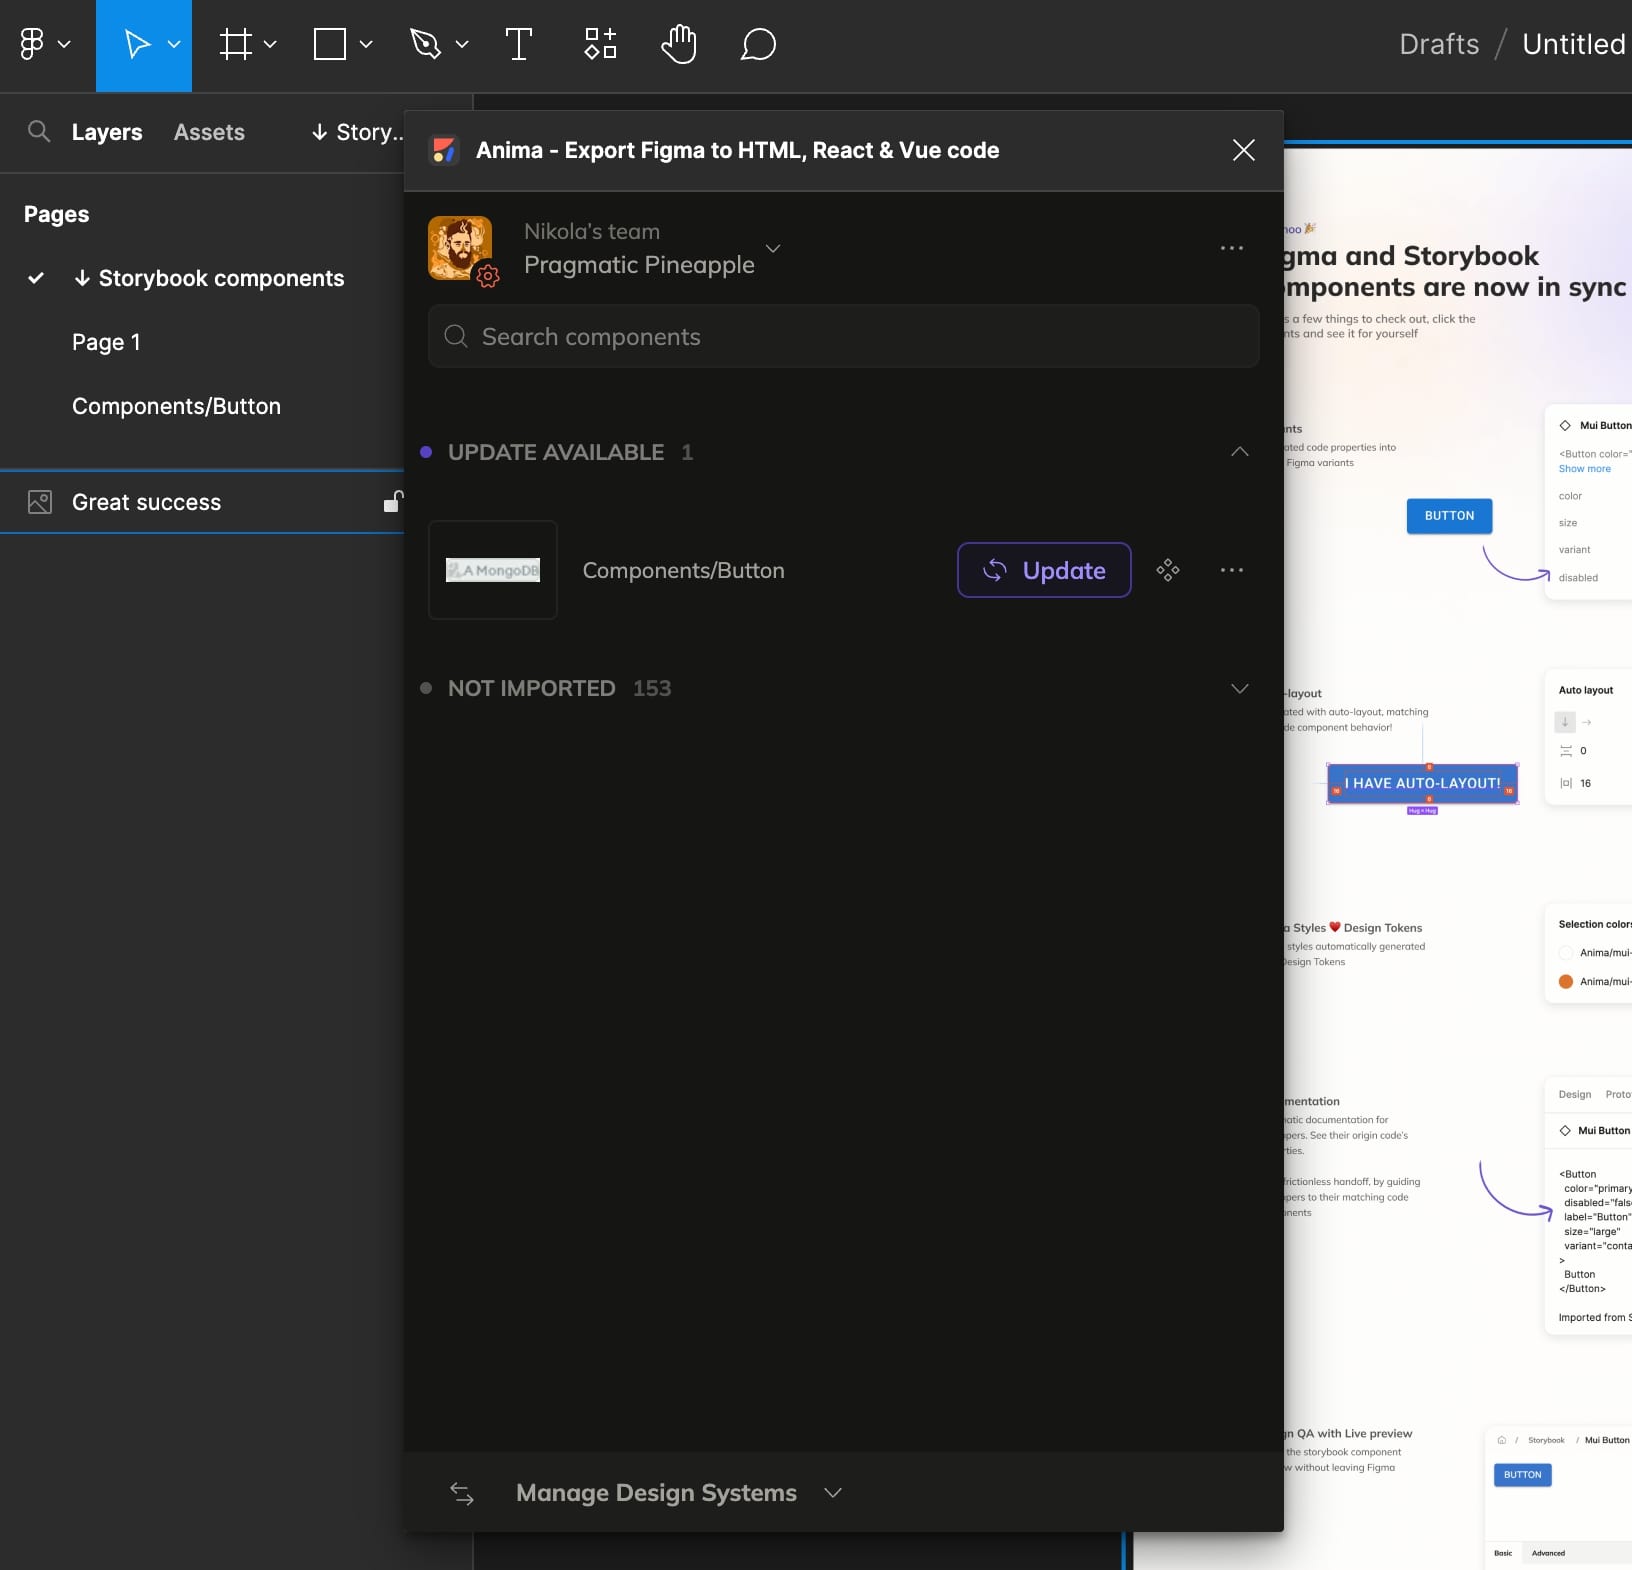
All we need to do is click “Update,” and Anima will sync the changes to the existing Button:
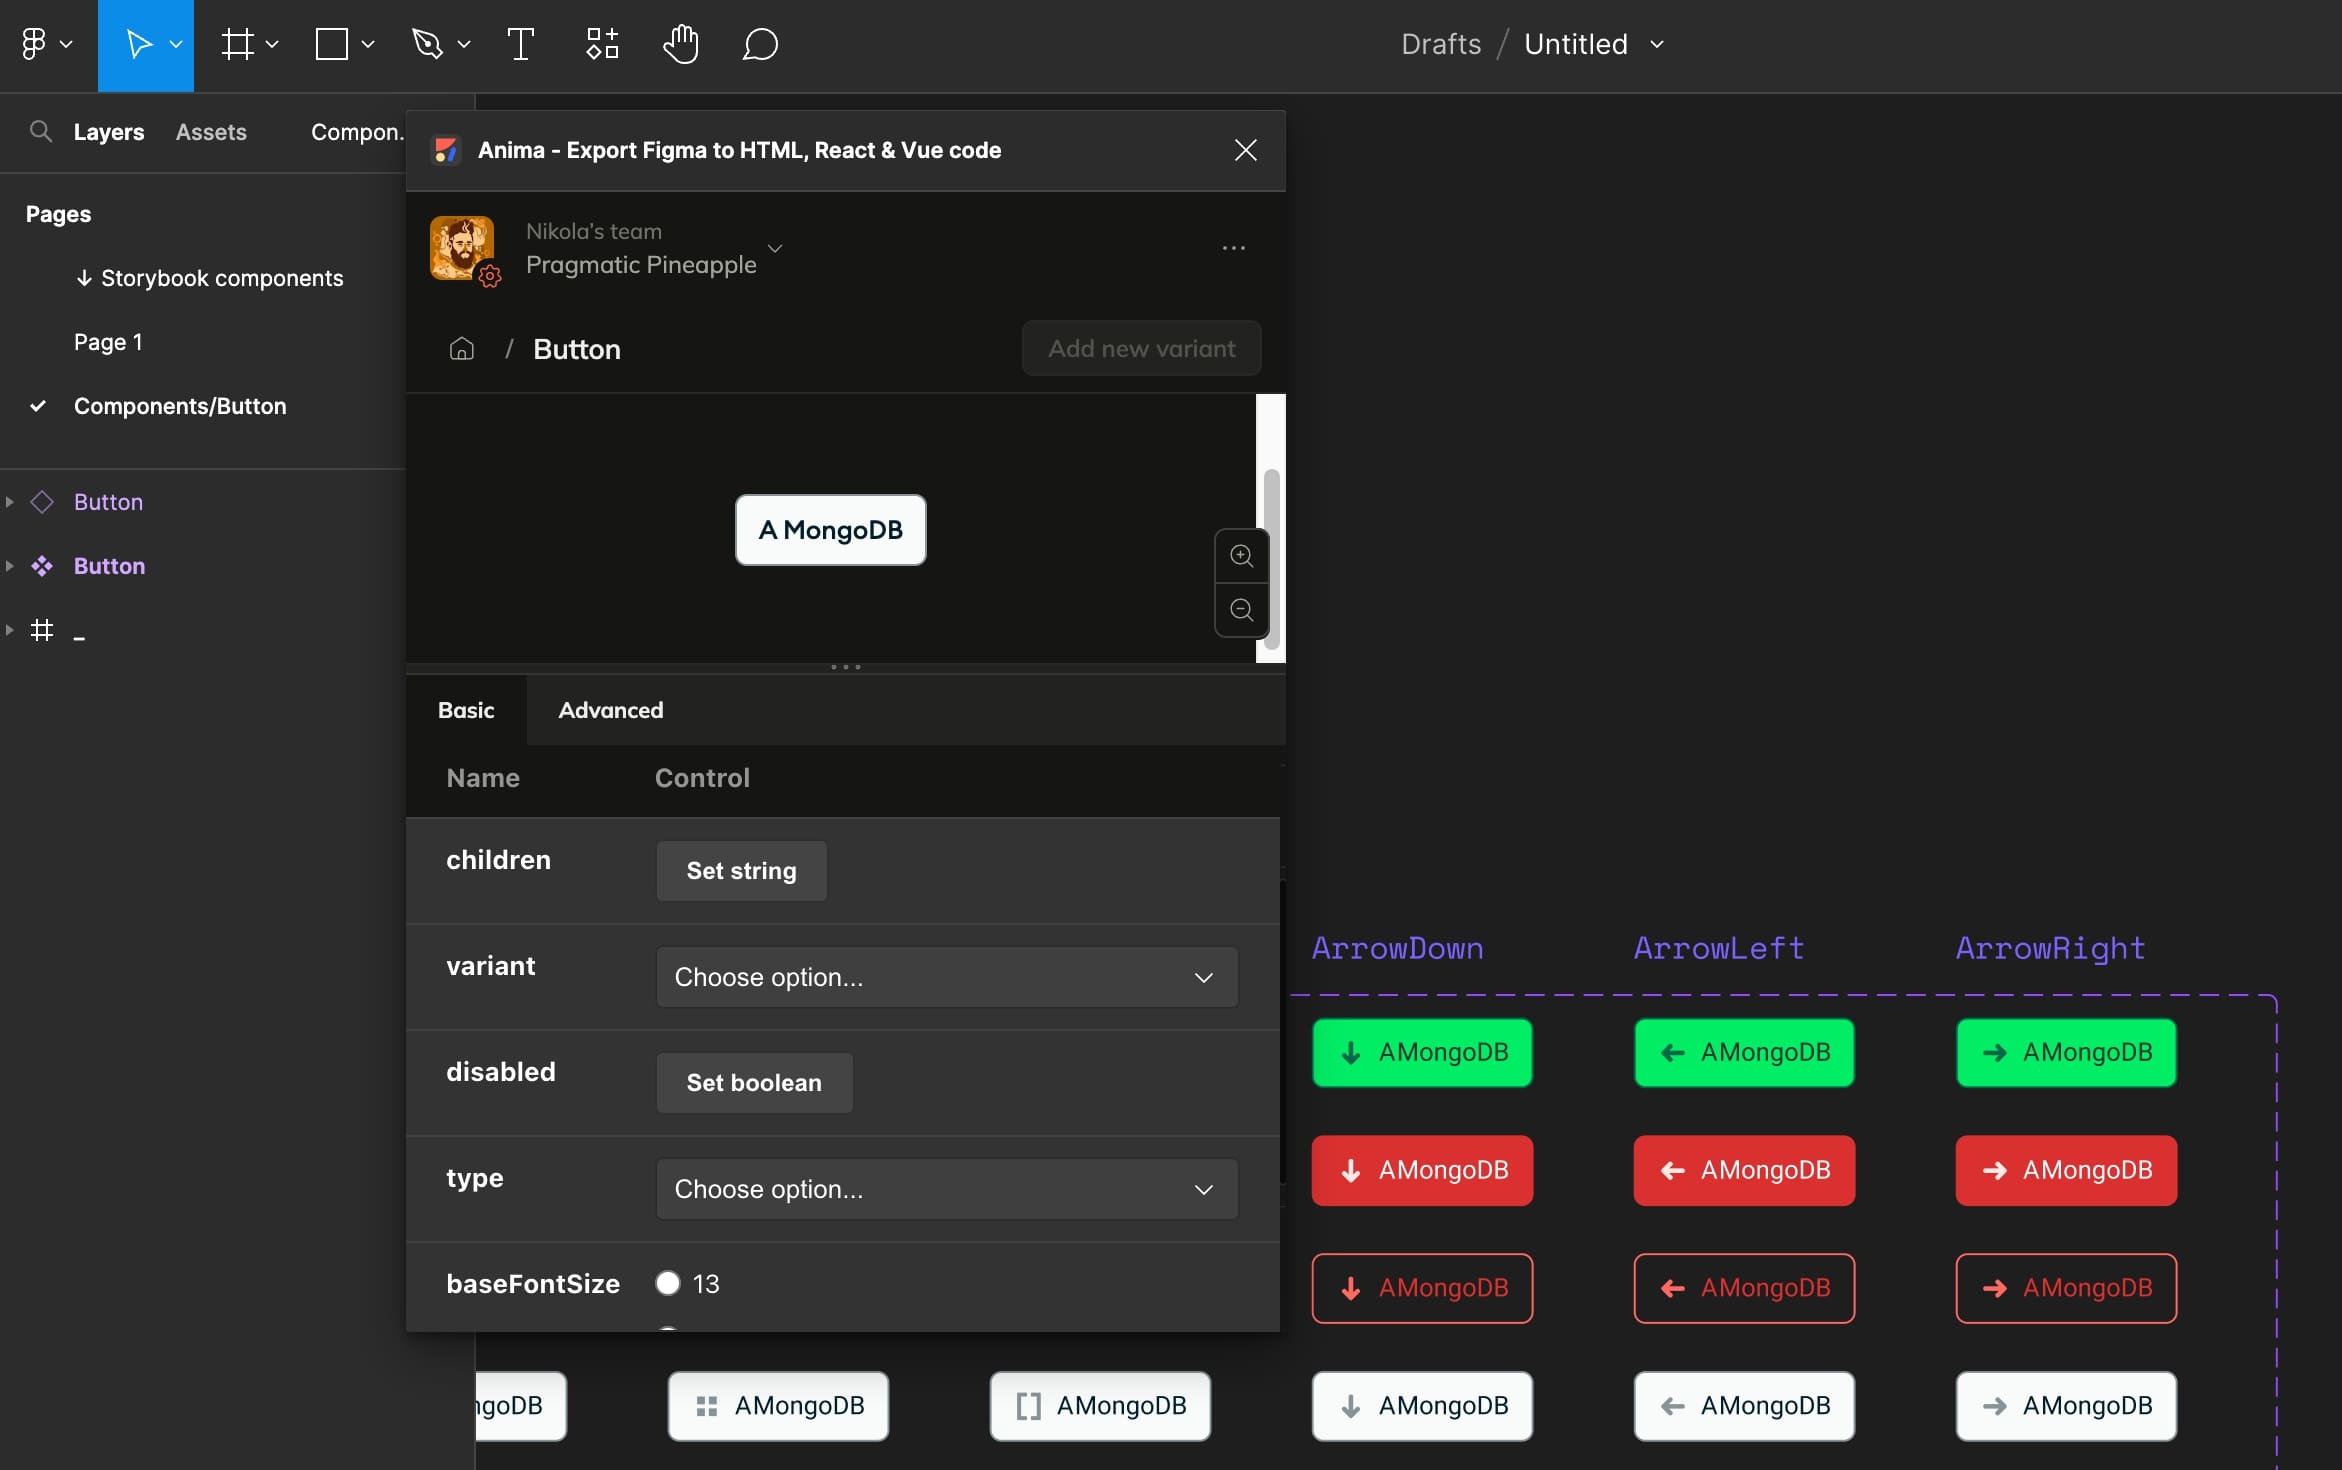
Once the changes are synced, we can see that the Button element has a change reflected. I added a letter “A” to be rendered in every button, which can be clearly seen in each variant below:
And that’s it. You can incorporate the `yarn anima-storybook sync‘ command somewhere in your continuous integration (CI) workflow so that changes are synced, for example, whenever code is pushed to the main branch of your project. This will ease the handoff process, accelerate frontend builds, and allow developers to focus on logic and backend architecture. If you have a complex, dynamic design system, this is a great solution for keeping designers aligned with production.