 Web to code extension
 Twitter
 GitHub
 Blog
Blog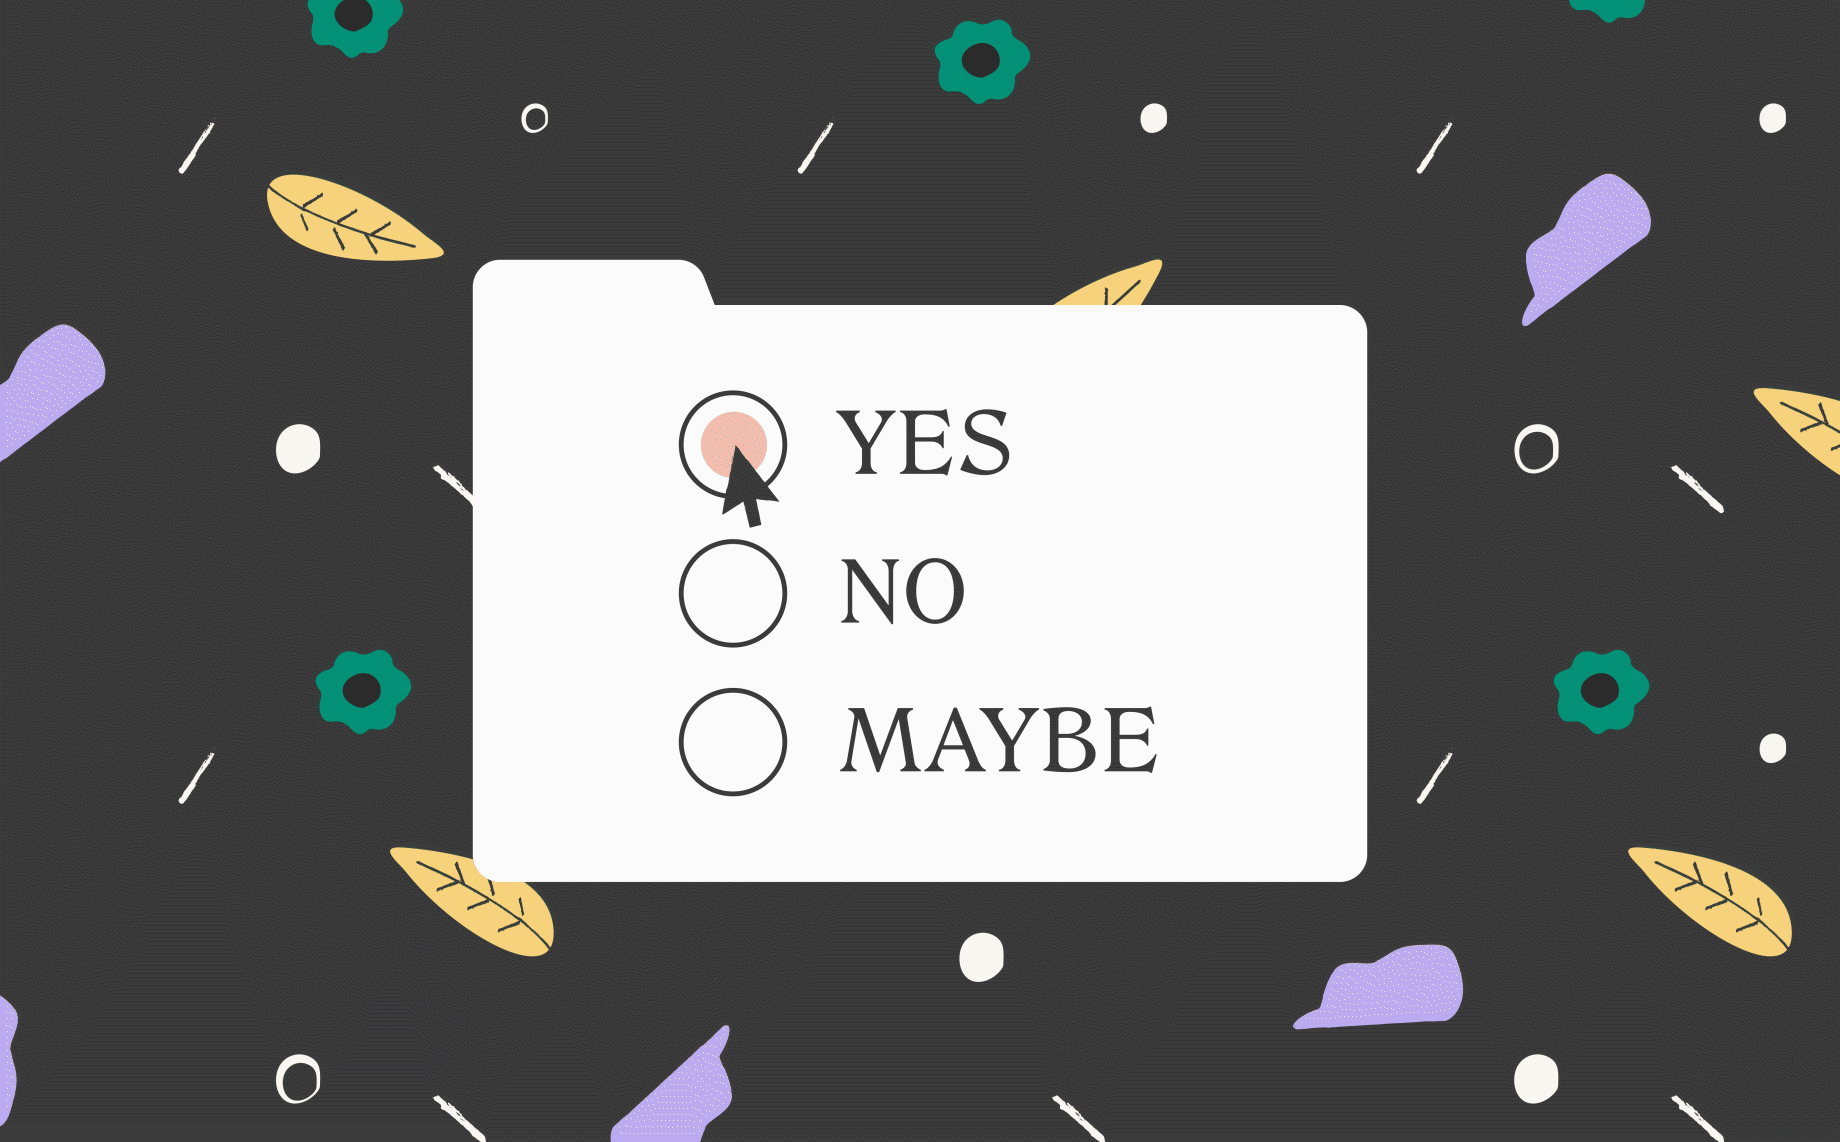
How to create a radio button in Sketch with Anima2 min read
Reading Time: 3 minutesAnima allows designers to create high-fidelity prototypes right inside Sketch, Adobe XD, and Figma, and export HTML & CSS in a single click.
Testing the usability of a form with most prototype tools can be… hard!
“What if the user clicks here first, and not there?! So many artboards to create! That’s insane!”
Using Anima Interactions, you can turn interactions with different states into a Symbol that you can simply place wherever the interaction is needed! No need to worry about creating a path for every user choice.
Radio buttons are a very common component of forms, but again, it can be tedious work having to duplicate entire artboards just to show a small interaction that happens within the artboard.
UPDATE: Forms now include input validation for Email, Numbers, Required Field, and Auto Complete.
Preview Link
Let’s build it! 👷♀️
[Download Sketch file here]
The rule of thumb is that animations and interactions should happen between components inside a Group or Symbol and not with the artboards themselves.
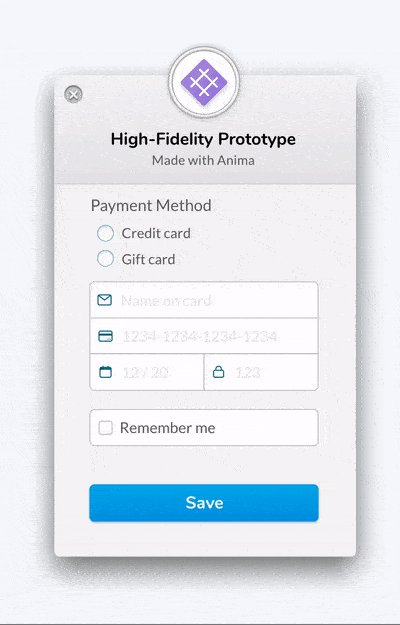
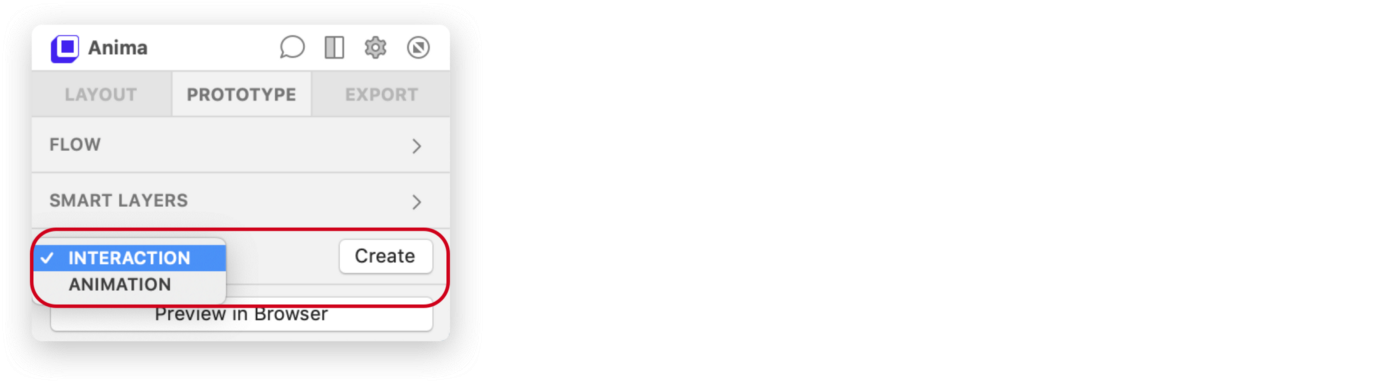
- Select the Payment Method Group
- Go to the Prototype tab of the Anima plugin (bottom right)
- Select Interaction and click Create
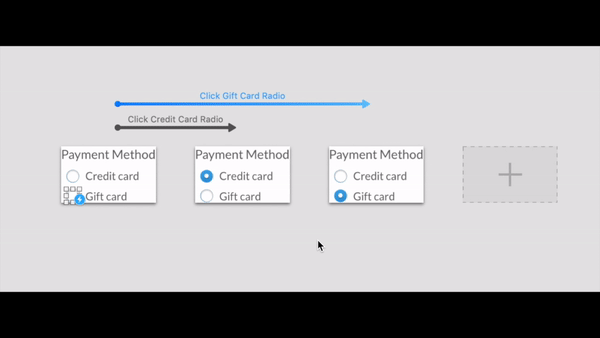
In the Interaction Editor, create all states you need:
- Start with all radio buttons off
- Next, Credit card on, Gift card off
- And the last possible state, Credit card off, Gift card on
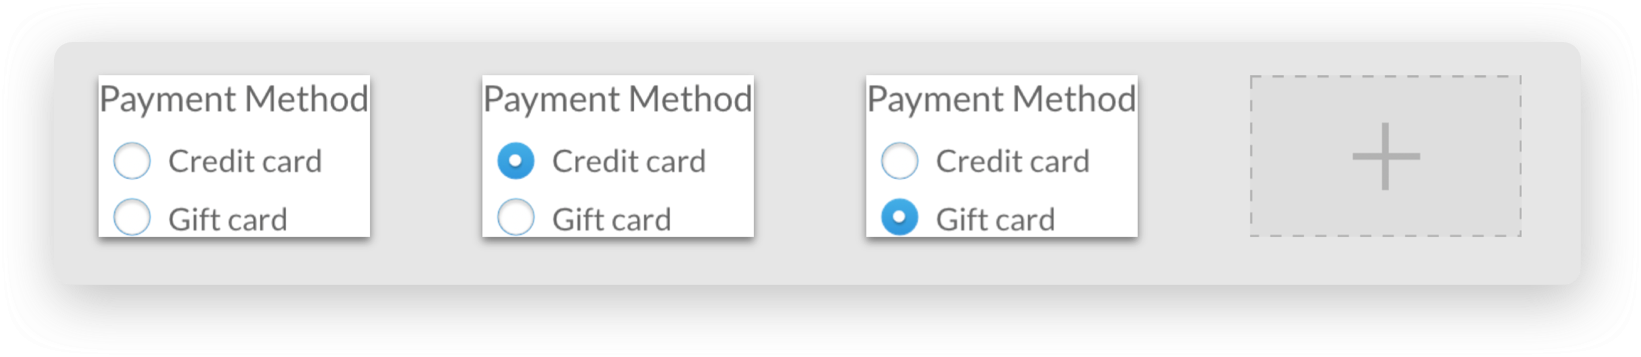
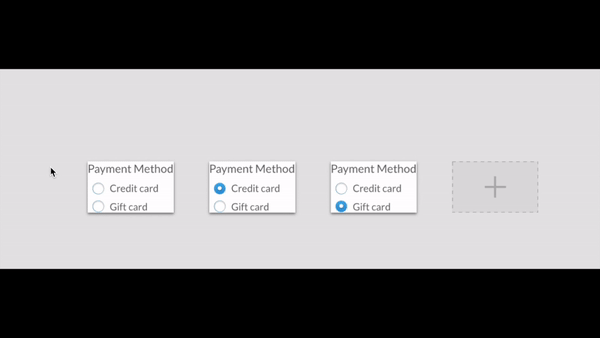
All 3 Possible Radio Button States
❶ From State 1, connect Credit card Radio to where the Credit card Radio button is on (state 2)
❷ Do the same for when the Gift Card Radio button is on (state 3)
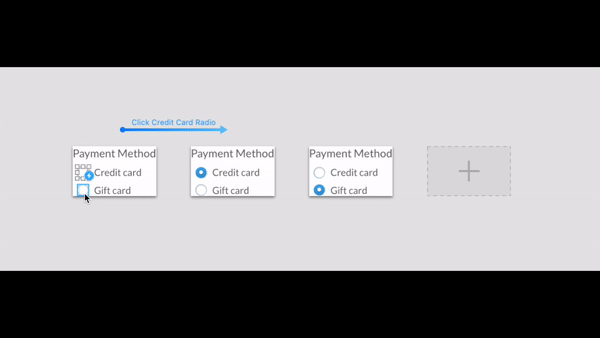
❸ Let’s enforce so that we can change our selection after a choice has been made. Create an interaction to where the opposite option is ‘on’.
All done!
After this, go back to Sketch Instances and on the Anima plugin, click Preview in Browser and take a look at your work!
Want to Learn More?
- Get Help! Say Hi to Nola, Your Personal Anima Assistant
- Creating a High-Fidelity Prototyping in Sketch
- How to Publish a Website and Host it With Anima
- How to Handoff Design Specs to Developers
- How to Export Sketch to HTML
- Team Collaboration
Join the discussion or show off your designs on Facebook, Twitter, Slack, Instagram. Or, vote for new features at UserVoice.
Stay creative!
❤️ Anima team