 Web to code extension
 Twitter
 GitHub
 Blog
Blog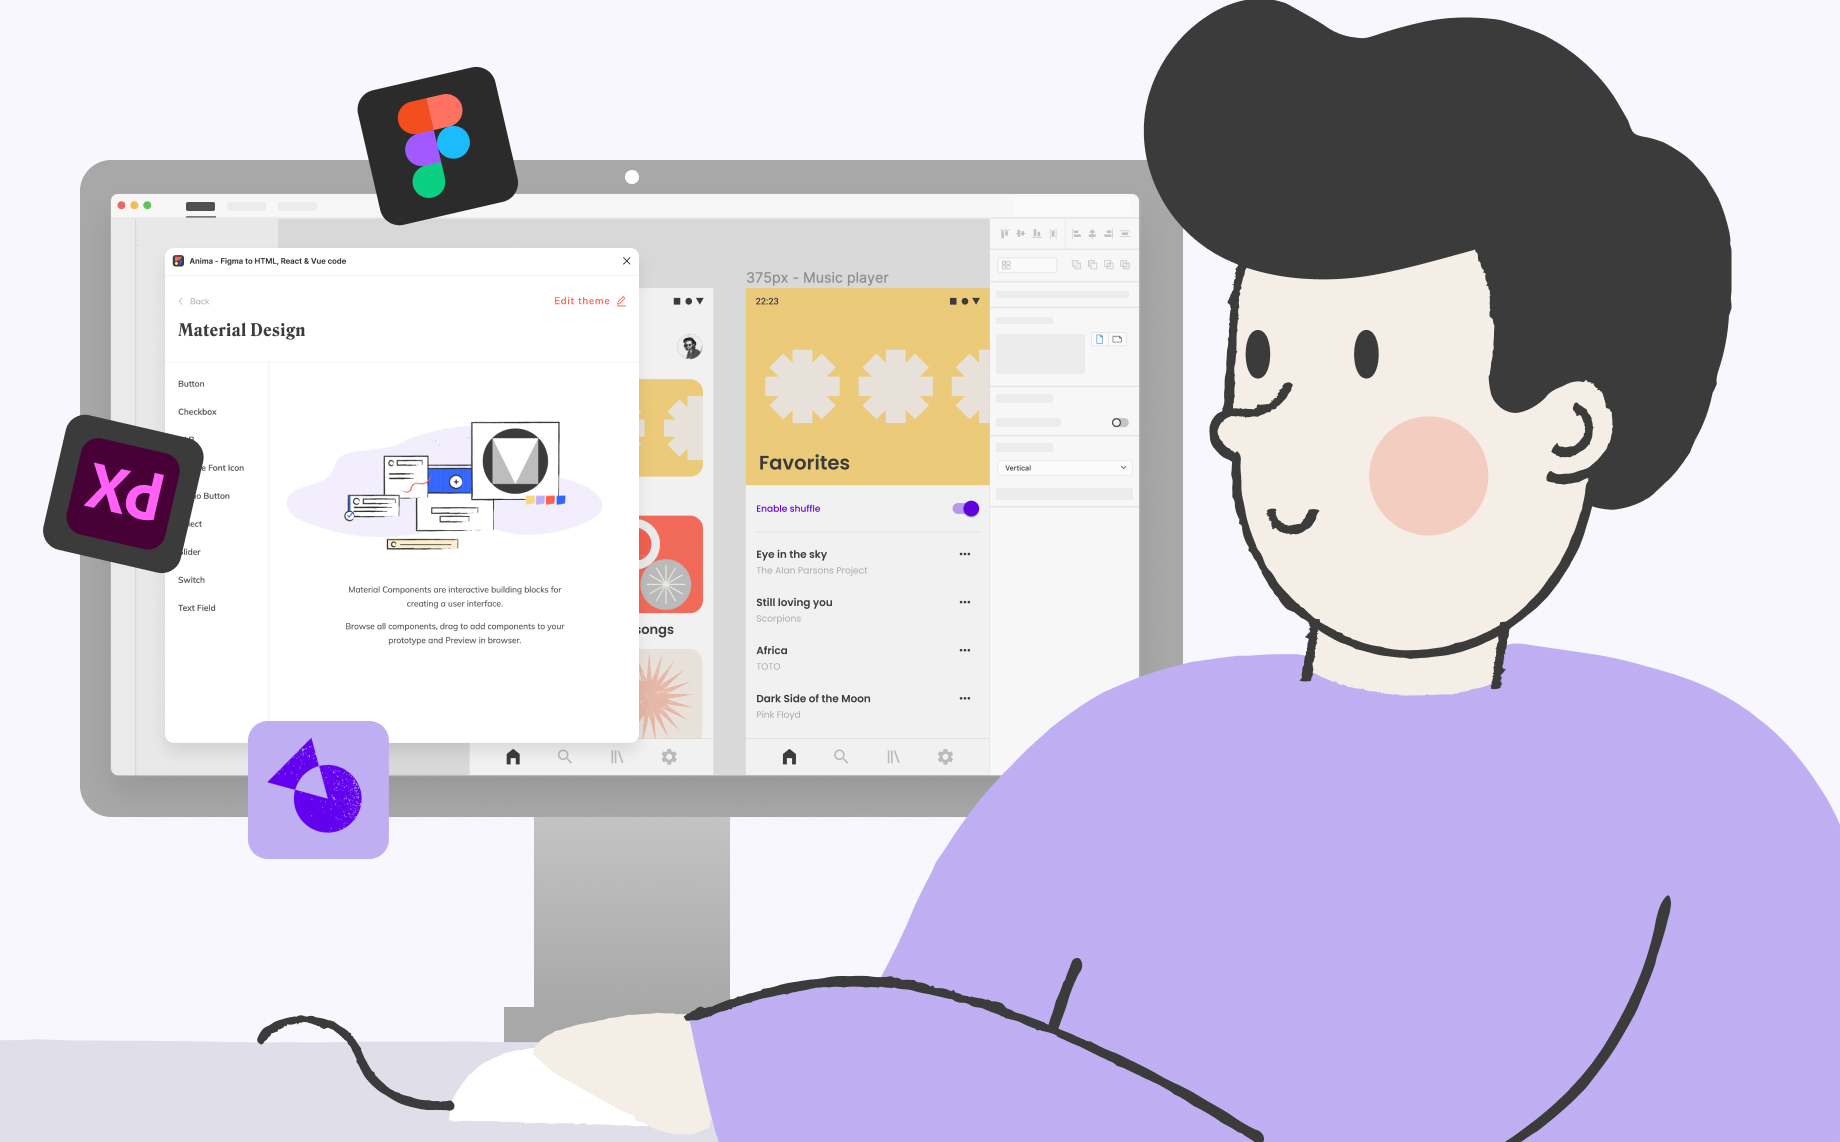
How to use Material Design in Figma and Adobe XD with Anima6 min read
Reading Time: 5 minutesIf you’re a designer or team working with Material Design, you know the frustration of explaining how a static prototype will behave—especially to developers. You spend a ton of time describing what the design does only to have your vision lost in translation anyway.
Luckily, working with Google’s game-changing Material Design system doesn’t need to be a trade-off.
Anima makes Material Design easy
Introducing Anima 5 for Figma and Adobe XD, a platform that supports truly functioning Material Design in your existing tools. Say goodbye to flat, pixel-based prototypes you need to explain, and hello to fully functional prototypes that speak for themselves.
Anima’s Material component library is code-based instead of pixel-based, so every building block is interactive and responsive. This allows you to design material-based prototypes that behave exactly like the final product.
Live prototyping saves you time by improving user-testing, easing client and stakeholder buy-in, and most importantly streamlining developer handoff.
It’s a win-win. Developers get functioning prototypes paired with pixel-perfect HTML, React, and Vue code while designers get a final product that’s exactly what they envisioned.
Anima 5 brings functioning Material Design to Figma and Adobe XD
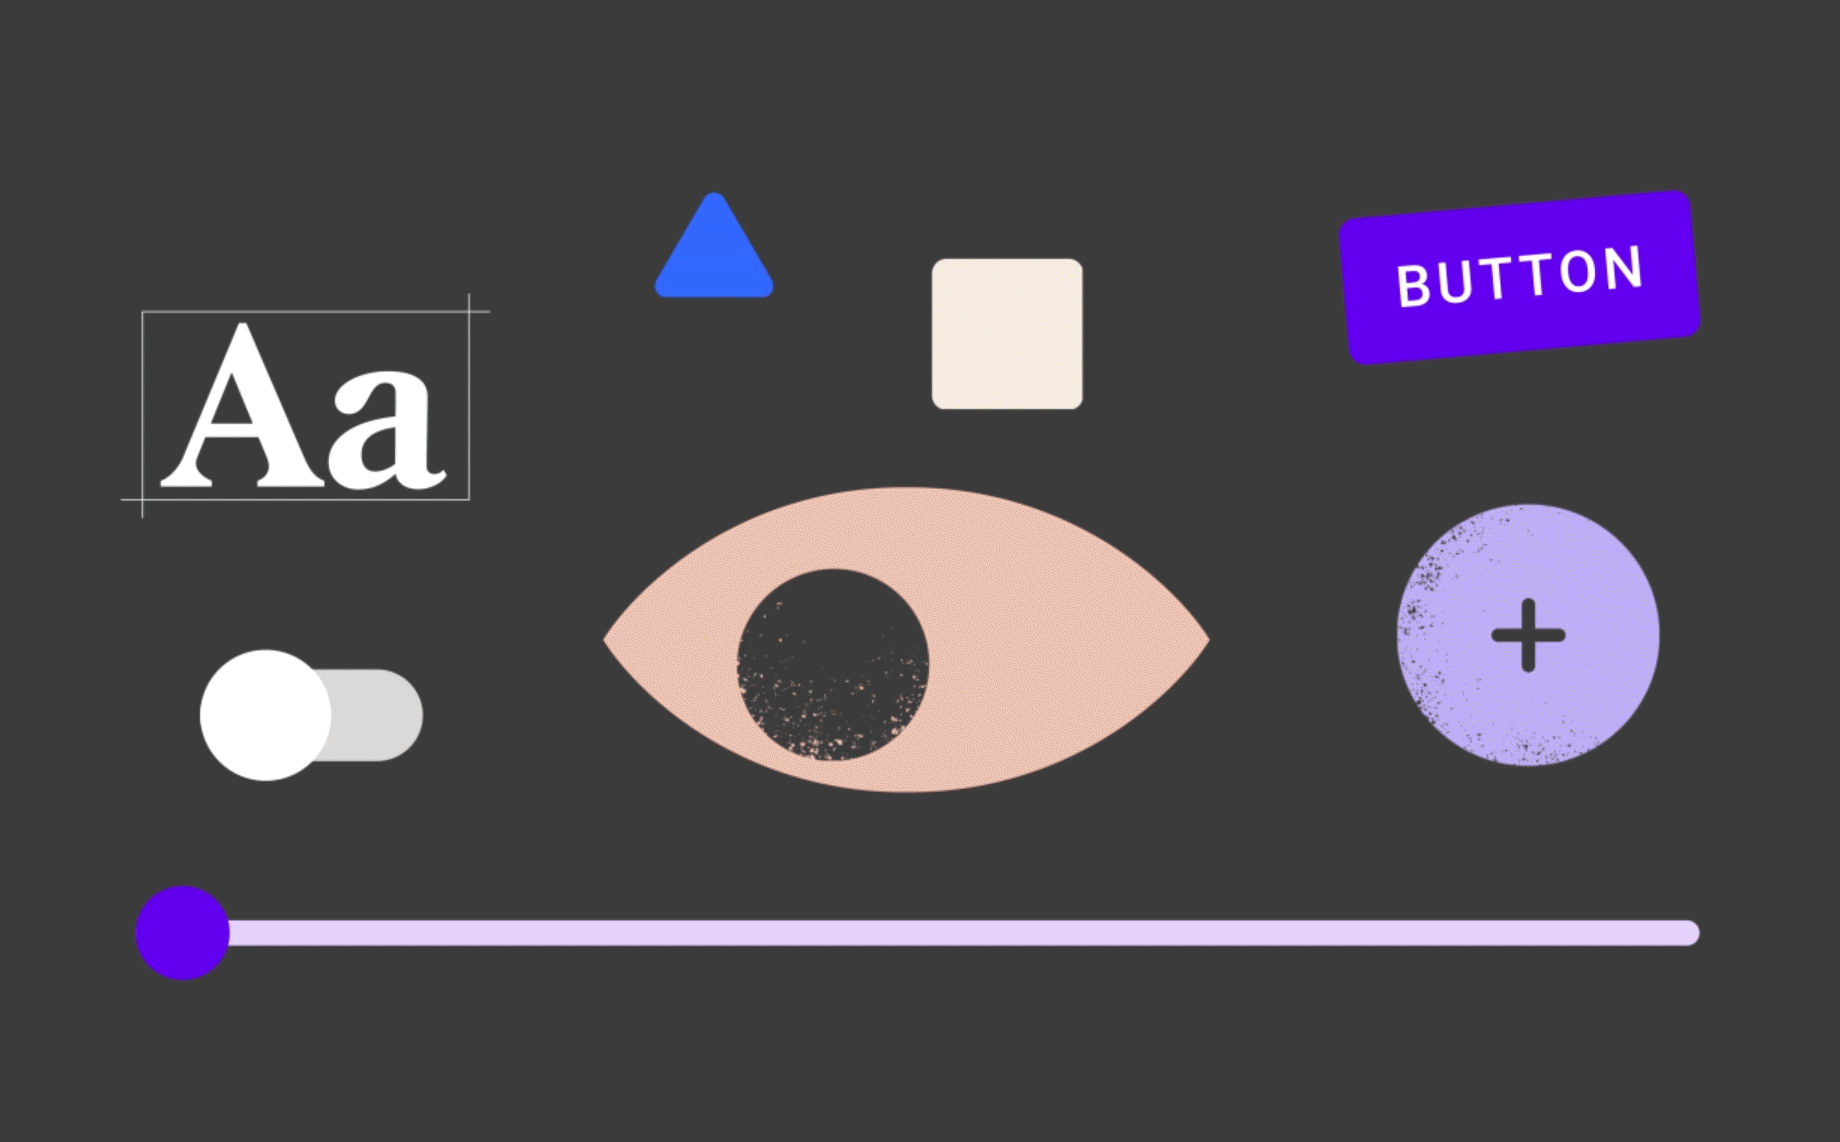
Anima’s Material Design widget library
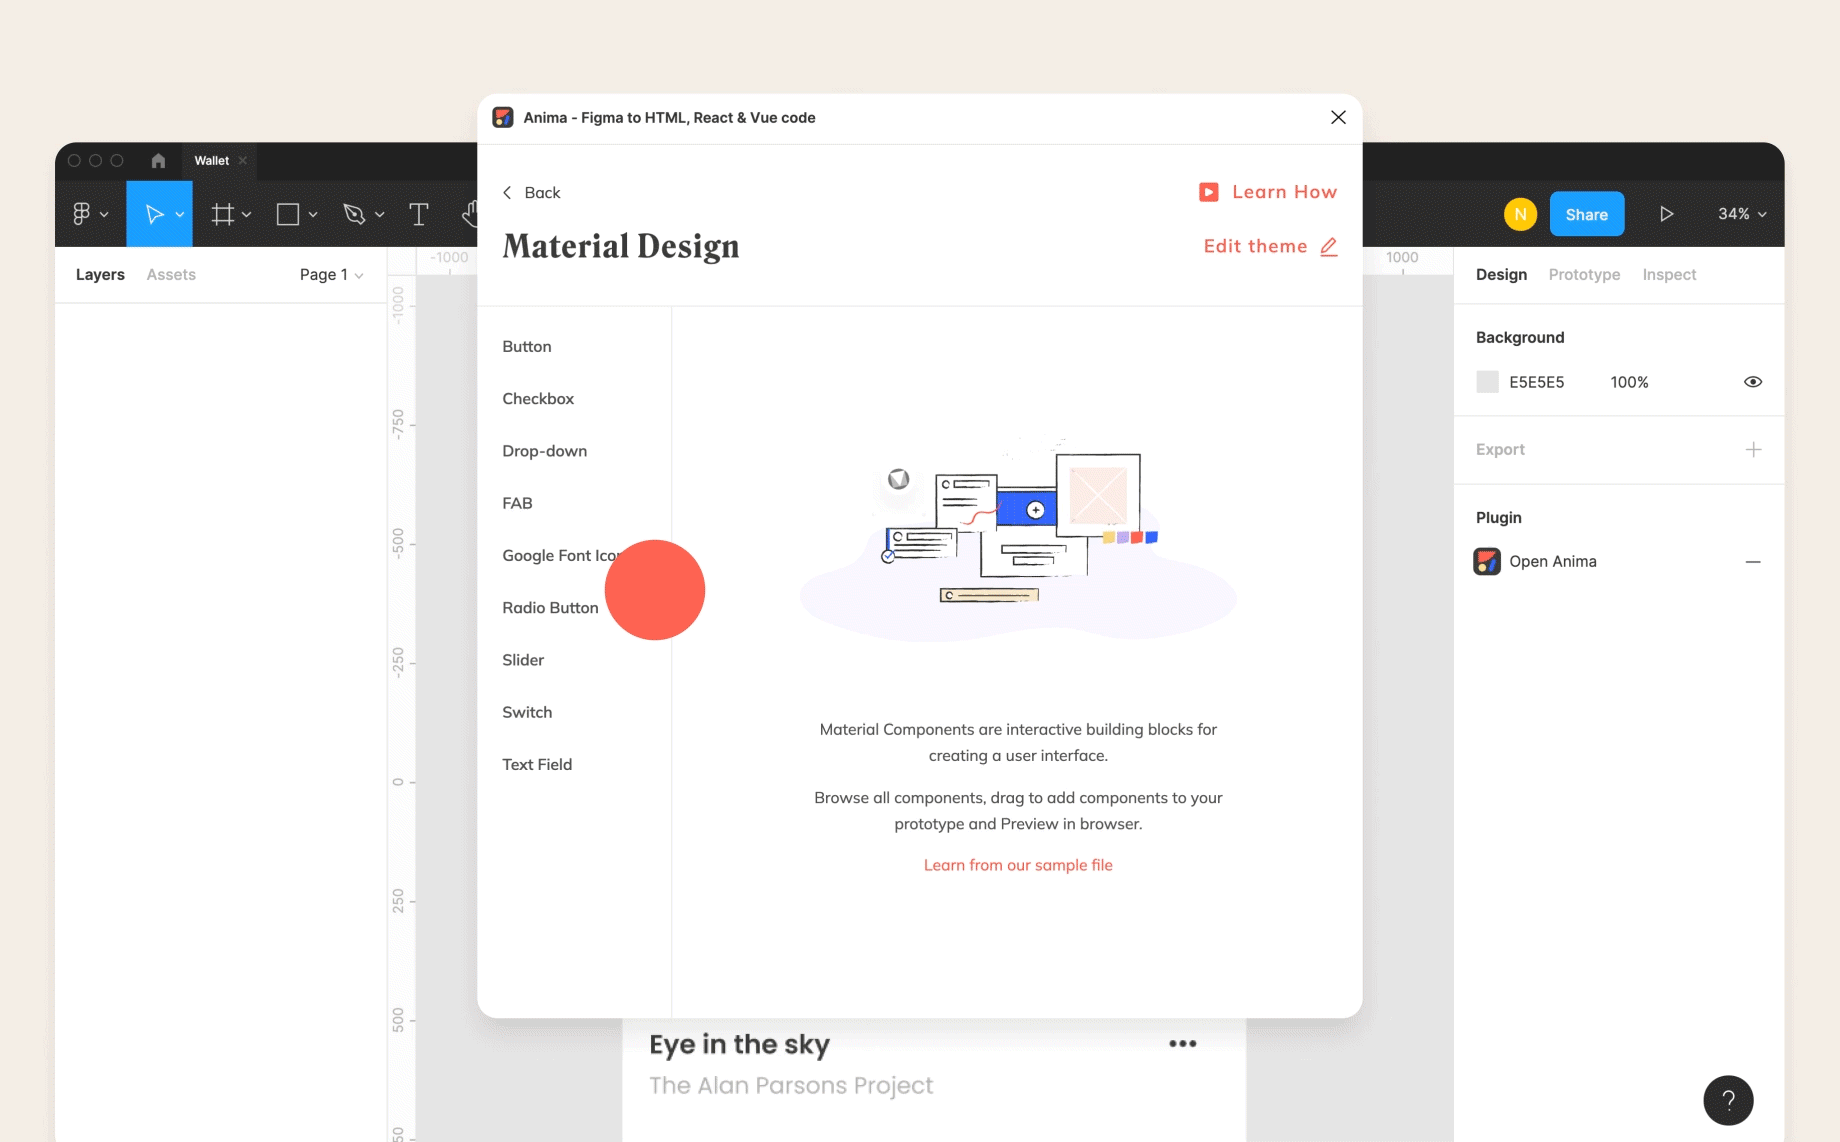
Anima’s Material Design widget library gives you all of the live, customizable Material components you need to build a killer prototype.
Here’s what you’ll get:
- Buttons
- Checkboxes
- Drop-downs
- FABs
- Google Font Icons
- Radio Buttons
- Sliders
- Switches
- Text Fields
Anima 5’s Material Design widget library for Figma:
Anima 5’s Material Design Widget Library in Figma
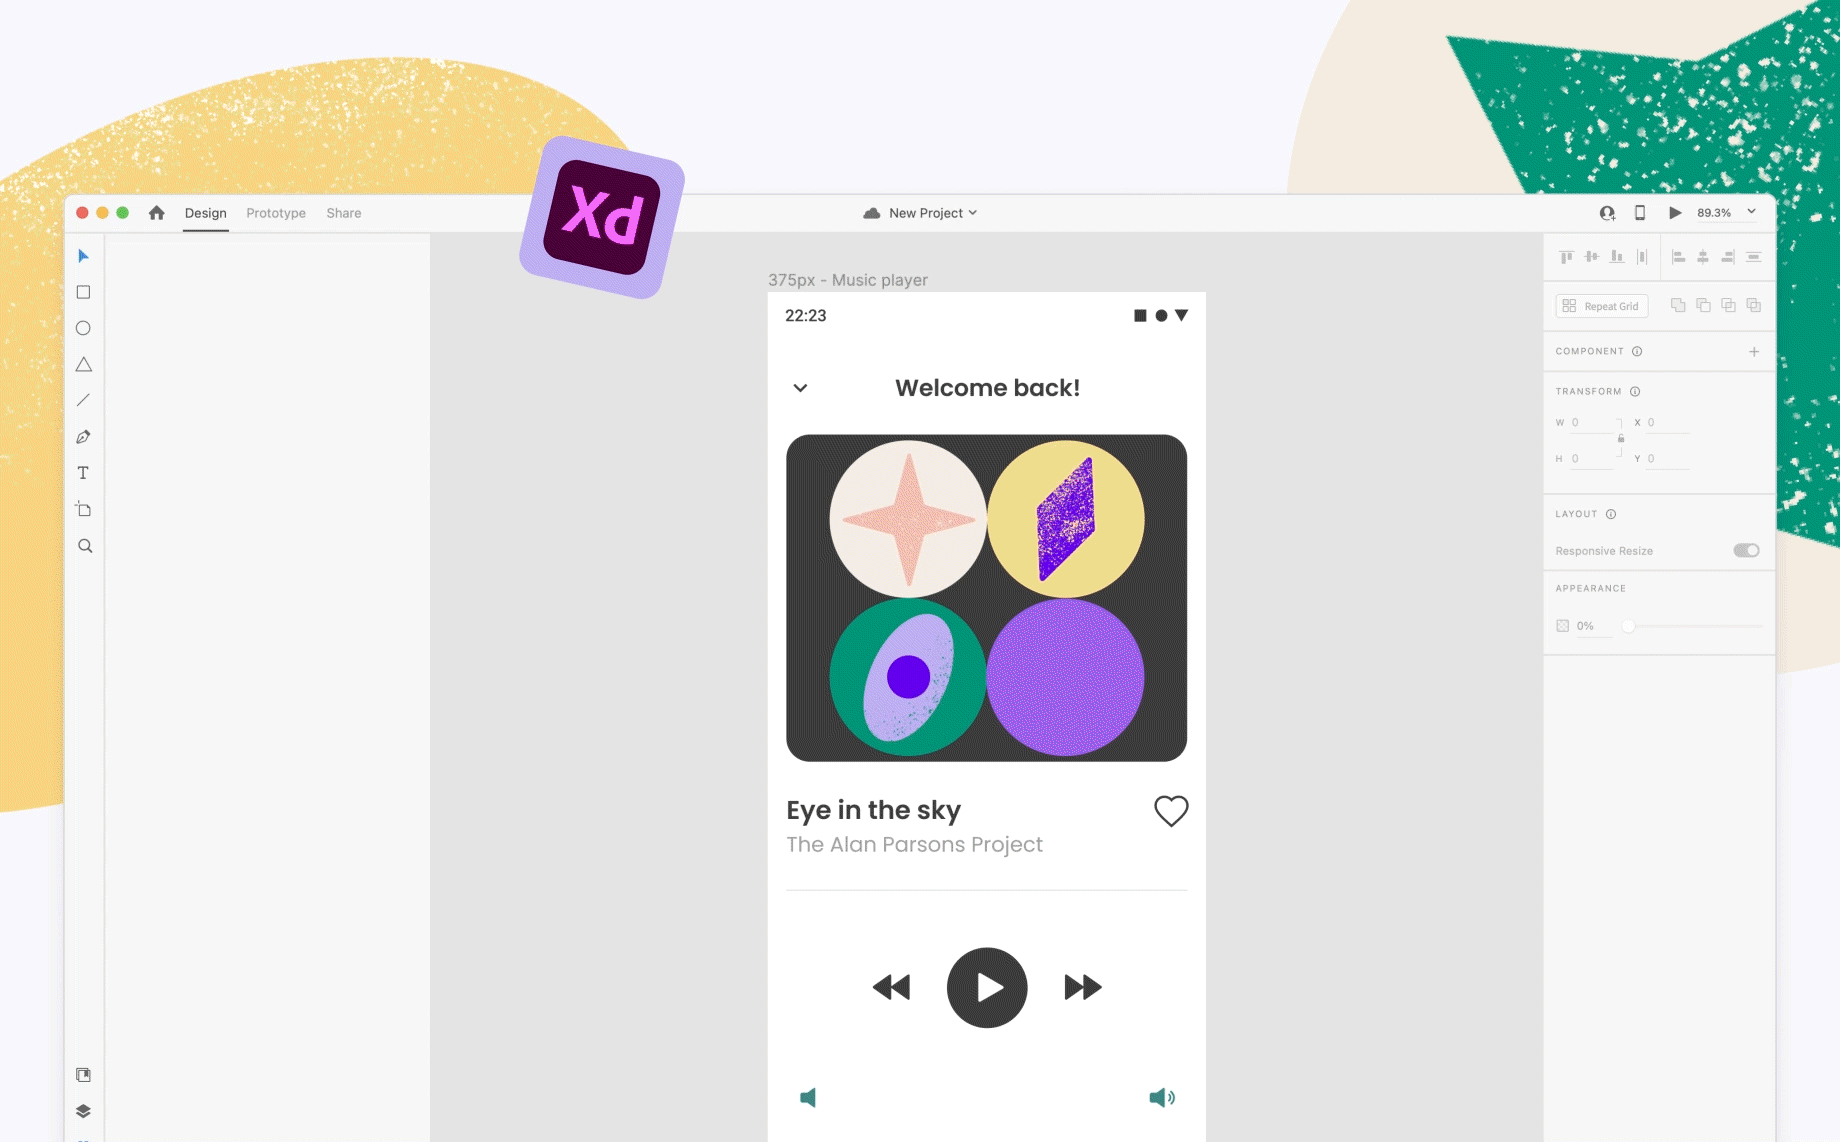
Anima 5’s Material Design widget library for Adobe XD:
Anima 5’s Material Design Widget Library in Adobe XD
Material Design with Anima: a step-by-step guide
Now you know what Anima does for designers and product teams.
Anima lets you build live prototypes with truly functioning Material UI components in your existing design tools. This streamlines your process, reduces iterations, and helps your team get better products to market faster.
Here’s every step you’ll need to start building with live Material building blocks:
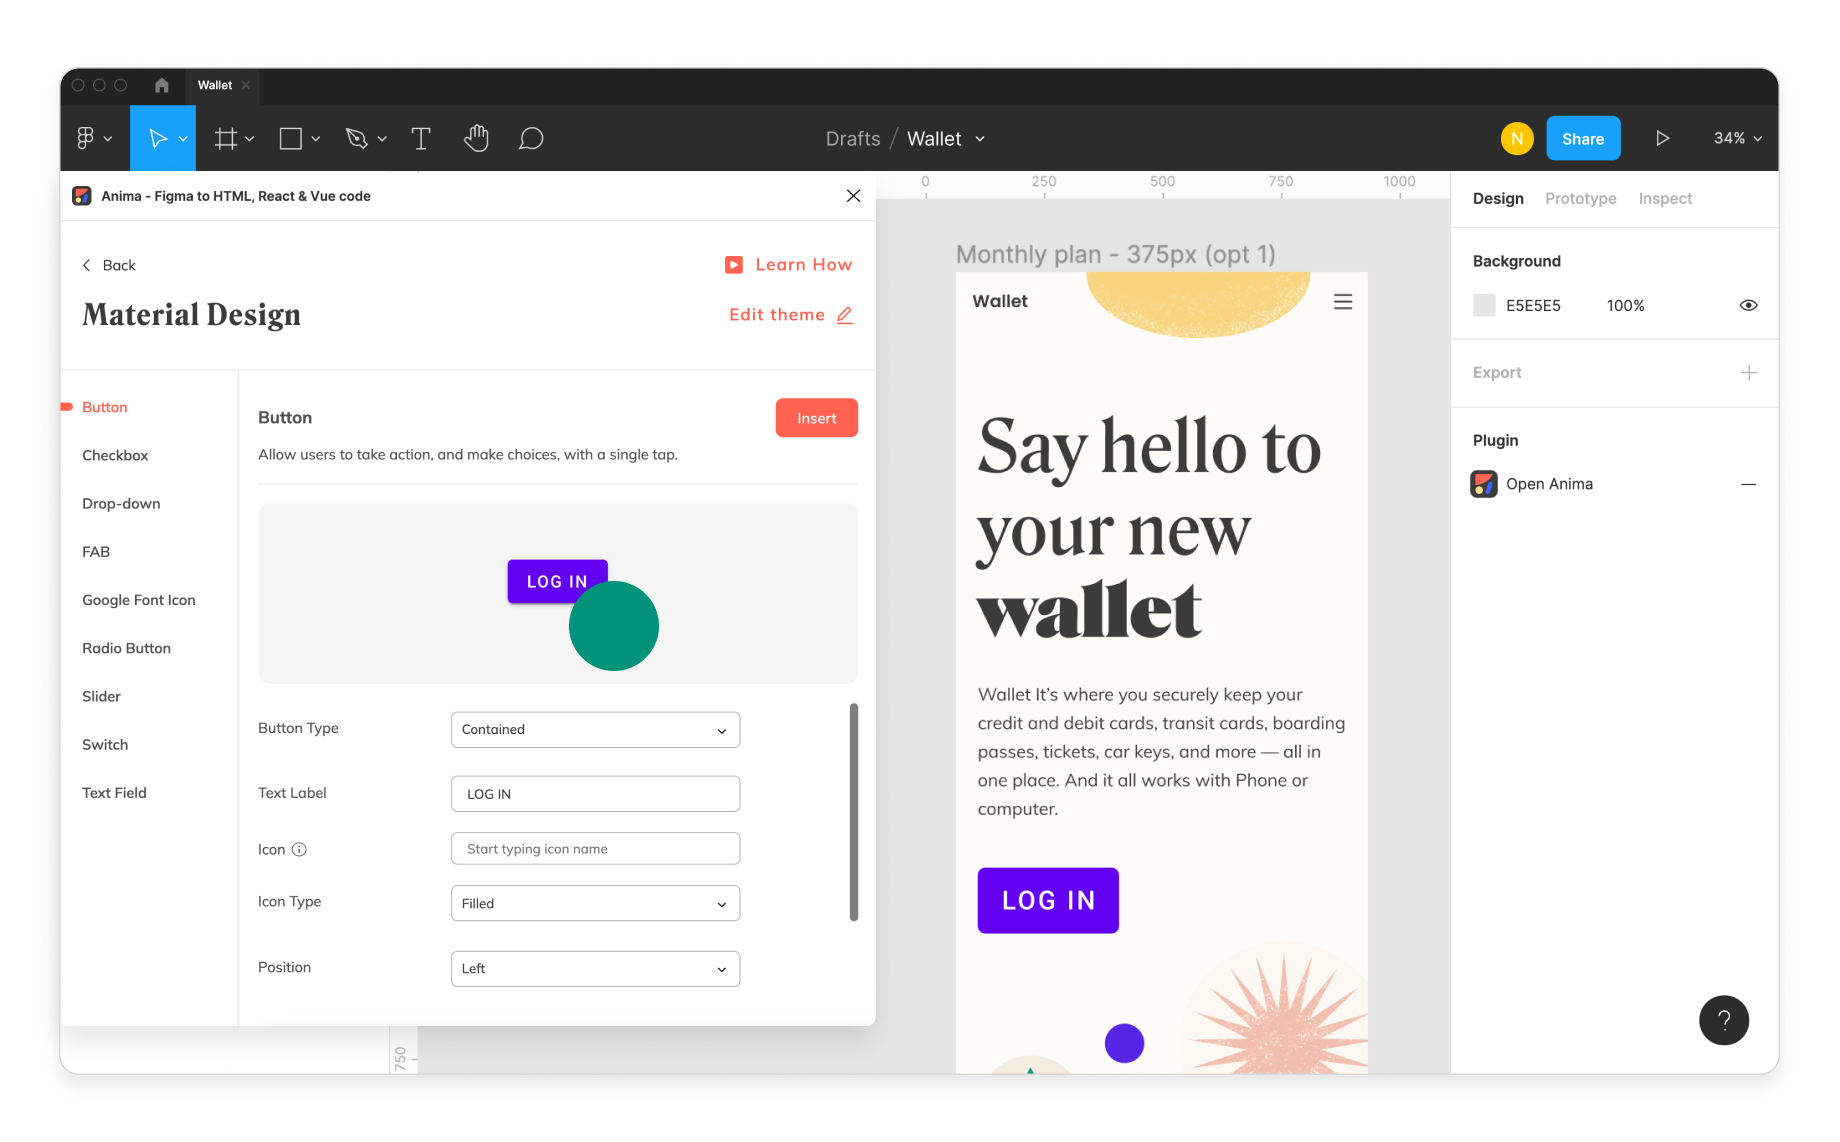
How to implement functioning Material Design in Figma
Step 1: Open the Anima plugin (if you already use Anima, make sure you restart the plugin to update all of the new features).
Step 2: Open the Widget Library.
Step 3: Click the Material Design icon.
Opening Anima's Material Design library in Figma
Step 4: Select the Material component you want to add to your design.
Step 5: Change the color theme by clicking “Edit theme” at the top right corner of the plugin.
Step 6: Customize the Material component’s attributes using the drop-down menus below the component’s image in the plugin (you can use either the primary or secondary color from your theme, or select a custom color).
Step 7: Drag-and-drop the component into your design, or click “Insert” at the bottom right of the plugin, then position the component wherever you’d like it.
Selecting, customizing, and dragging a live switch into a Figma design with Anima
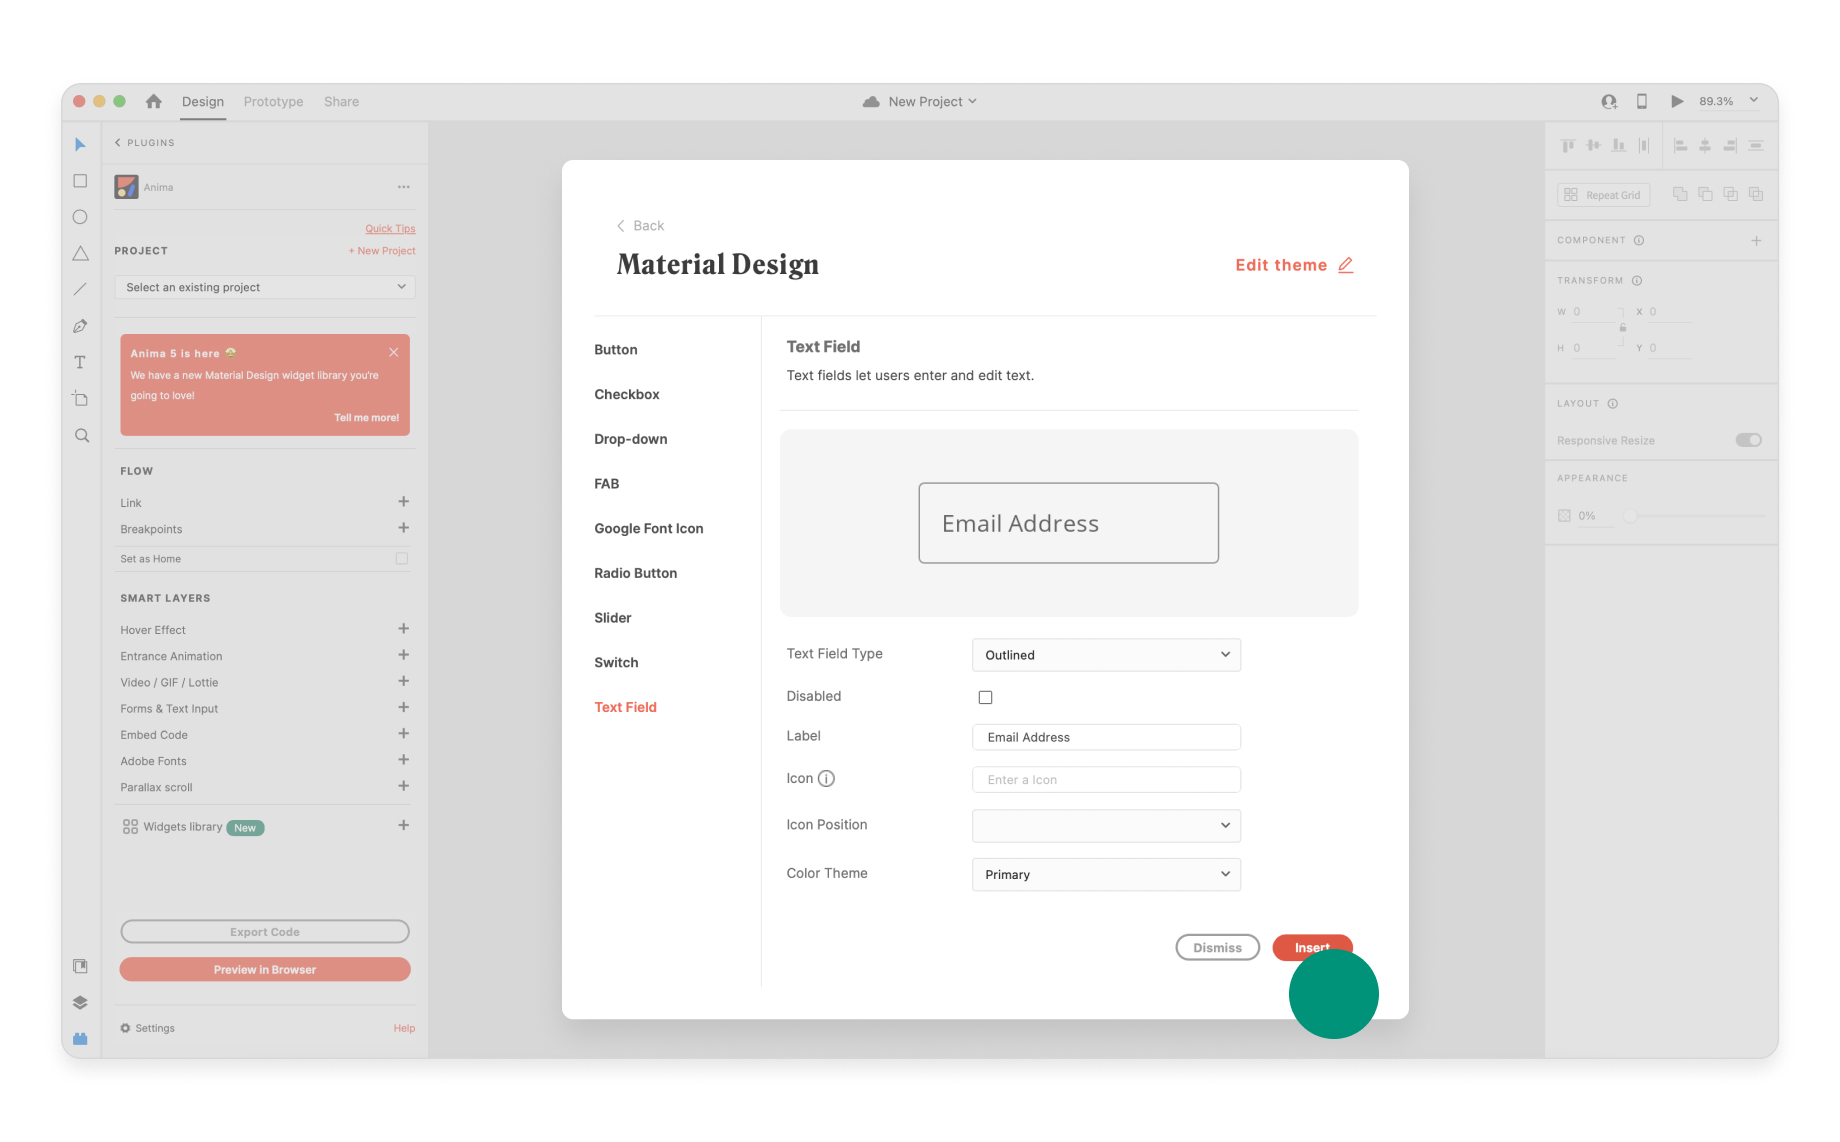
How to implement functioning Material Design in Adobe XD
Step 1: Open the Anima plugin (if you already use Anima, make sure you restart the plugin to update all of the new features).
Step 2: Open the Widget Library.
Step 3: Click the Material Design icon.
Opening Anima's Material Design library in Adobe XD
Step 4: Select the Material component you want to add to your design.
Step 5: Change the color theme by clicking “Edit theme” at the top right corner of the plugin.
Step 6: Customize the Material component’s attributes using the drop-down menus below the component’s image in the plugin (you can use either the primary or secondary color from your theme, or select a custom color).
Step 7: Click “Insert” at the bottom right of the plugin, then position the component wherever you’d like it once it appears in your design (Adobe XD doesn’t offer the drag-and-drop option).
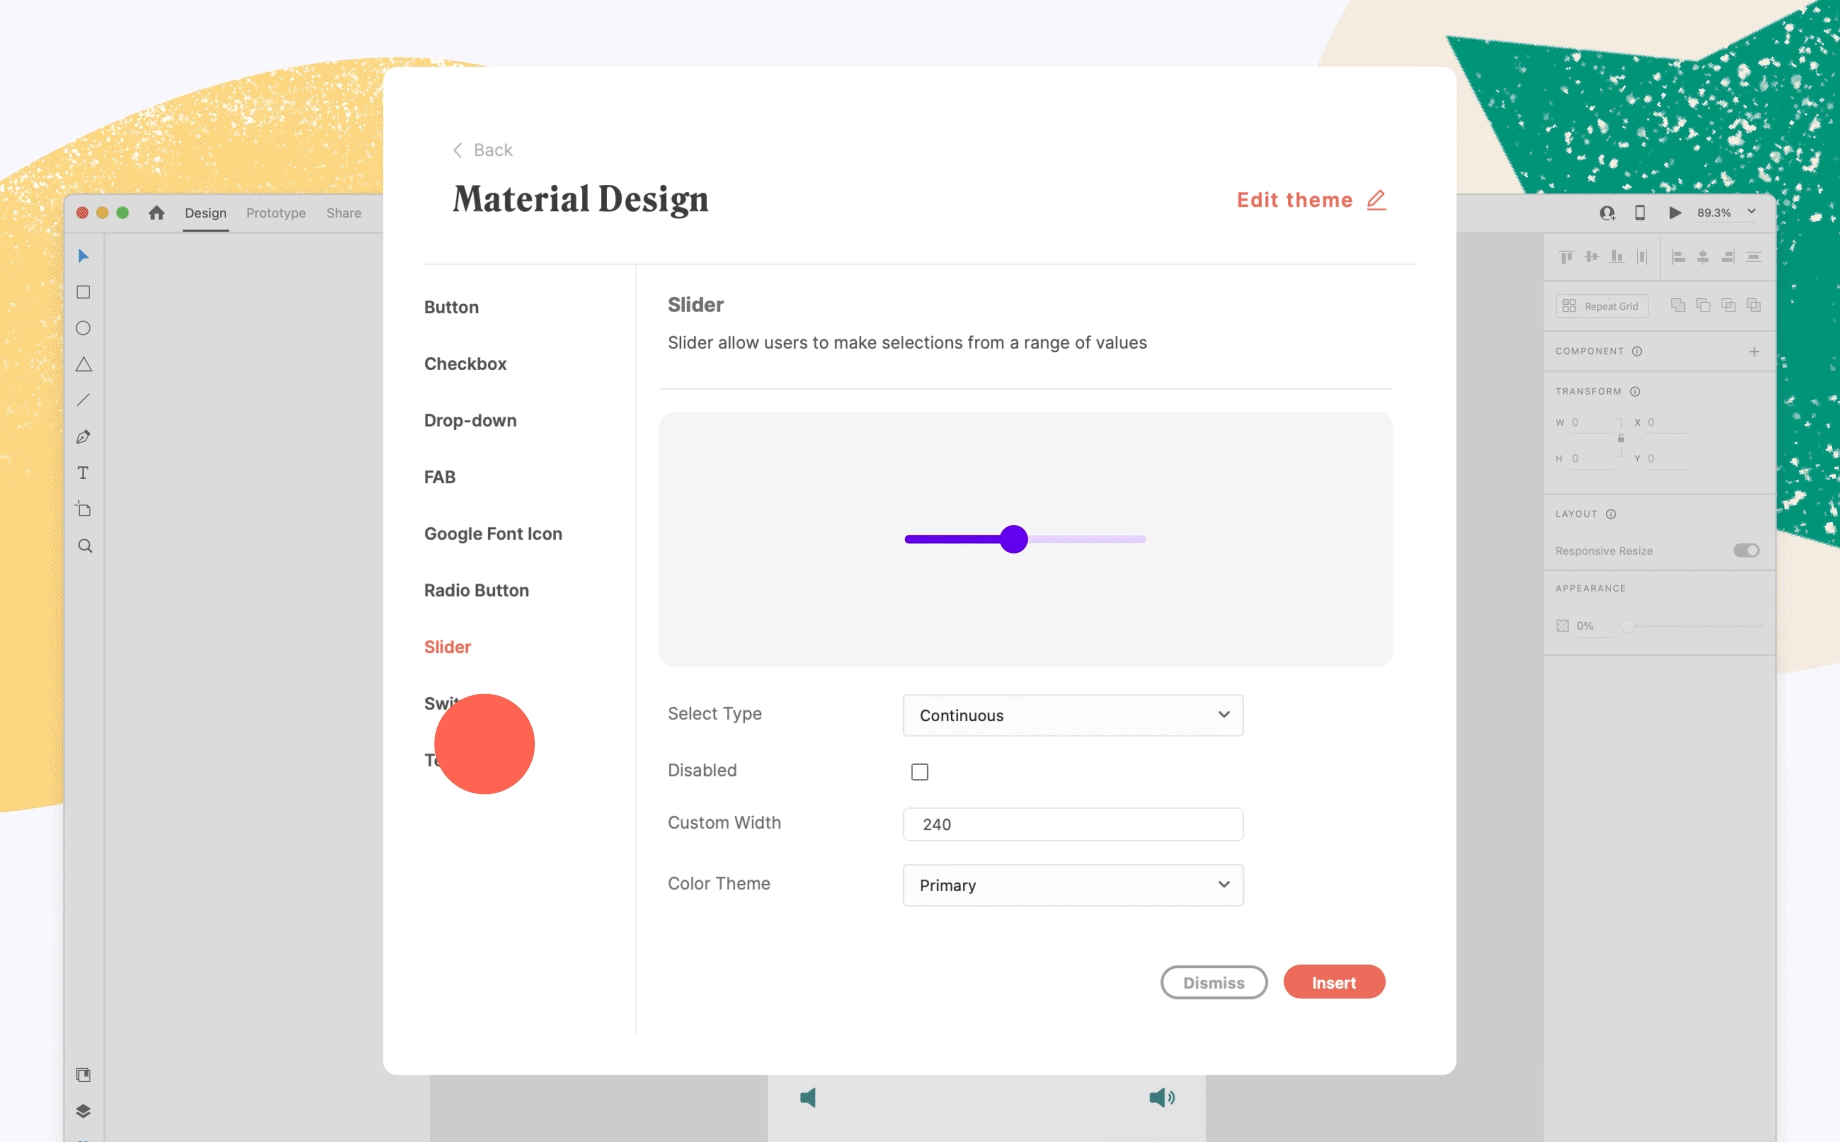
Selecting, customizing, and inserting a live slider into an Adobe XD design with Anima
Preview your interactive prototype
To see your live prototype in action, just click the “Preview in Browser” button at the bottom of the Anima plugin’s main menu.
- In Figma, your interactive and responsive prototype will open automatically in the same tab.
- In Adobe XD, you’ll get a popup that says “Your prototype draft is ready.” Just click “Open” and your fully functioning prototype will pop up in your web browser.
Hand your live prototype off to developers
We know this step is already making your palms sweat, but don’t worry! In a few simple steps, you can share your truly functioning Material Design-based prototype—along with pixel-perfect HTML, React and Vue for each component—with developers. Here’s what you need to do:
- Create a project on Anima’s web platform: This is where your live prototype will be stored once you’ve synced it. Here’s how to create a project for Figma and how to create a project for Adobe XD.
- Sync your design to the project you’ve created: This will save your live prototype to Anima’s web platform. Here’s how to sync a project from Figma and how to sync a project from Adobe XD.
- Share your prototype: Open your project on Anima’s web platform to view your live, responsive prototype and share it with developers, teammates, and stakeholders. Here’s how to share your prototype.
- Hand off to developers: Once they’ve logged in to the project, developers (and collaborators) can interact with your live prototype, make comments, and get clean code to help build the UI accurately and efficiently. Here’s how developers can get code from your prototype.
With Anima, you can collaborate continuously, communicate your design clearly, and keep your entire team on the same page.
Again, it’s a win-win:
- Developers get fully functioning prototypes that require zero explanation along with pixel-perfect HTML, React, and Vue code.
- Designers get the satisfaction of seeing their designs accurately represented in the final product.
Wrapping it up
So there you have it. Anima 5 has reinvented the way designers and teams work with Material Design in their design tools:
- You have the power to customize every Material UI component.
- You can insert your custom components into your design with a single click, and they’ll be fully interactive and responsive.
- You can hand off your high fidelity prototype to developers along with automatically generated, pixel-perfect HTML, React, and Vue code.
- Designers get to see their visions accurately represented in the final product, developers get working prototypes and clean front-end code, and product teams get better products to market faster.