 Web to code extension
 Twitter
 GitHub
 Blog
Blog
Using Sketch to design animations2 min read
Reading Time: 3 minutesAnima Animations Editor (was Timeline) is a tool for animation design, right inside Sketch. In this article, we’ll explore the key components of Anima animation editor.
Update: Timeline is now part of Anima Toolkit — Allowing designers to create Responsive and Interactive High-Fidelity Prototypes, all inside Sketch.
We also introduced Anima for Adobe XD, and Figma.
Anima Animation Editor
Selecting a Group or an Artboard and clicking Anima Panel > Prototype > Animation > `Create` will present the full interface of Anima Animation Editor.

Step 1: The Anima Panel > Prototype > Animation > Create - To start animating groups or artboards
Step 2: You are now in Anima Animation Editor
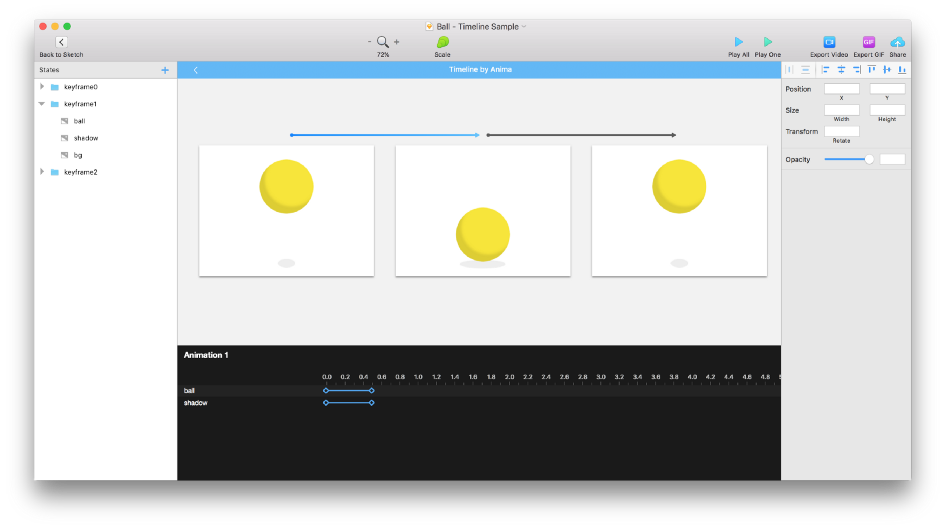
Keyframes
The keyframes are the different states of the animation
Inspired by Keynote and the “Magic Move”, keyframes allow you to control the animation transitions like a storyboard.
Simply drag & drop or play with the layer’s properties to animate it. All layers appear on all keyframes and you may show or hide them using opacity to make them fade in or out. You can add as many keyframes as you like.
Transitions & Timeline
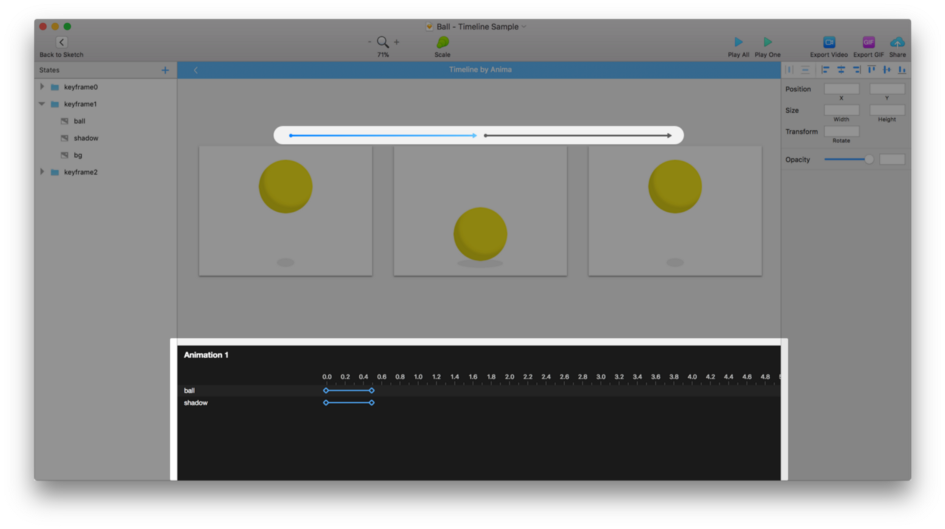
A Timeline for each transition between every keeps you in full control
An arrow above each of 2 keyframes defines a transition between them. Selecting an arrow will reveal its corresponding Timeline panel at the bottom.
And this is where lays the true power of this tool — the Timeline.
It allows you to set exact timing and curving in order to refine your animation into a beautiful and precise one.
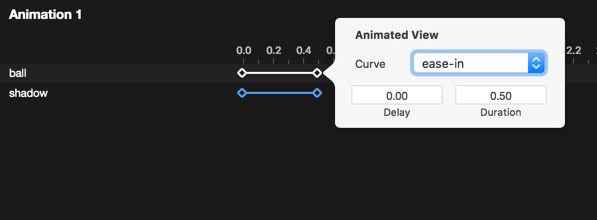
Drag & drop to play with timing, right-click for curving.
The Toolbar
Once you’re in Anima Animation Editor, you’ll see a set of Anima Editor actions in the top toolbar.

All this is pretty much self-explanatory
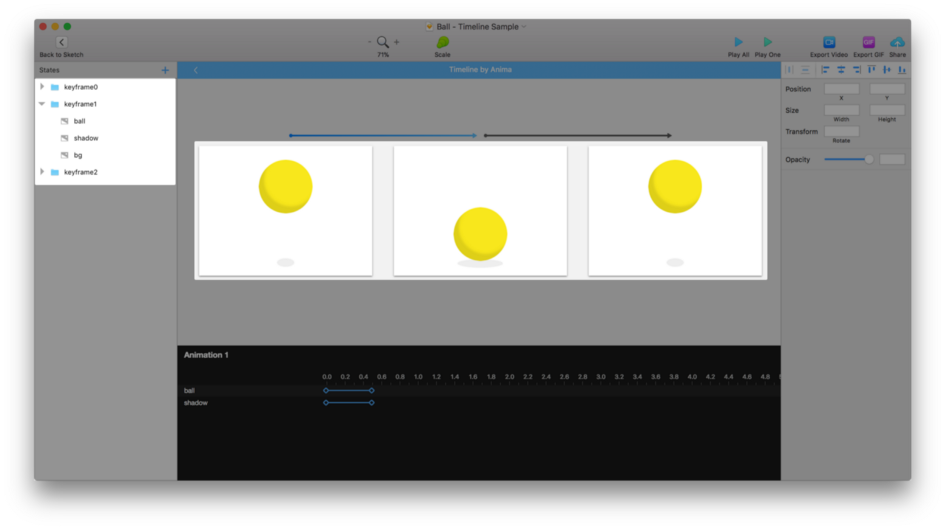
Here are the 2 play methods explained:
Play One — Play a single transition between 2 keyframes.
Play All — Plays all of the keyframes transitions in a loop.
On the first image Play One, on the second Play All
Export
When you’re done crafting, click Export GIF or Export Video, in order to save your design.
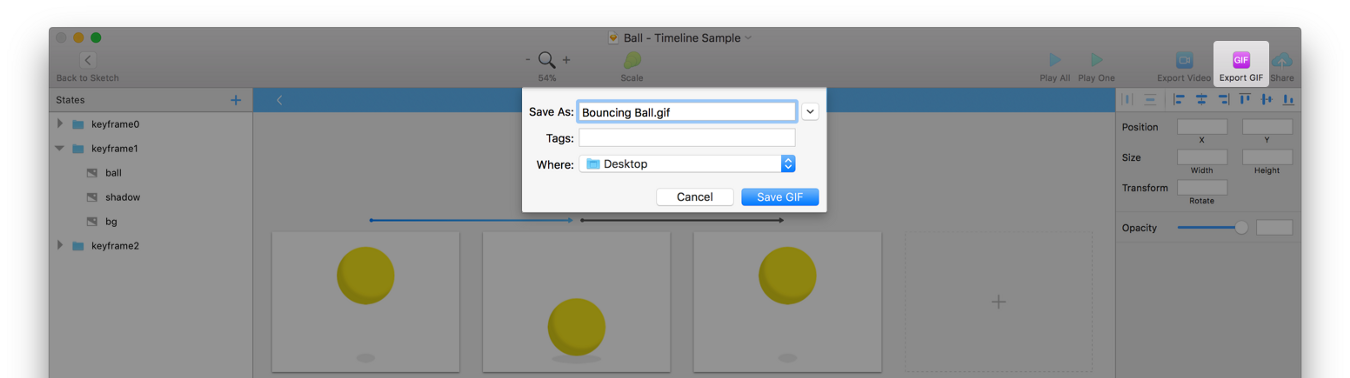
Export GIF or video to save your design
These were the basics of Anima Animations. On Anima 3 we’ve enabled to add animations and interactions to High-Fidelity Prototypes. So you can create amazing experiences, right in Sketch. Thanks for your amazing support and ideas, keep it coming!
As always, we’re excited to hear your feedback!
Join the discussion or show off your designs on Facebook, Twitter, Slack, Instagram, and vote for new features at UserVoice.
Stay creative!
❤️ Anima team