 Twitter
 GitHub
 Blog
Blog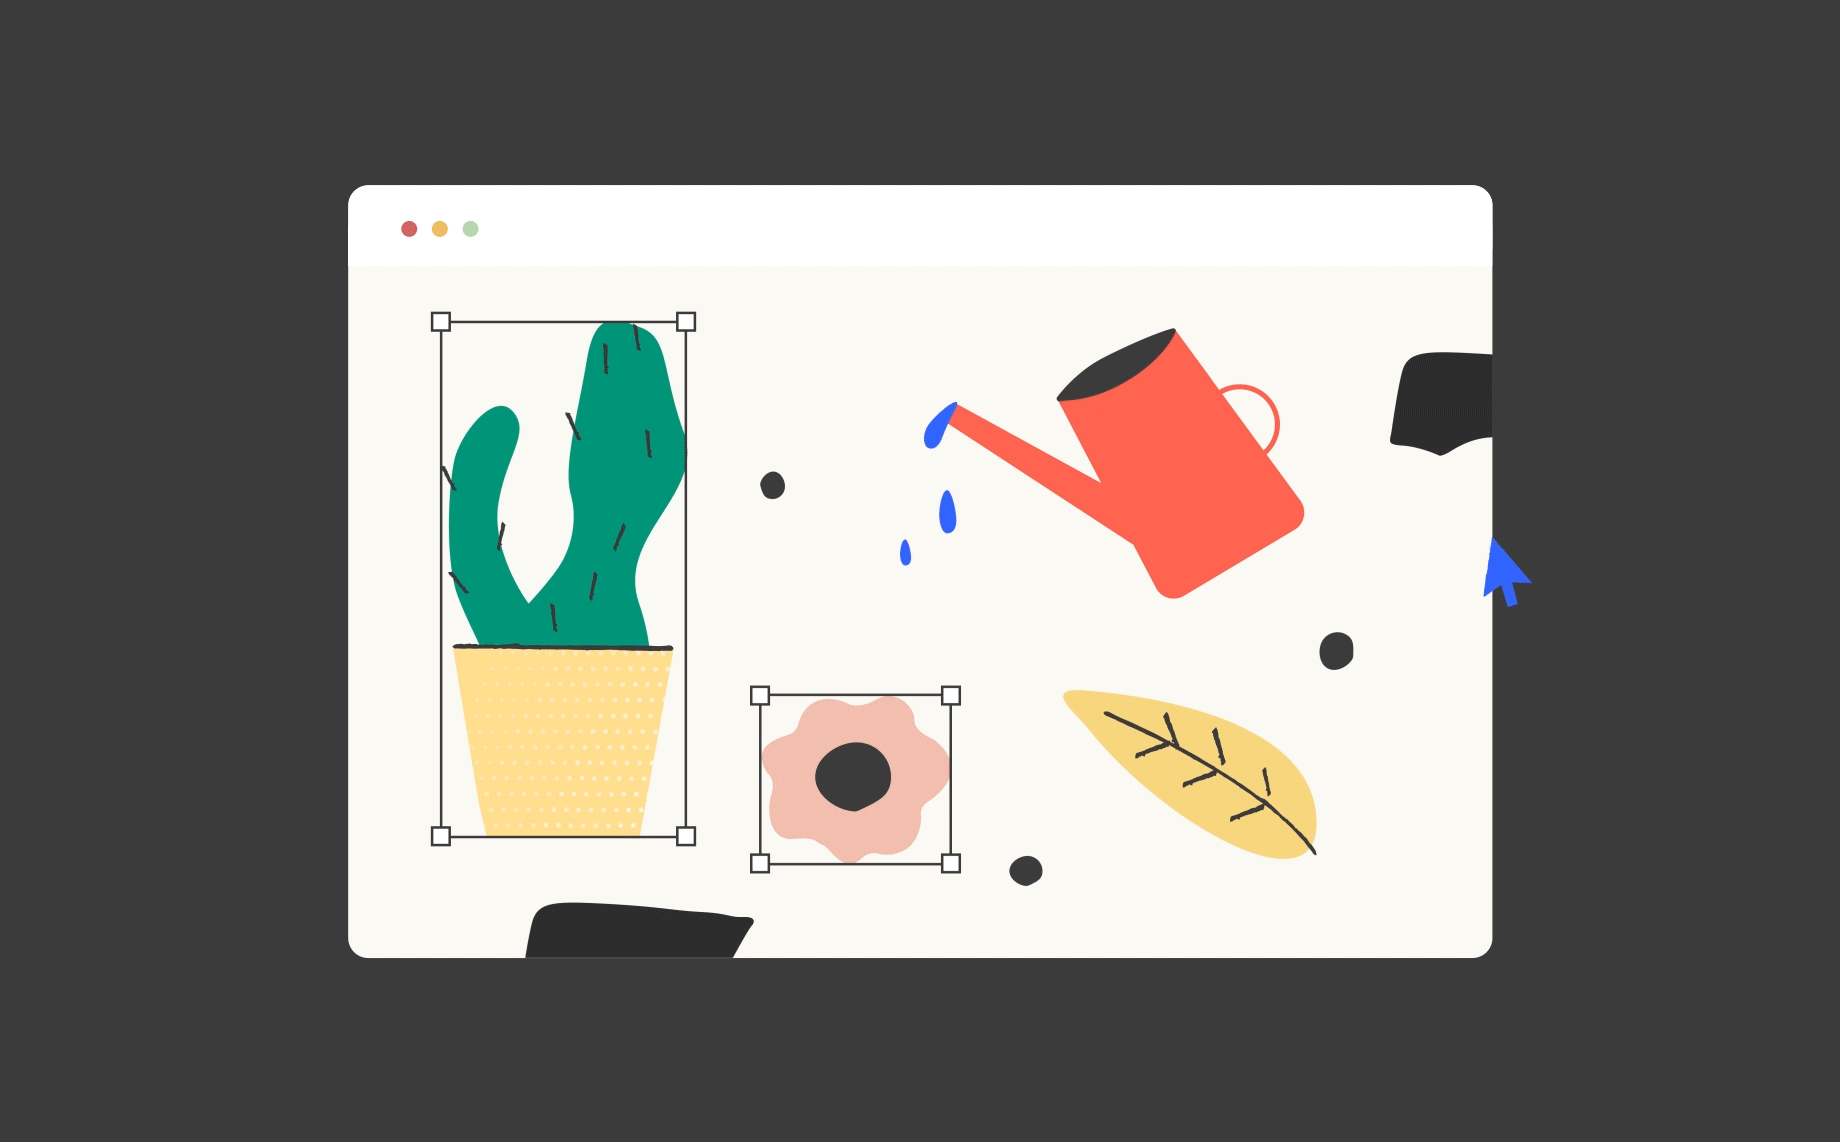
How to create a responsive landing page with Sketch4 min read
Reading Time: 4 minutesAnima allows designers to create high-fidelity prototypes right inside Sketch, Adobe XD, and Figma and export HTML & CSS in a single click.
On our mission to empower designers, we are continuously pushing the envelope on what designers can achieve without writing code.
Connecting two artboards as the same web page (different sizes)
On this post
- 🙋 Create a hero image
- 📱 Design artboards for Mobile, Tablet & Desktop with Breakpoints
- 📩 Add a form for clients to reach out
- 🚀 Publish our design as a website
- ⬇️ Download the files
Let’s Begin!
First, download Anima for Sketch, Anima for Adobe XD or Anima for Figma
Need a Hero?
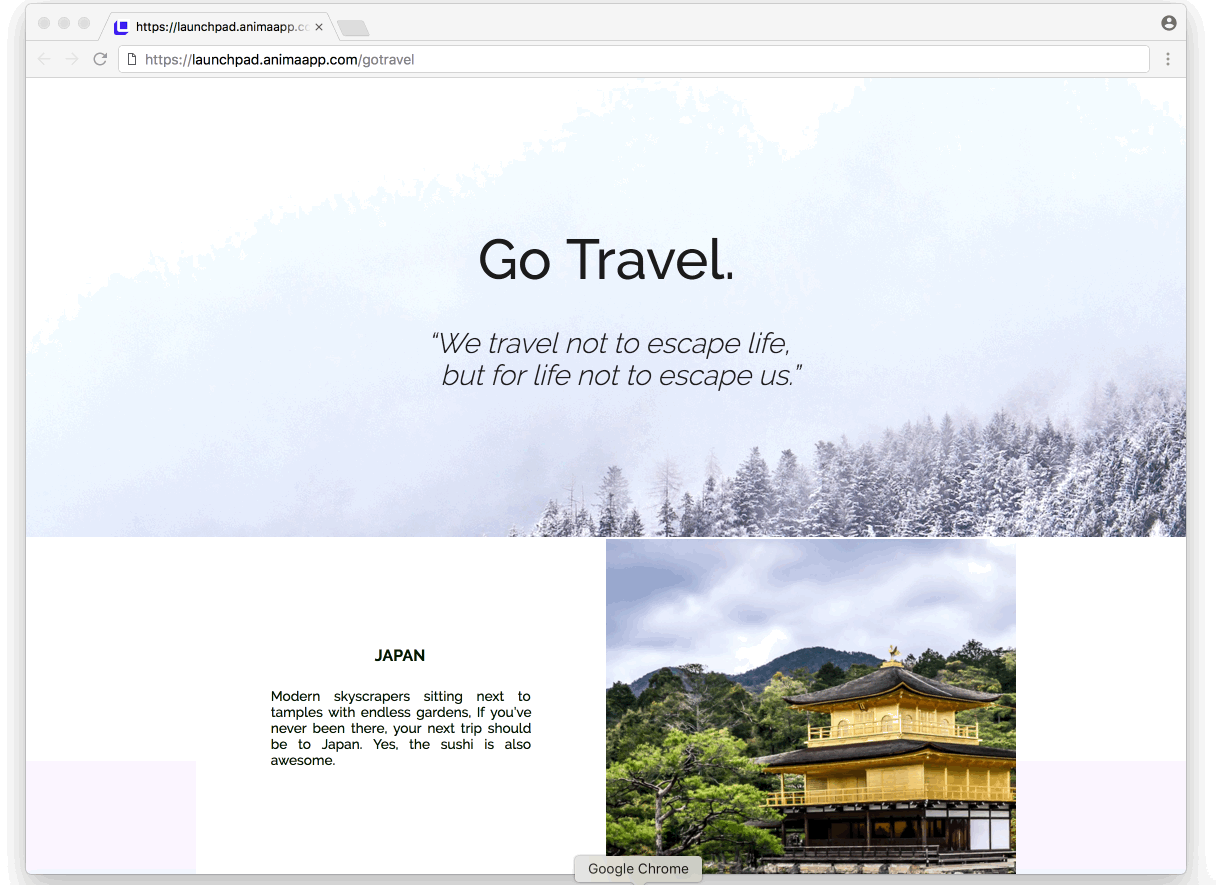
A beautiful end-to-end image at the top of your page sets the atmosphere. The easiest way to achieve that is to put a very wide image, overflowing the artboard and centered.
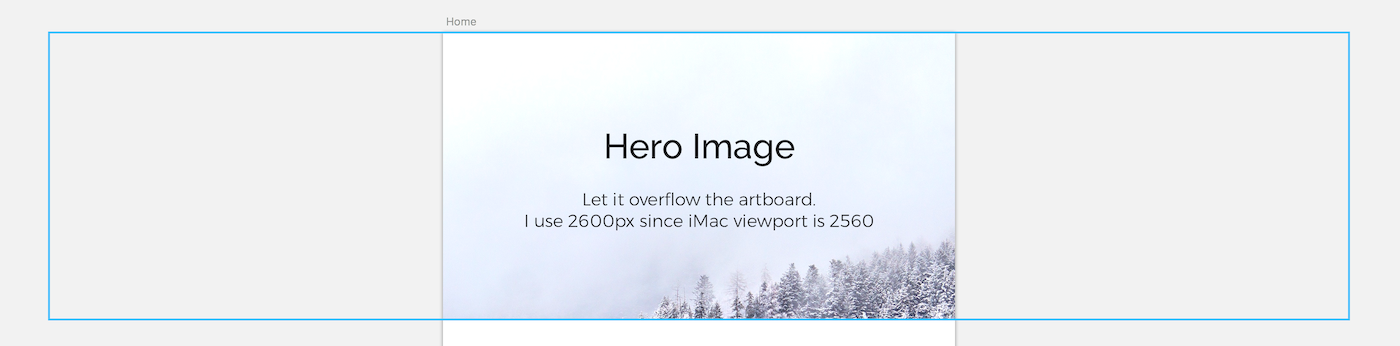
If you want it to stretch, check out tips in the bottom.
Design Responsively 🍻
In Anima each artboard is a web page. In order to create responsive design that fits both mobile and desktop, we’ll use the Breakpoints feature.
We’ll select one of the artboards, under Prototype tab > Flow, click the +Breakpoints button and mark the 2nd to say that they are actually the same webpage (but for different screen sizes).

Connecting two artboards as the same web page (different sizes)
The thumb rule here is that artboard will never shrink, only grow up to the next the next artboard width.
For example, if I set the Artboards width to 320px, 768px and 1024px:
- For browser width below 320px we’ll get horizontal scrolling.
- 320–767 will show the artboard with 320px width.
- 768–1023 will show the artboard with 768px width.
- 1024+ will show the artboard with 1024 width.
The displayed artboard will change at browser width 1023px
In order to pin stuff to sides or set more complex rules on how a 320px artboard looks when presented on 480px screen, use Layout Tab > Pins.
Forms — Talk to your Users
Mostly, landing pages have a contact or a signup form. It’s super easy to make one with Anima.
- Start by designing it — a text input (Or multiple) and a send button.
- Use the Prototype tab > Smart Layers > Forms button to make them an input and a submit button.
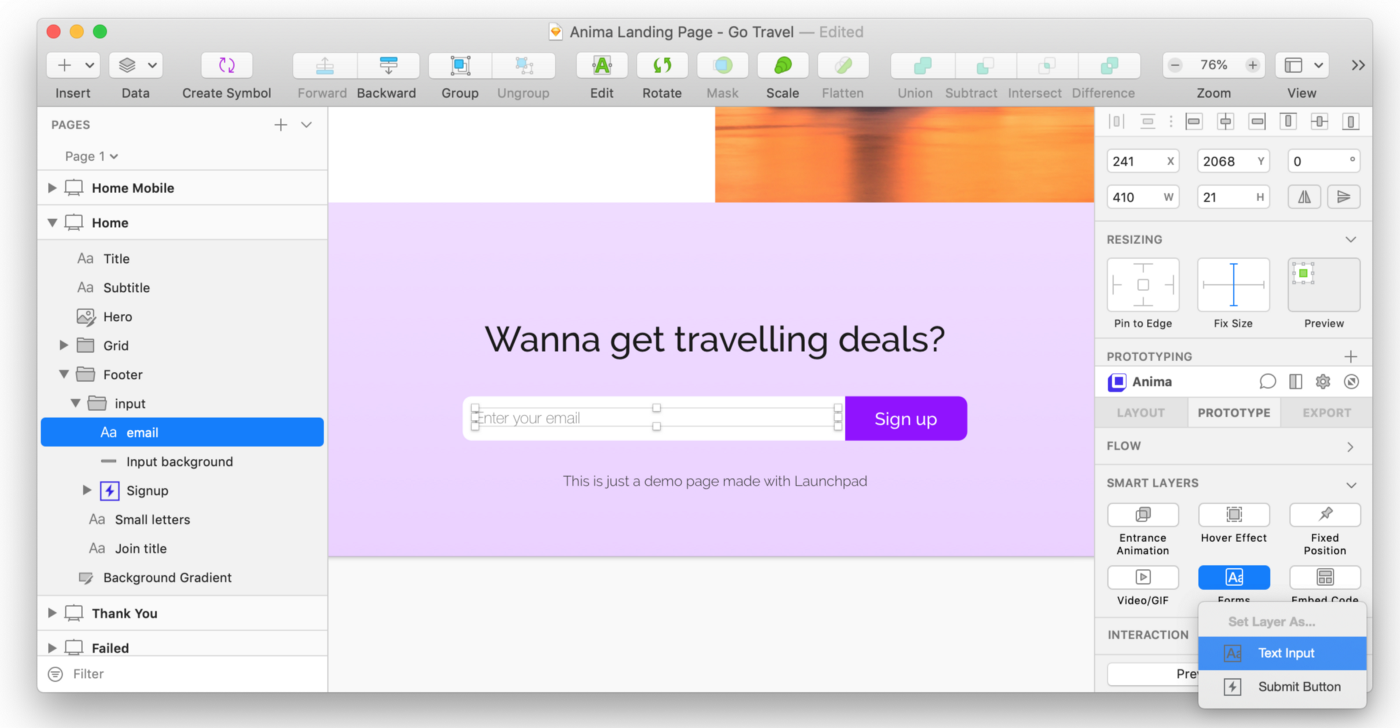
Creating a Form — Select text layers to be the input, then a layer to be a submit button
- When making a submit button, you may define what happens with the sent data — Email it to you and/or make a spreadsheet.
- Also, you can set ‘Thank you’ and ‘Failure’ pages.
 Important — Set your Home
When using multiple artboards (multiple websites pages) let Anima know your home page expanding the panel, selecting home artboard & Prototype Tab > Flow > Set as Home.
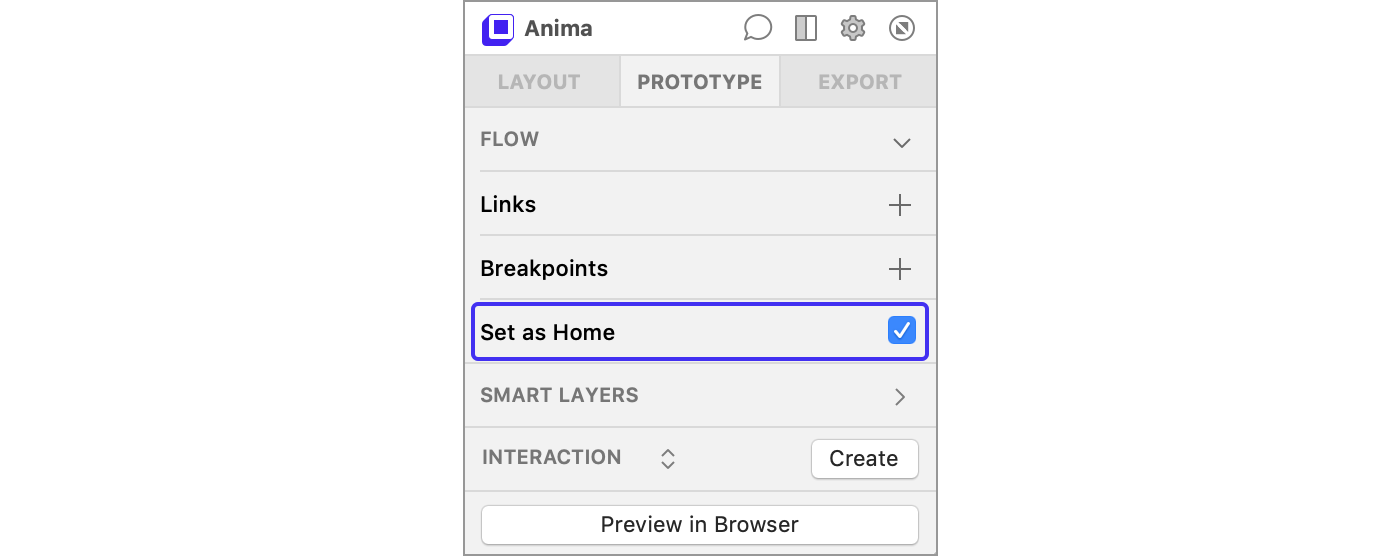
Select Artboard, Prototype Tab > Flow > Set as Home
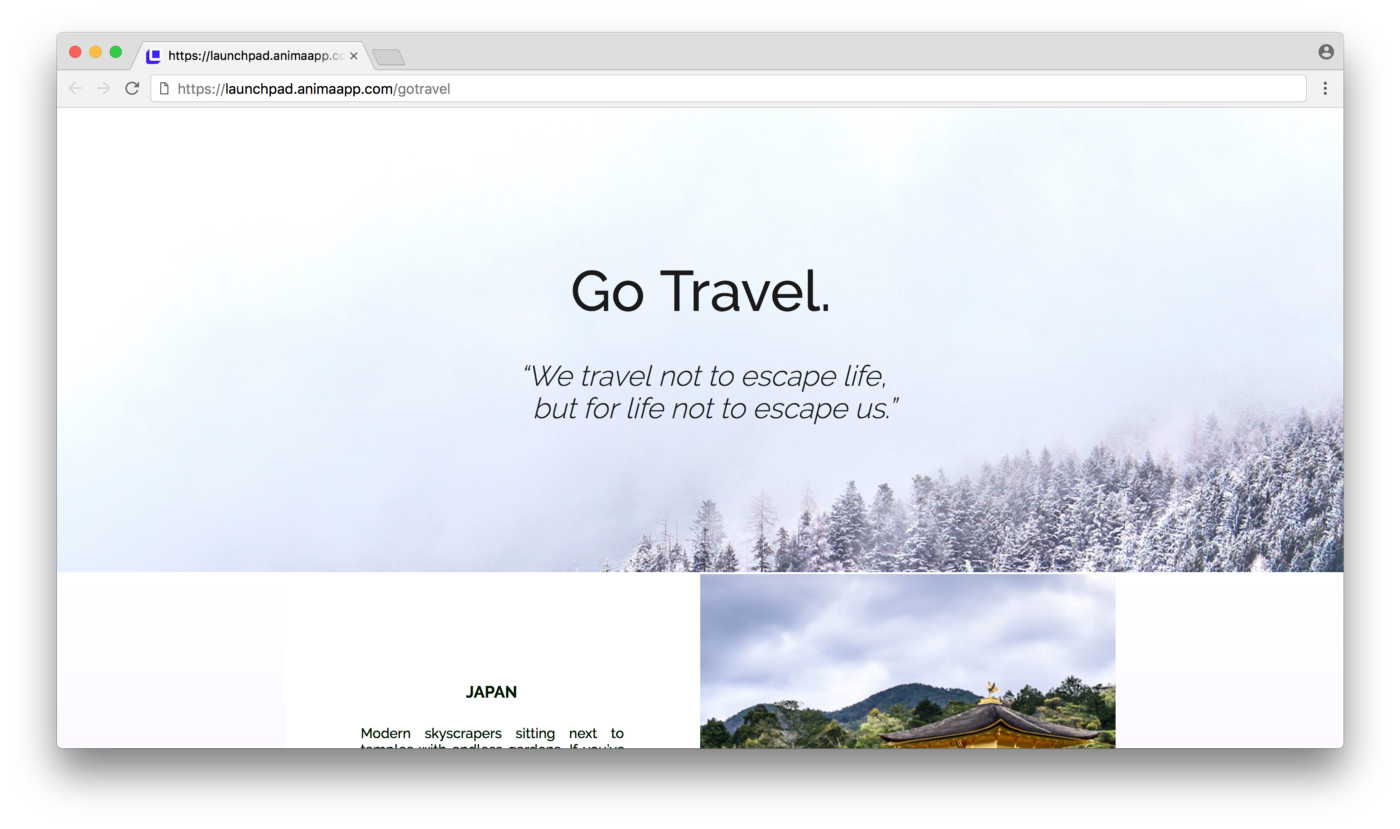
Preview!
Ready for the fun part? Click Preview in Browser to watch it comes to life 🎉

Ready for sharing?
In browser, click Sync to add it to your project — Drafts are private to allow you to polish your website without sharing it half-baked.
Click Sync to sync your draft into the Project

Click Share to get to the share panel
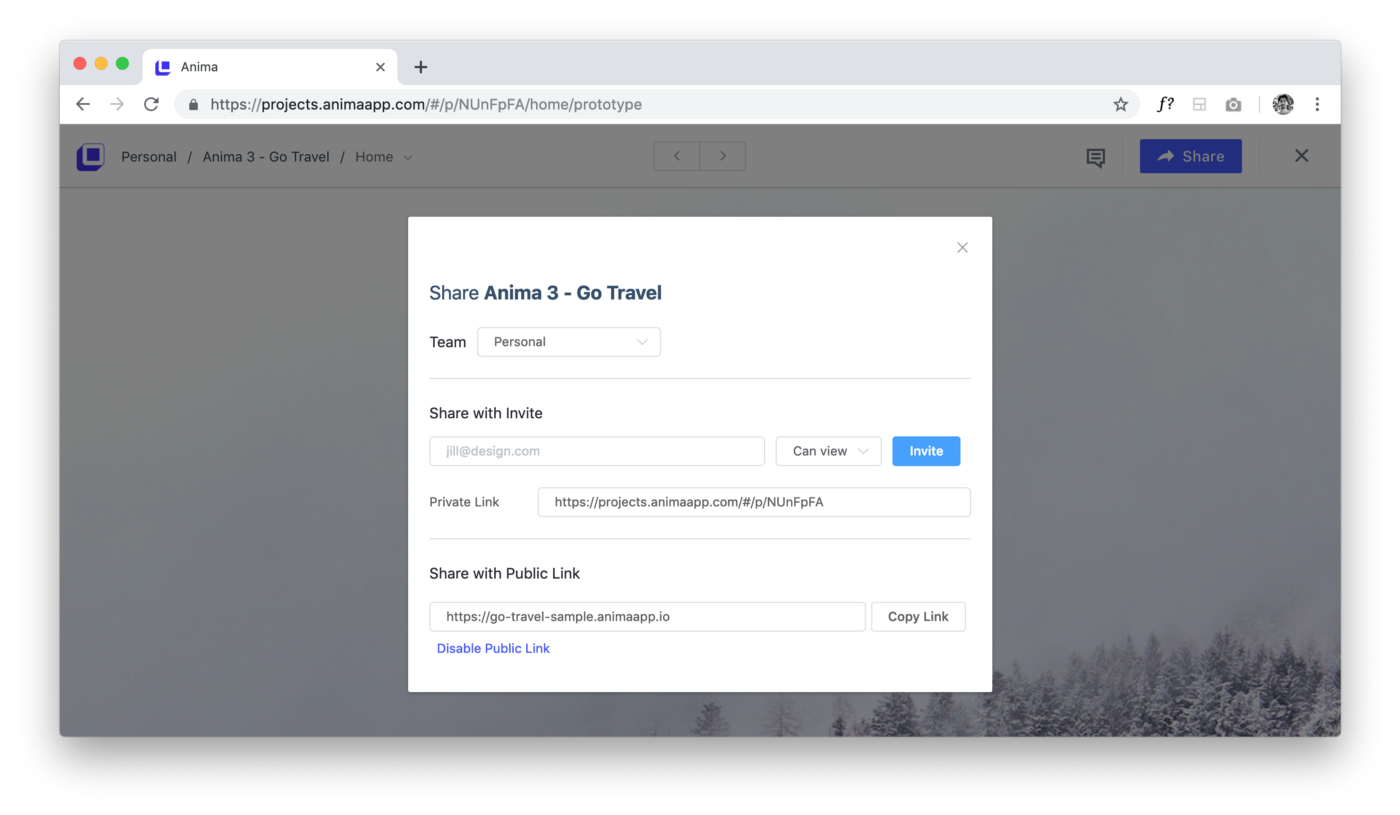
Invite stakeholders, share with the team, or get a public link
Tips
- Make your hero stretch instead of overflow using Layout > Pins:

Optional: Pin hero to make it stretch
- Images are exported as you define it in the ‘Exportable’ section, so you can set a group as ‘Exportable’ in order to flatten it. And you can set some images to be JPG, SVG or PNG according to your needs.

For example, the hero image is a large photo, best practice would be to use JPG format with 1x.
- Gradients and vectors usually work best with SVG, or PNG if Sketch fails to export the SVG exactly as you wanted.
Downloads
- Anima Sketch plugin
- Sketch file
- Fonts(Montserrat & Raleway)
- All photos were taken from unsplash.com
Learn more
- How to publish your website
- How to export HTML
- Anima documentation page:docs.animaapp.com
As always, we’re excited to hear your feedback!
Join the discussion or show off your designs on Facebook, Twitter, Slack, Instagram, and vote for new features at UserVoice.
Stay creative!
❤️ Anima team

 in TLV.